Monday, 5 December 2016

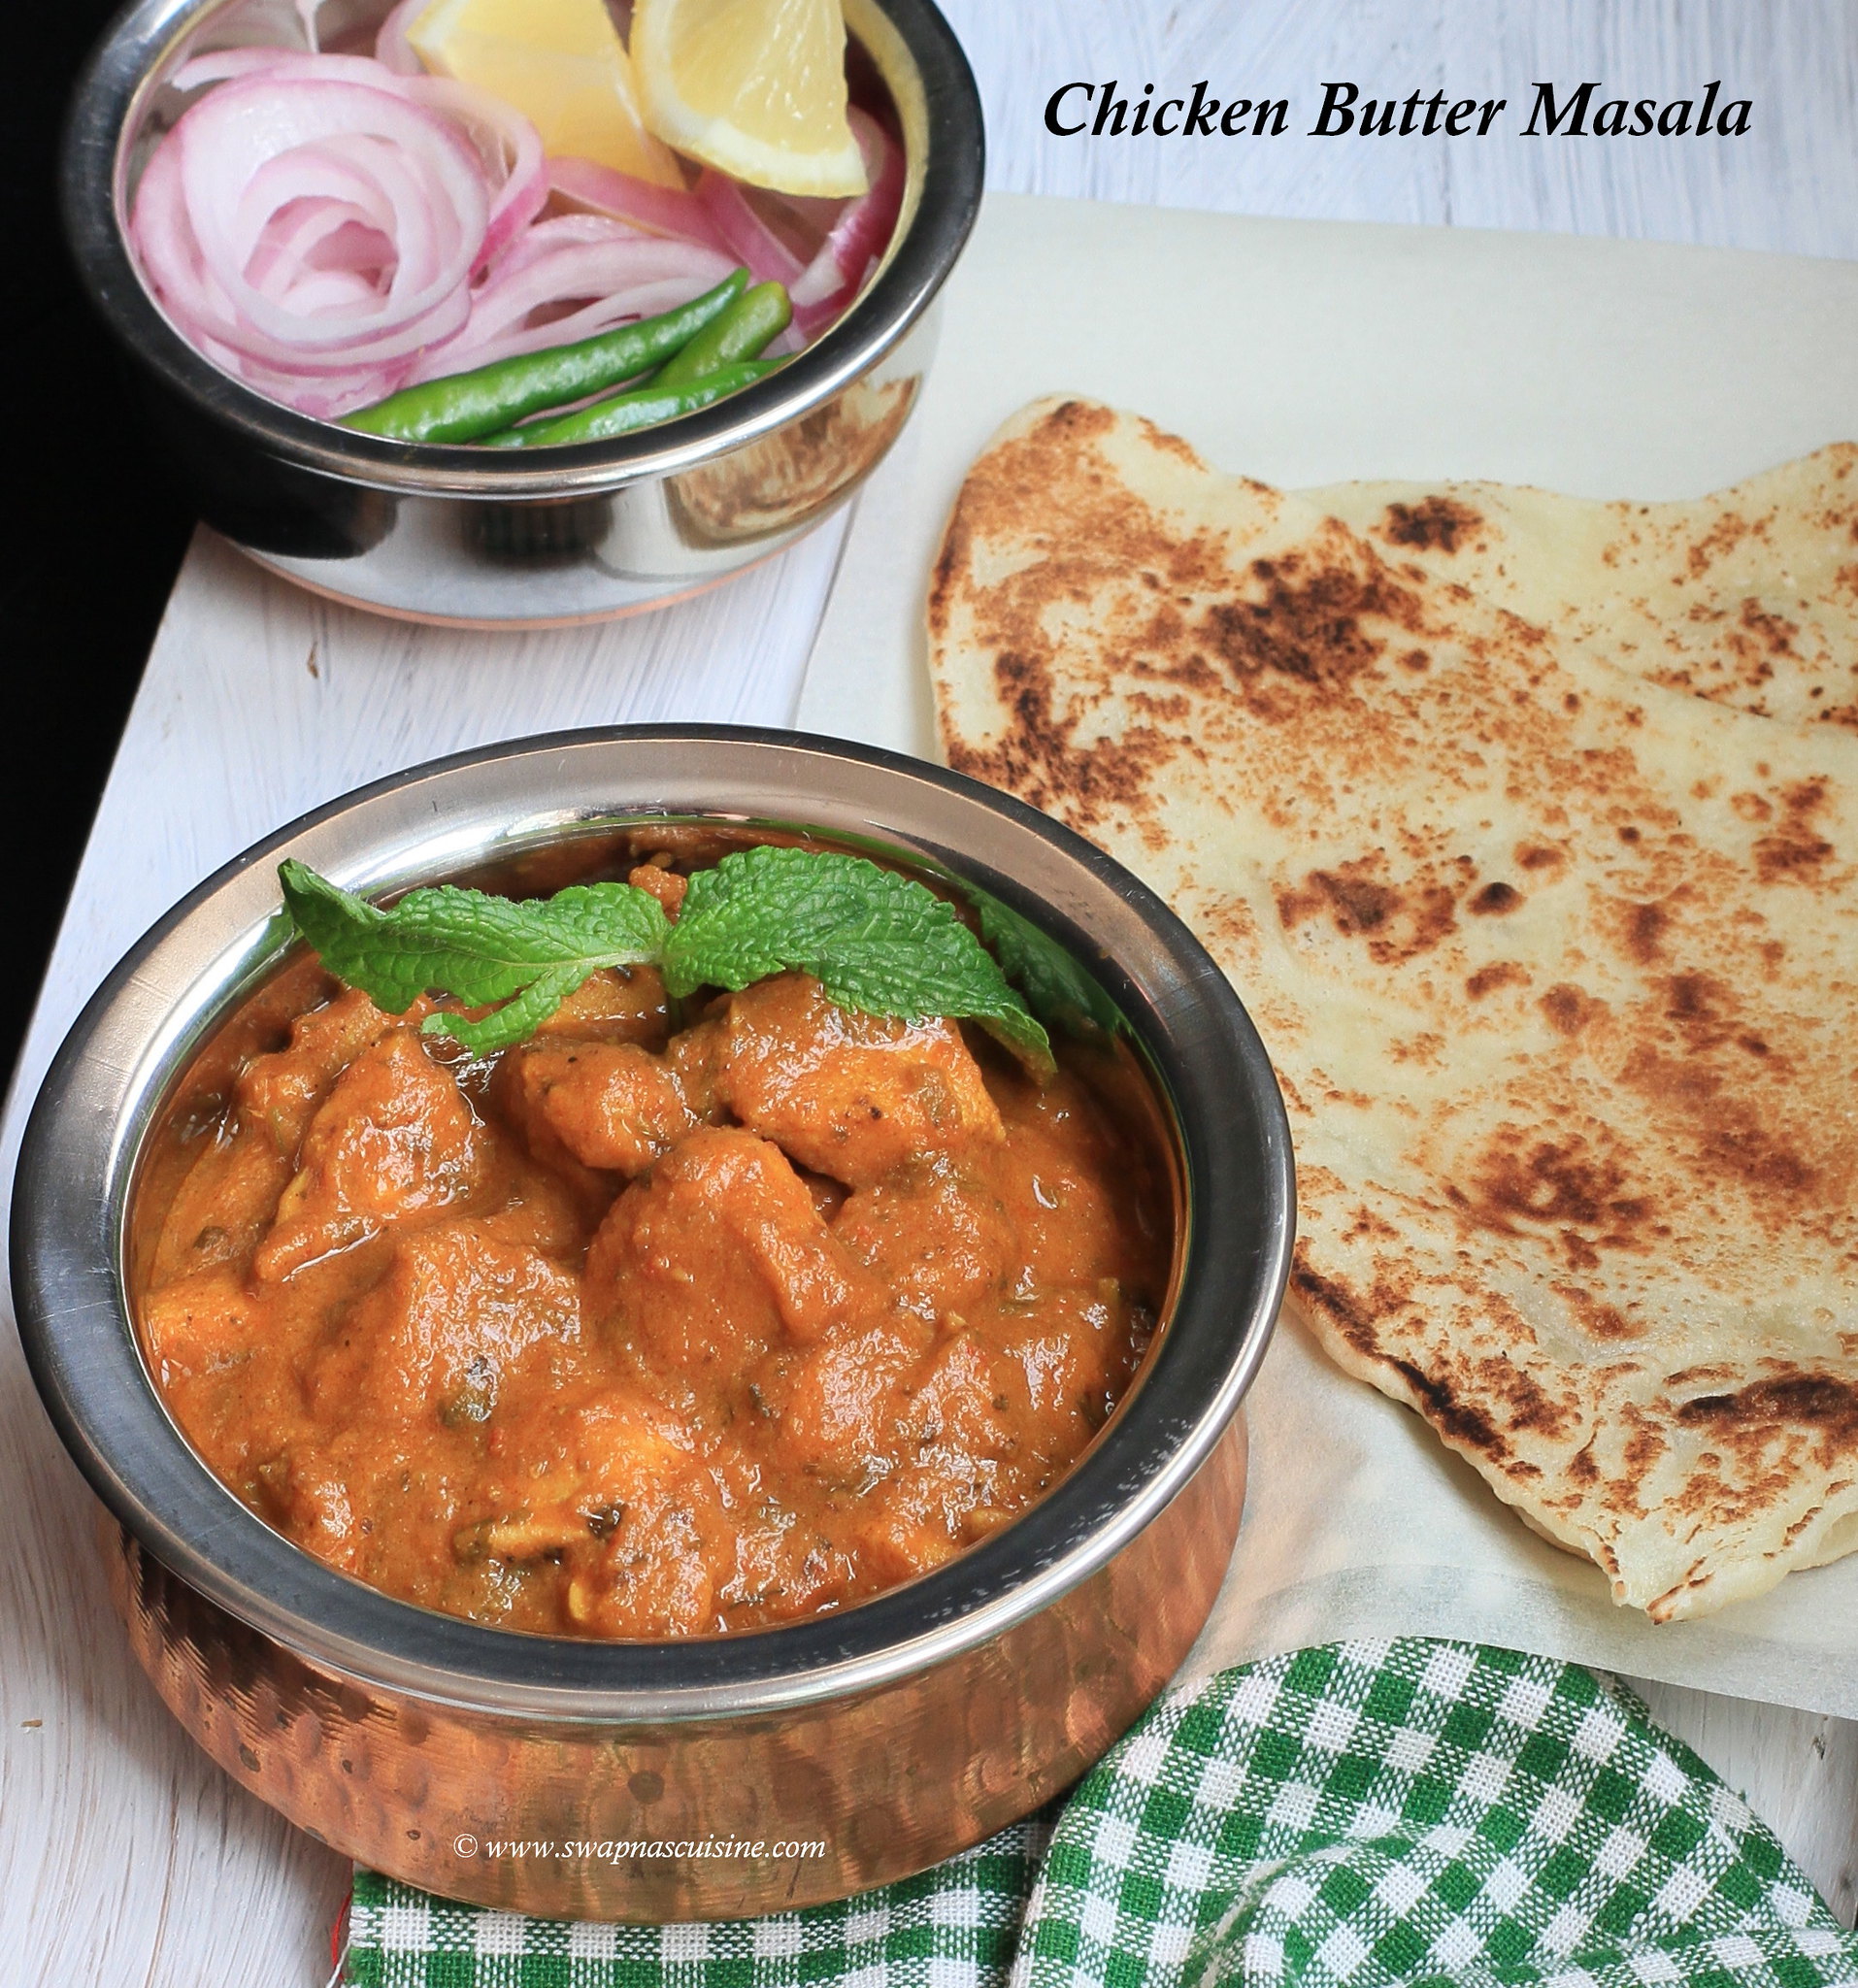
Chicken Butter Masala / Murgh Makhani Masala Recipe

Panjabi chicken Butter Masala Recipe


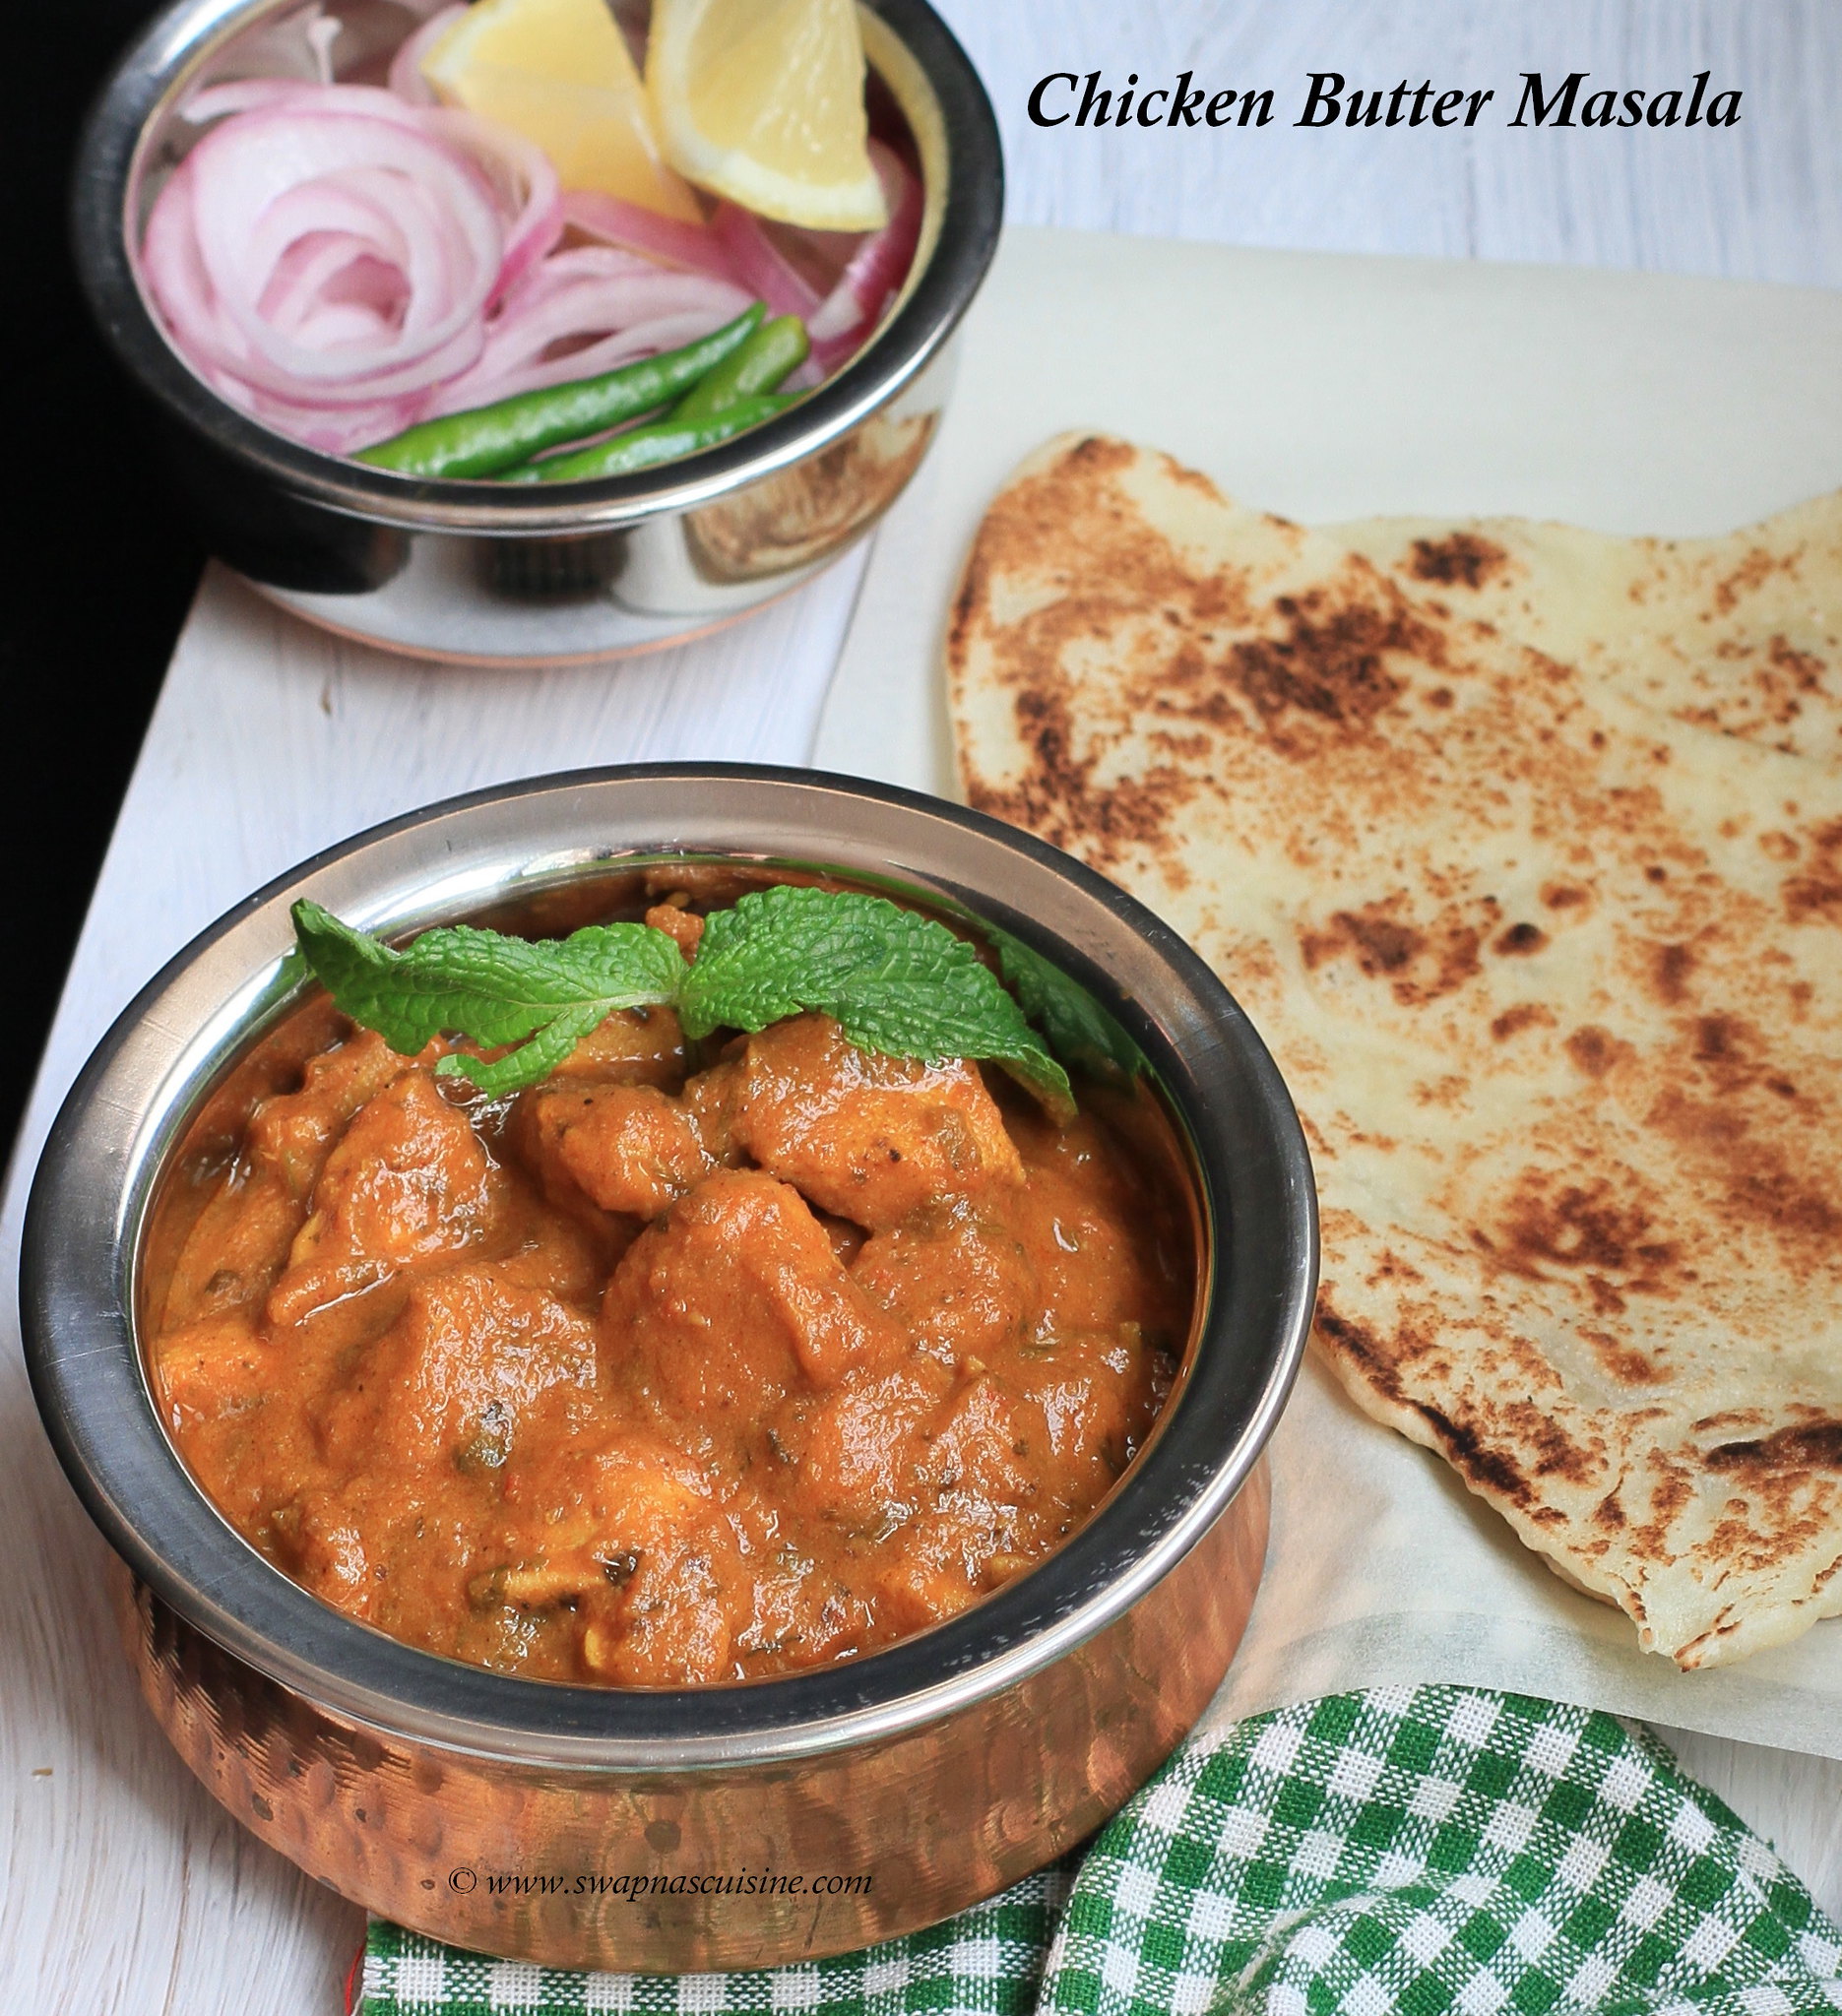
Chicken Butter Masala is a healthier version of Butter Chicken without compromising taste.... I adapted this recipe from the Paneer Butter Masala recipe I posted long back. This doesn’t have much cream or butter in it and we can reduce or completely omit it if you make this on a regular basis. Usually when I make it just for us, I never add cream and always reduce butter to half; trust me it still tastes great :)....

Murgh Makhani Masala Recipe


Chicken Butter Masala / Murgh Makhani Masala Recipe
Ingredients:
Chicken  - 500 gms cut into 1” cubes (I used boneless chicken)
Turmeric Powder - ½ tsp
Onion - 2 medium, sliced thin
Chilly powder - 2 tsp
Ginger paste - 1 ½  tsp
Garlic paste - 1 ½  tsp
Tomato - 2 big, pureed to a fine paste in a blender
Fresh Cream - ¼ cup
Cashew nuts - 25gm (soaked in little water & grind to a fine paste)
Garam masala - 1 tsp
Sugar - 1 tsp
Roasted Cumin powder / Jeera powder - ½ tsp
Fenugreek leaves /Kasoori methi leaves - 2 tsp
Salt to taste
Butter - 2tbsp
Oil -1 tbsp
Tomato sauce - 2 tbsp
Water - 1 ½ cups
Coriander leaves - ¼ cup, finely chopped
Red food colour - 2 drops (I didn’t use it)
Method:
  • Marinate chicken pieces with turmeric powder and little salt and keep aside for ½ hour. 
  • Heat 1 tbsp oil in a non-stick pan and add sliced onion and sauté until translucent and soft (no need to brown the onions). Grind the sautéed onions to a fine paste and keep aside.
  • Heat butter in a pan and add onion paste, ginger and garlic paste and sauté for 5 minutes. Lower the heat and add chilly powder and stir well. Add pureed tomato and tomato sauce and sauté well till the mixture becomes thick and oil starts separates from the masala.
  • Add marinated chicken pieces and sauté well for 6-8 minutes.
  • Add ground cashew nut paste, cumin powder, garam masala and kasoori methi leaves and salt.
  • Add 1 ½ cups of hot water and boil the mixture for 3 minutes. Add food colour if using. Reduce the heat and simmer the mixture for 10-15 minutes or until the gravy is little thick and chicken pieces are cooked well.
  • Finally add cream and coriander leaves mix well and turn off the heat. 
  • Serve hot with Indian flat breads or rice.

Monday, 28 November 2016

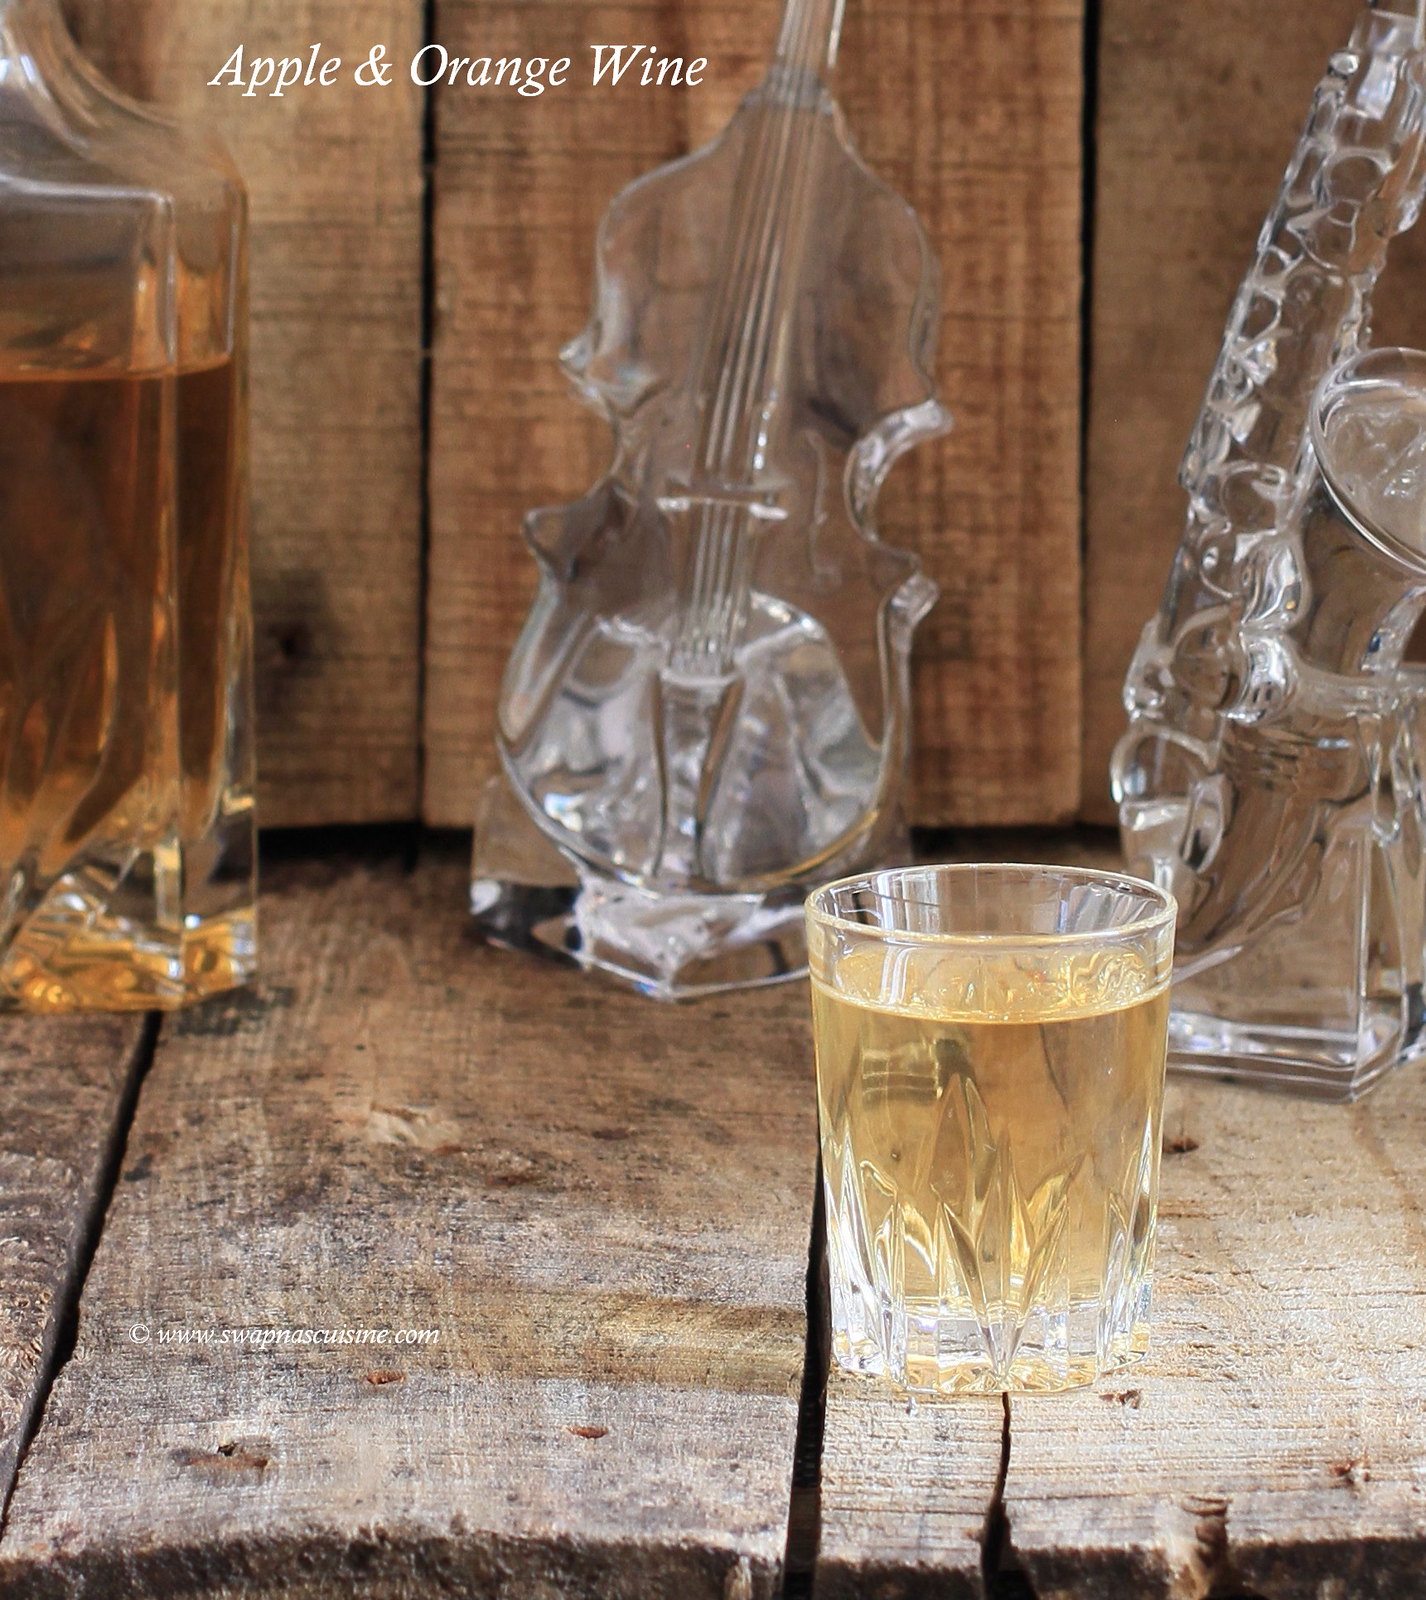
Apple & Orange Wine Recipe

How to make apple wine

Many of my readers have requested the recipe for Apple wine. Since Christmas is around the corner I hope you can try this at home. I thought combining few oranges along with Apples will enhance the taste of the wine and I was not wrong. This wine can be a little stubborn to clear, due to the high levels of pectin in apples, so you may require extra time and patience to get a clearer end result. I made this wine a year ago, hence it is crystal clear in the picture but please don’t expect that as soon as you make the wine. Please read my earlier post on Tipsfor wine making that will help you a lot if you are novice in the field of wine making.
  
Recipe for Apple Wine


Apple & Orange Wine 
Ingredients:
Apples - 1 kg
Oranges - ½ kg
Sugar - 750 gms
Yeast - ½ tsp
Water - 3 litres

Method:
  • Wash, core and chop apples into small pieces including the peel. (You can chop the apples in a food processor).
  • Wash the oranges, with a citrus peeler or vegetable peeler thinly peel the orange zest without the white part. Extract juice from the oranges and keep aside.
  • Boil sugar and water in a big vessel. Once the mixture boils, turn off the heat. Add chopped apples, orange juice and orange zest to the hot water-sugar mixture.
  • When the mixture becomes lukewarm, add yeast and transfer the mixture to a sterilized glass bottle / bharani, cover it and leave for 21 days stirring daily.
  • After 21 days, strain the mixture through a cheese/muslin cloth in to a clean dry bottle.
  • Keep this again for 21 days untouched. After 21 days strain the wine again, pour it in to clean dry bottles and use. 


Tuesday, 22 November 2016

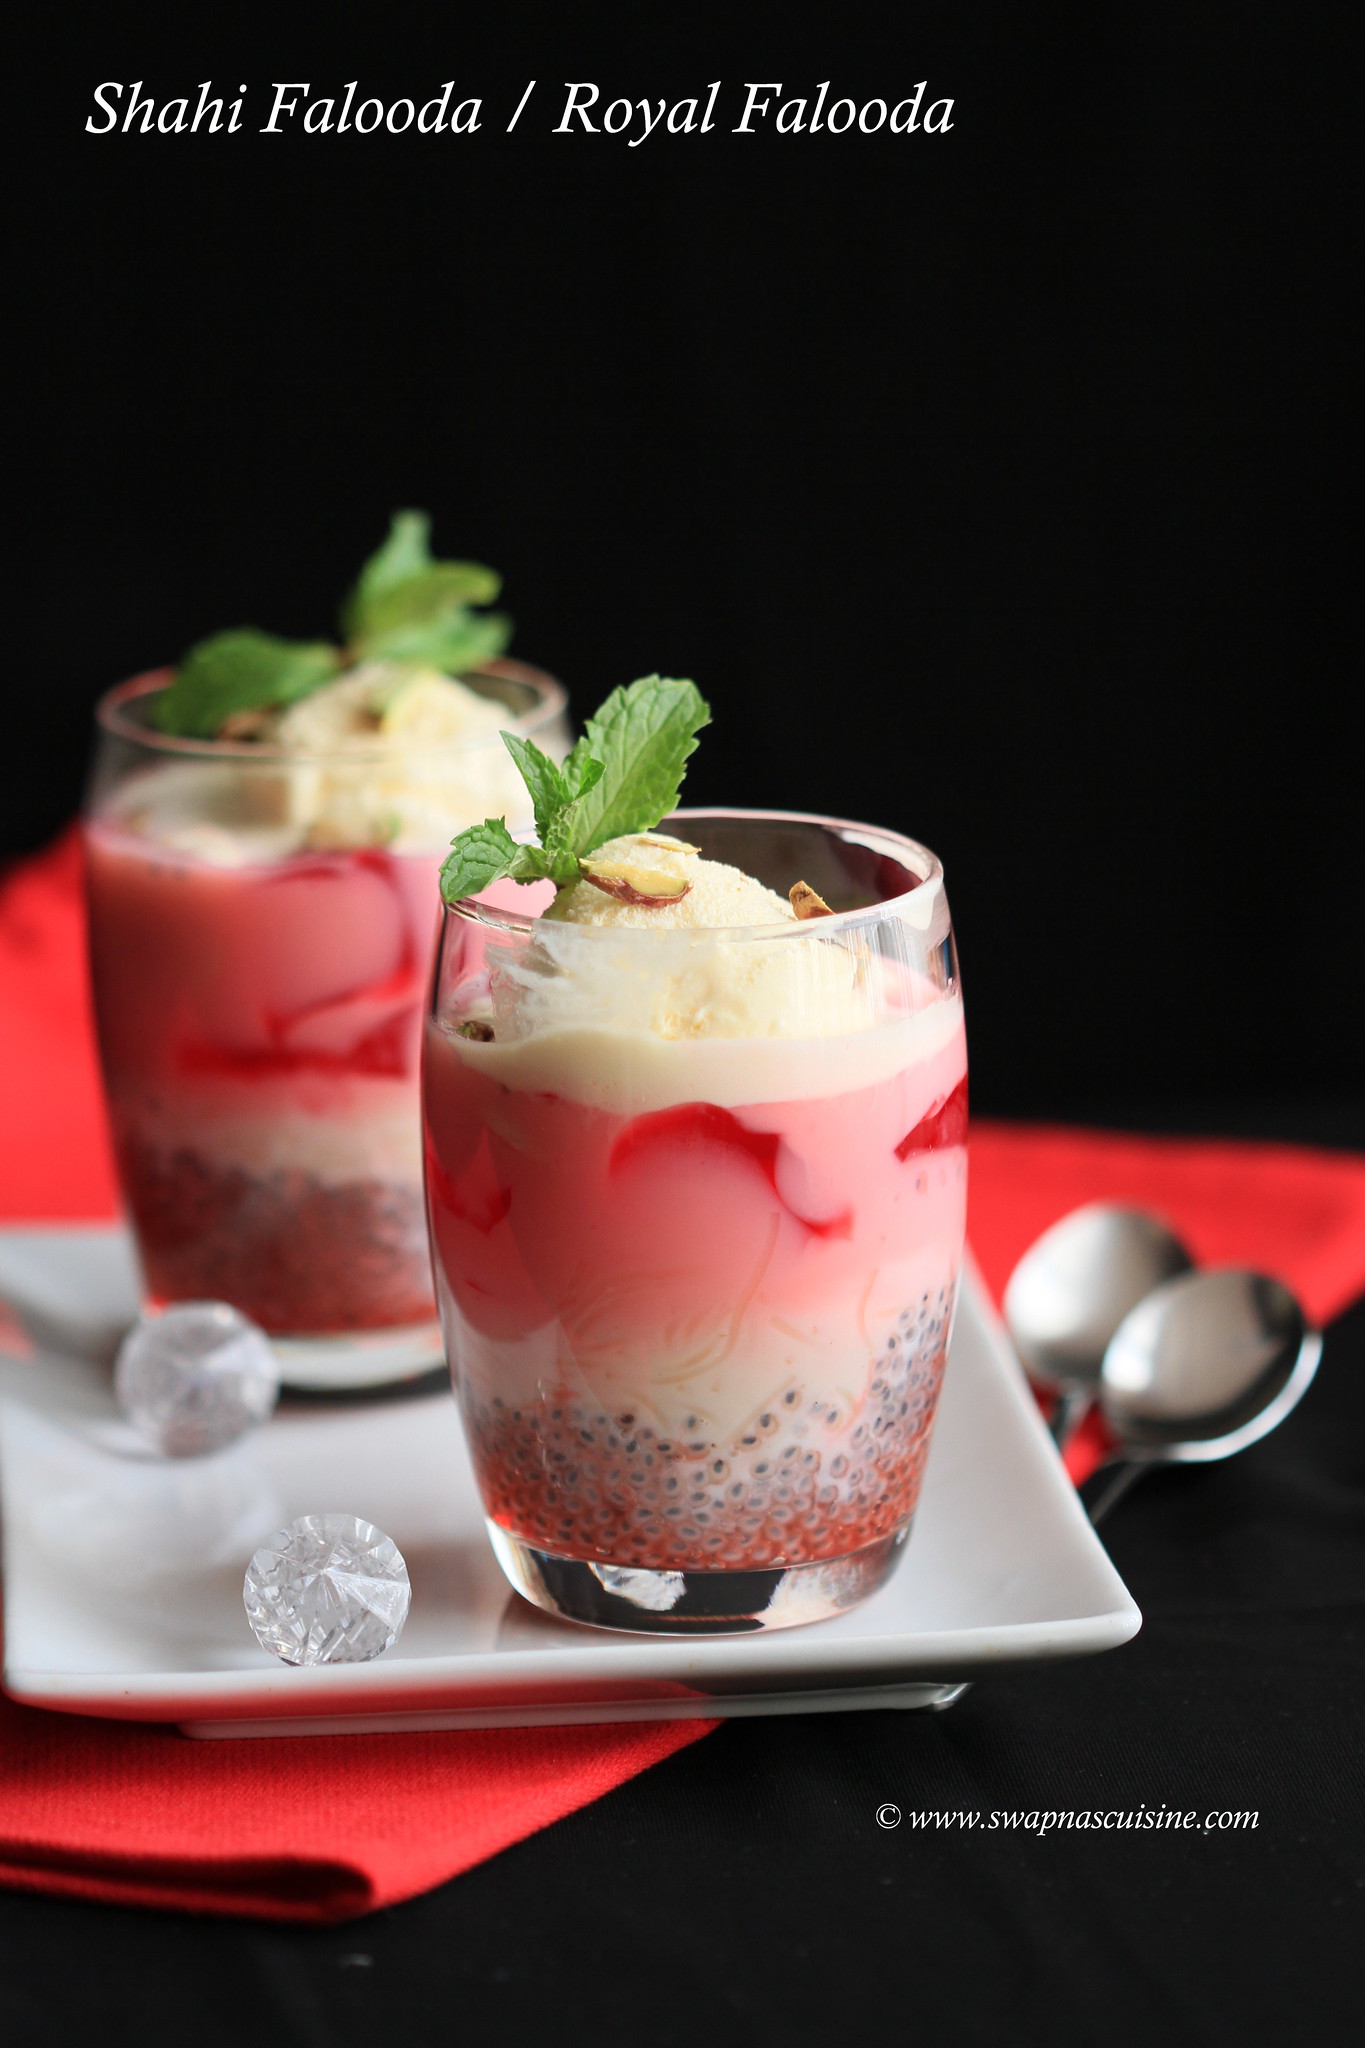
Shahi Falooda / Royal Falooda

Recipe for Shahi Falooda

Falooda is a popular Indian layered dessert with very different textures and components. The layers consist of rose syrup, vermicelli, tukmaria seeds, jelly, rose milk, fresh fruits and nuts and vanilla ice cream. The recipe and the process looks very elaborate but if you make all the things ahead of time it will be very easy to assemble just before serving. Tukmaria / Sabja seeds / sweet basil seeds are available in Indian stores and it is entirely different from Chia seeds. Tukmaria or sabja seeds are believed to have a lot of health benefits and you can read about it here.... There are a lot of different versions of Falooda recipes and I liked Ria’s version of vermicelli cooked in milk to a kheer than just boiling in water. So here is the recipe for one of the most beautiful looking desserts for you…

How to make Shahi Falooda


Shahi Falooda / Royal Falooda
Ingredients:
For the Vermicelli Payasam / Kheer:
½ cup Semiya / Vermicelli
2 cups milk
⅓ cup Sugar
¼ tsp cardamom powder

For the Rose Milk:
1 ½ cups cold milk
1 tsp sugar
2 tbsp Rooh-Afza / Rose Syrup

For the Tukmaria:
1 tbsp Tukmaria / Sabja seeds / Sweet Basil seeds
1 cup water

For Falooda:
1 packet Strawberry / Raspberry jelly / jello
2 tsp Rooh-Afza / Rose Syrup
Fruits of your choice like Straberries, banana, apple etc, chopped
Vanilla Ice Cream
Pistachios / Cashew Nuts / Almonds, to decorate
Mint Leaves to decorate

Method:
For the Vermicelli Payasam / Kheer:
Bring 2 cups milk to a boil, add ⅓ cup sugar and ½ cup Semiya / Vermicelli and cook till the vermicelli is soft and the mixture is thickened, stirring often.  Add cardamom powder, mix well and turn off the heat. Chill until use.

For the Jelly:
Make jelly by following the instructions on the packet. Cool and refrigerate. Once cool, cut into small cubes and set aside.

For the Rose Milk:
Add 2 tbsp Rooh-Afza and 1 tbsp sugar to 1 ½ cups cold milk and chill till needed.

For the Tukmaria:
Soak Tukmaria / sabja seeds / Sweet Basil seeds in 1 cup water for 20 minutes and allow to bloom. Drain the water and set aside.

To Assemble Falooda:
In a tall glass add a tea spoon of Rooh-Afza / Rose Syrup, followed by 2 tsp of tukmaria, a couple of table spoons of vermicelli kheer, chopped fruits and jelly cubes. Pour some rose milk to cover the assembly. Top with a scoop of vanilla ice cream and garnish with sliced nuts and mint leaves and serve immediately.


Wednesday, 16 November 2016

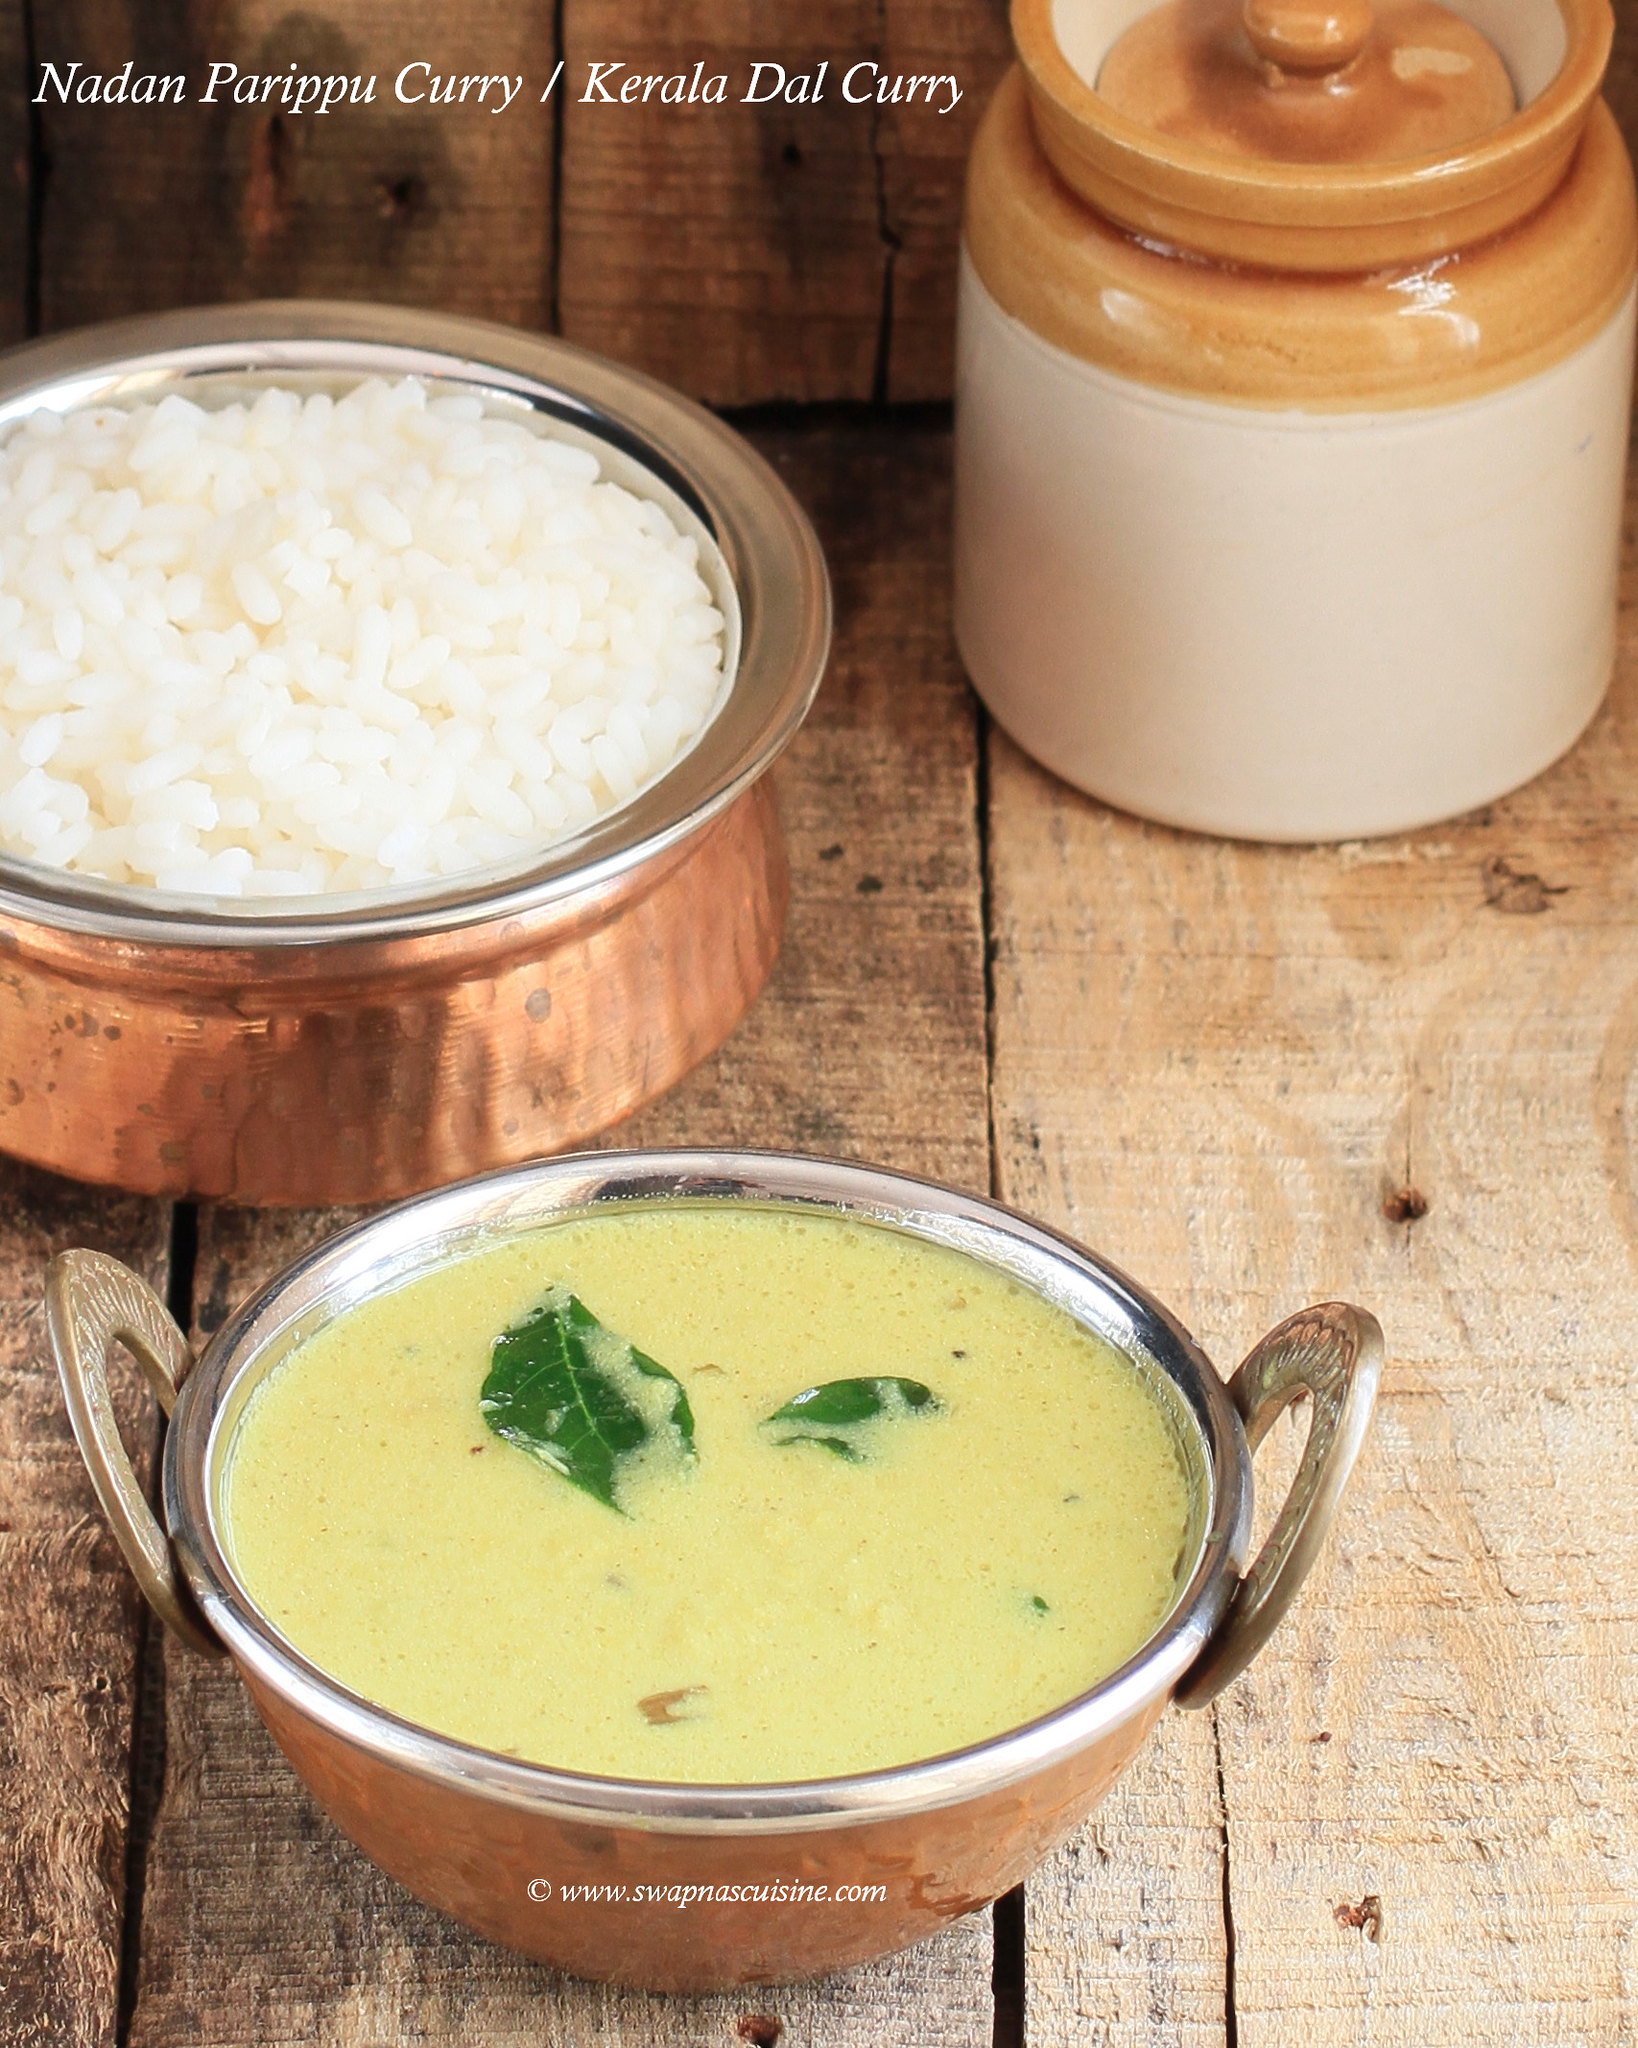
Nadan Parippu Curry / Kerala Dal Curry

Kerala Dal Curry

Parippu curry is a typical Kerala side dish for rice and also one of the main dish of Kerala Sadya or Onam Sadya. I usually make parippu curry with toor dal, but some people make it with Moong dal (cherupayar parippu / split yellow gram). If using moong dal, you have to dry roast it first to enhance the flavour and then cook in a pressure cooker.  If Parippu curry is served with hot rice, pappad and ghee you don’t need any other curry for rice.
Recipe for Kerala Parippu Curry


Nadan Parippu Curry / Kerala Dal Curry
Ingredients:
Toor Dal / Thuvara Parippu - 1 cup
A pinch of turmeric powder
Grind Together:
Grated Coconut - ½ cup
Cumin seeds / Jeerakom - ½ tsp
Shallots / Chumannulli - 2
Garlic – 1 clove
Green Chillies - 3-4
For Tempering:
Coconut Oil - 2 tsp
Ghee -2 tsp
Mustard Seeds / Kaduku - ½ tsp
Shallots / Chumannulli - 2, sliced
Curry Leaves - 2 strands
Red Chillies - 2, torn into 2 pieces
Method:
  • Grind coconut with the rest of the ingredients adding 3 to 4 table spoons water to a smooth paste and keep aside.
  • Pressure cook washed toor dal with 3 cups of water and a pinch of turmeric powder for 8 whistles on medium flame.  Once done, mash well to a smooth paste with the back of a spoon.
  • Add ground paste, salt and enough water to the mashed dal. Let it cook on low flame for 5-8 mins. Remove from heat.
  • Heat oil and ghee in another pan and splutter mustard seeds. Add small onion, curry leaves and red chillies. Fry till small onion becomes golden brown. Remove from fire and pour everything over cooked dal. Mix well.
  • Serve with rice and pappad and a drizzle of some ghee.

Monday, 24 October 2016

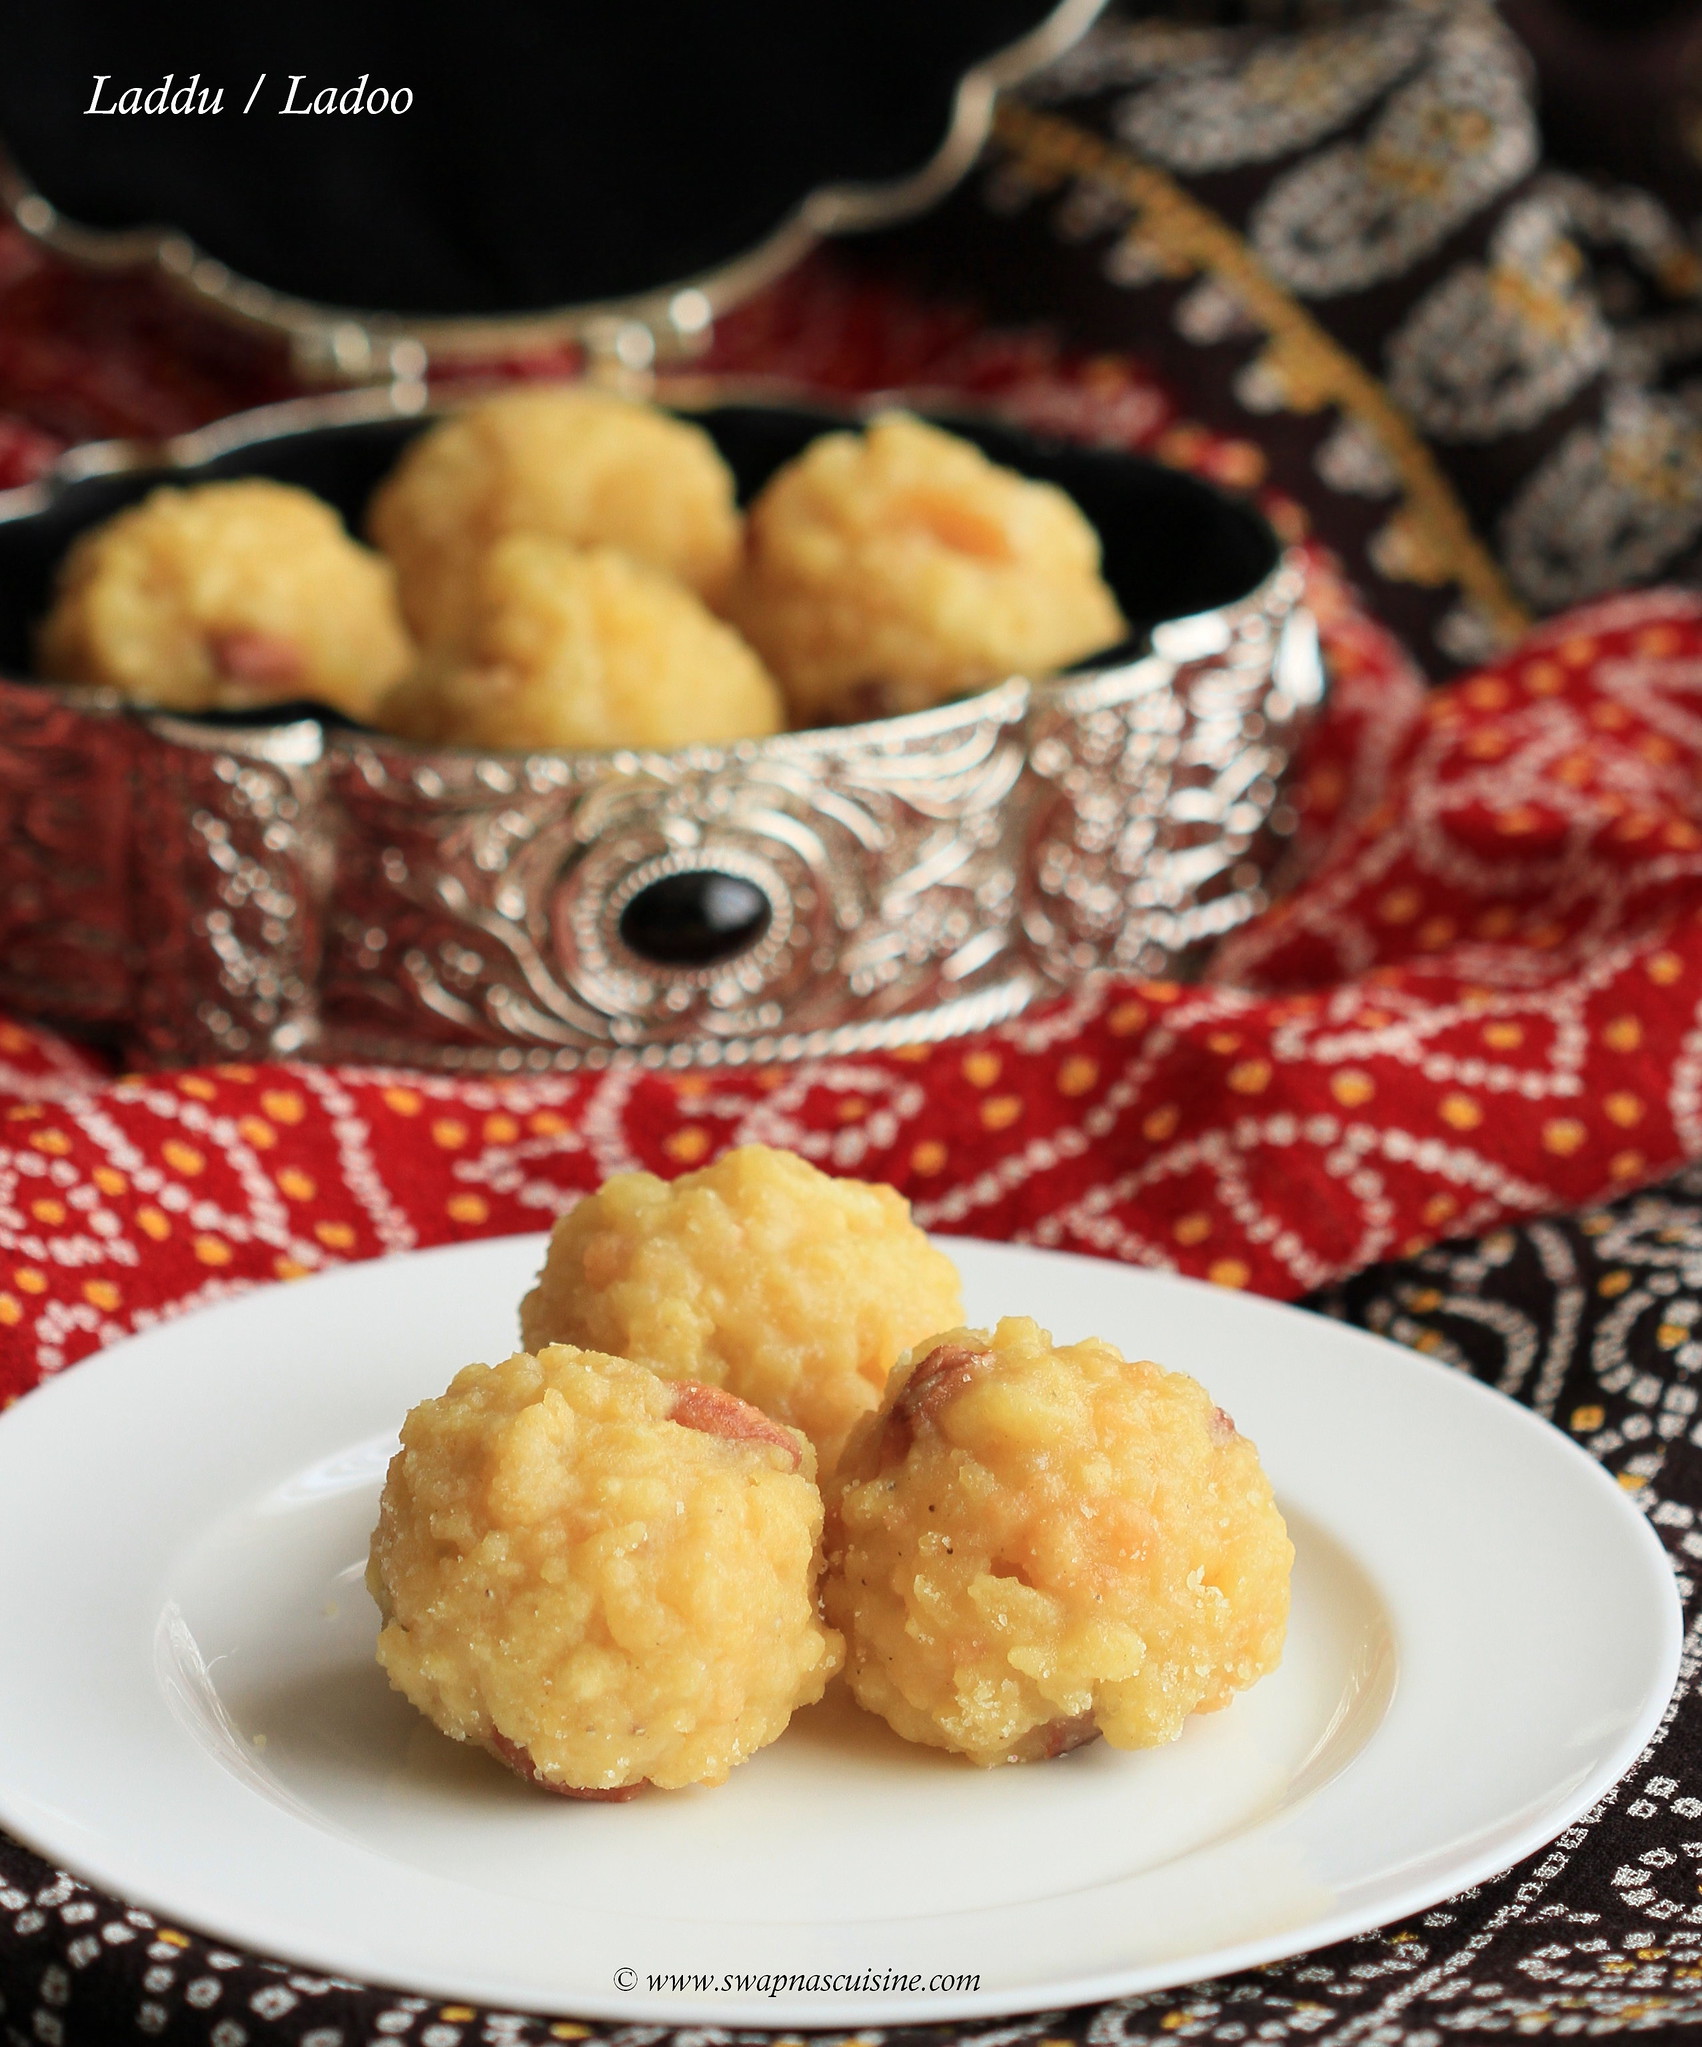
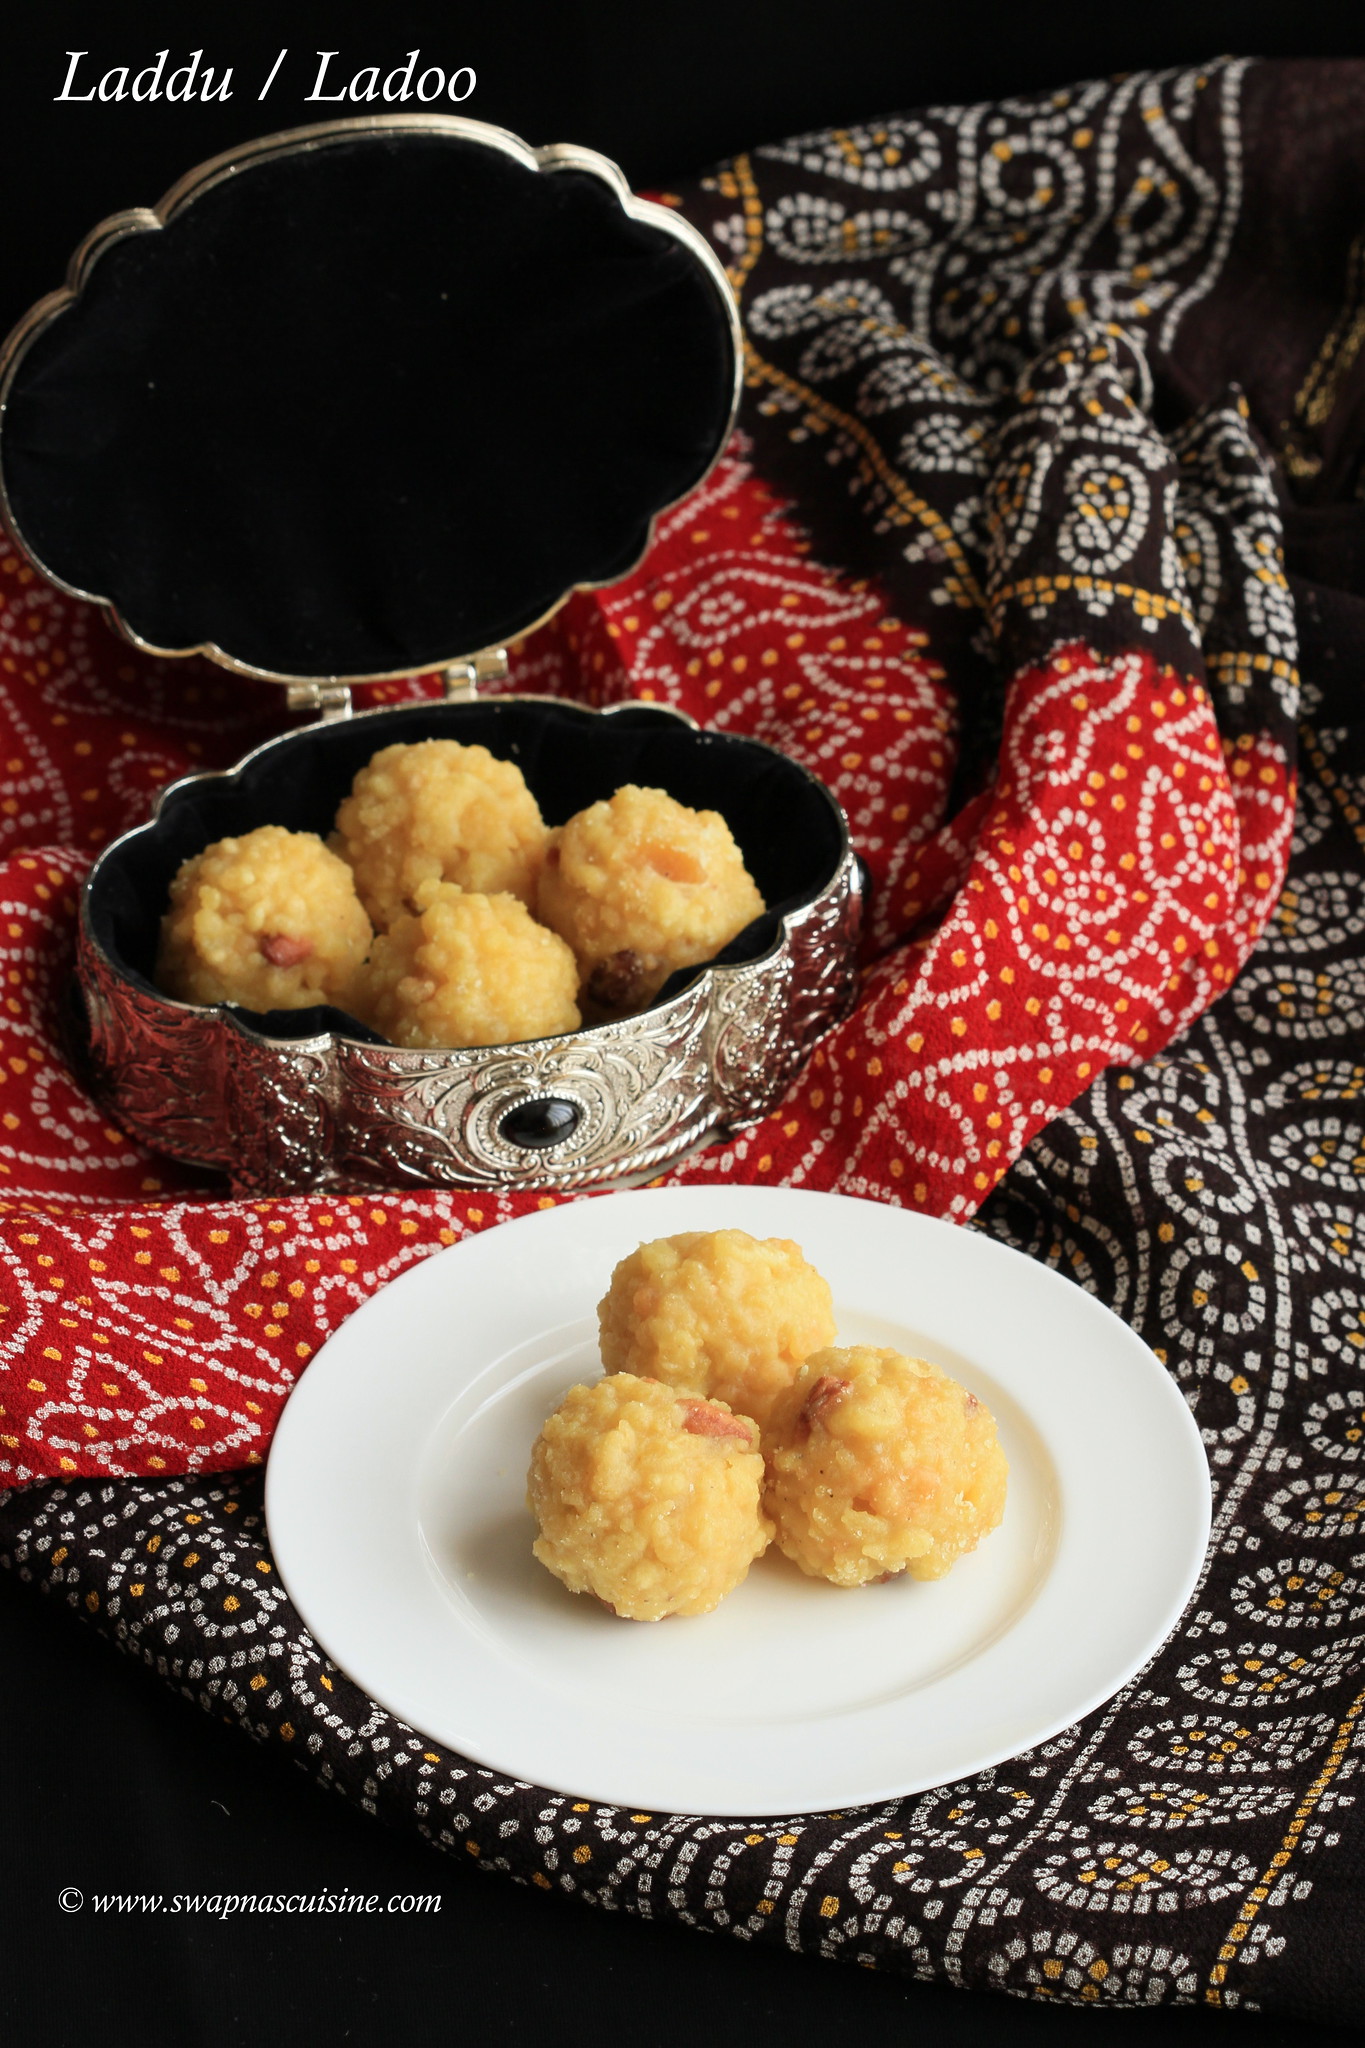
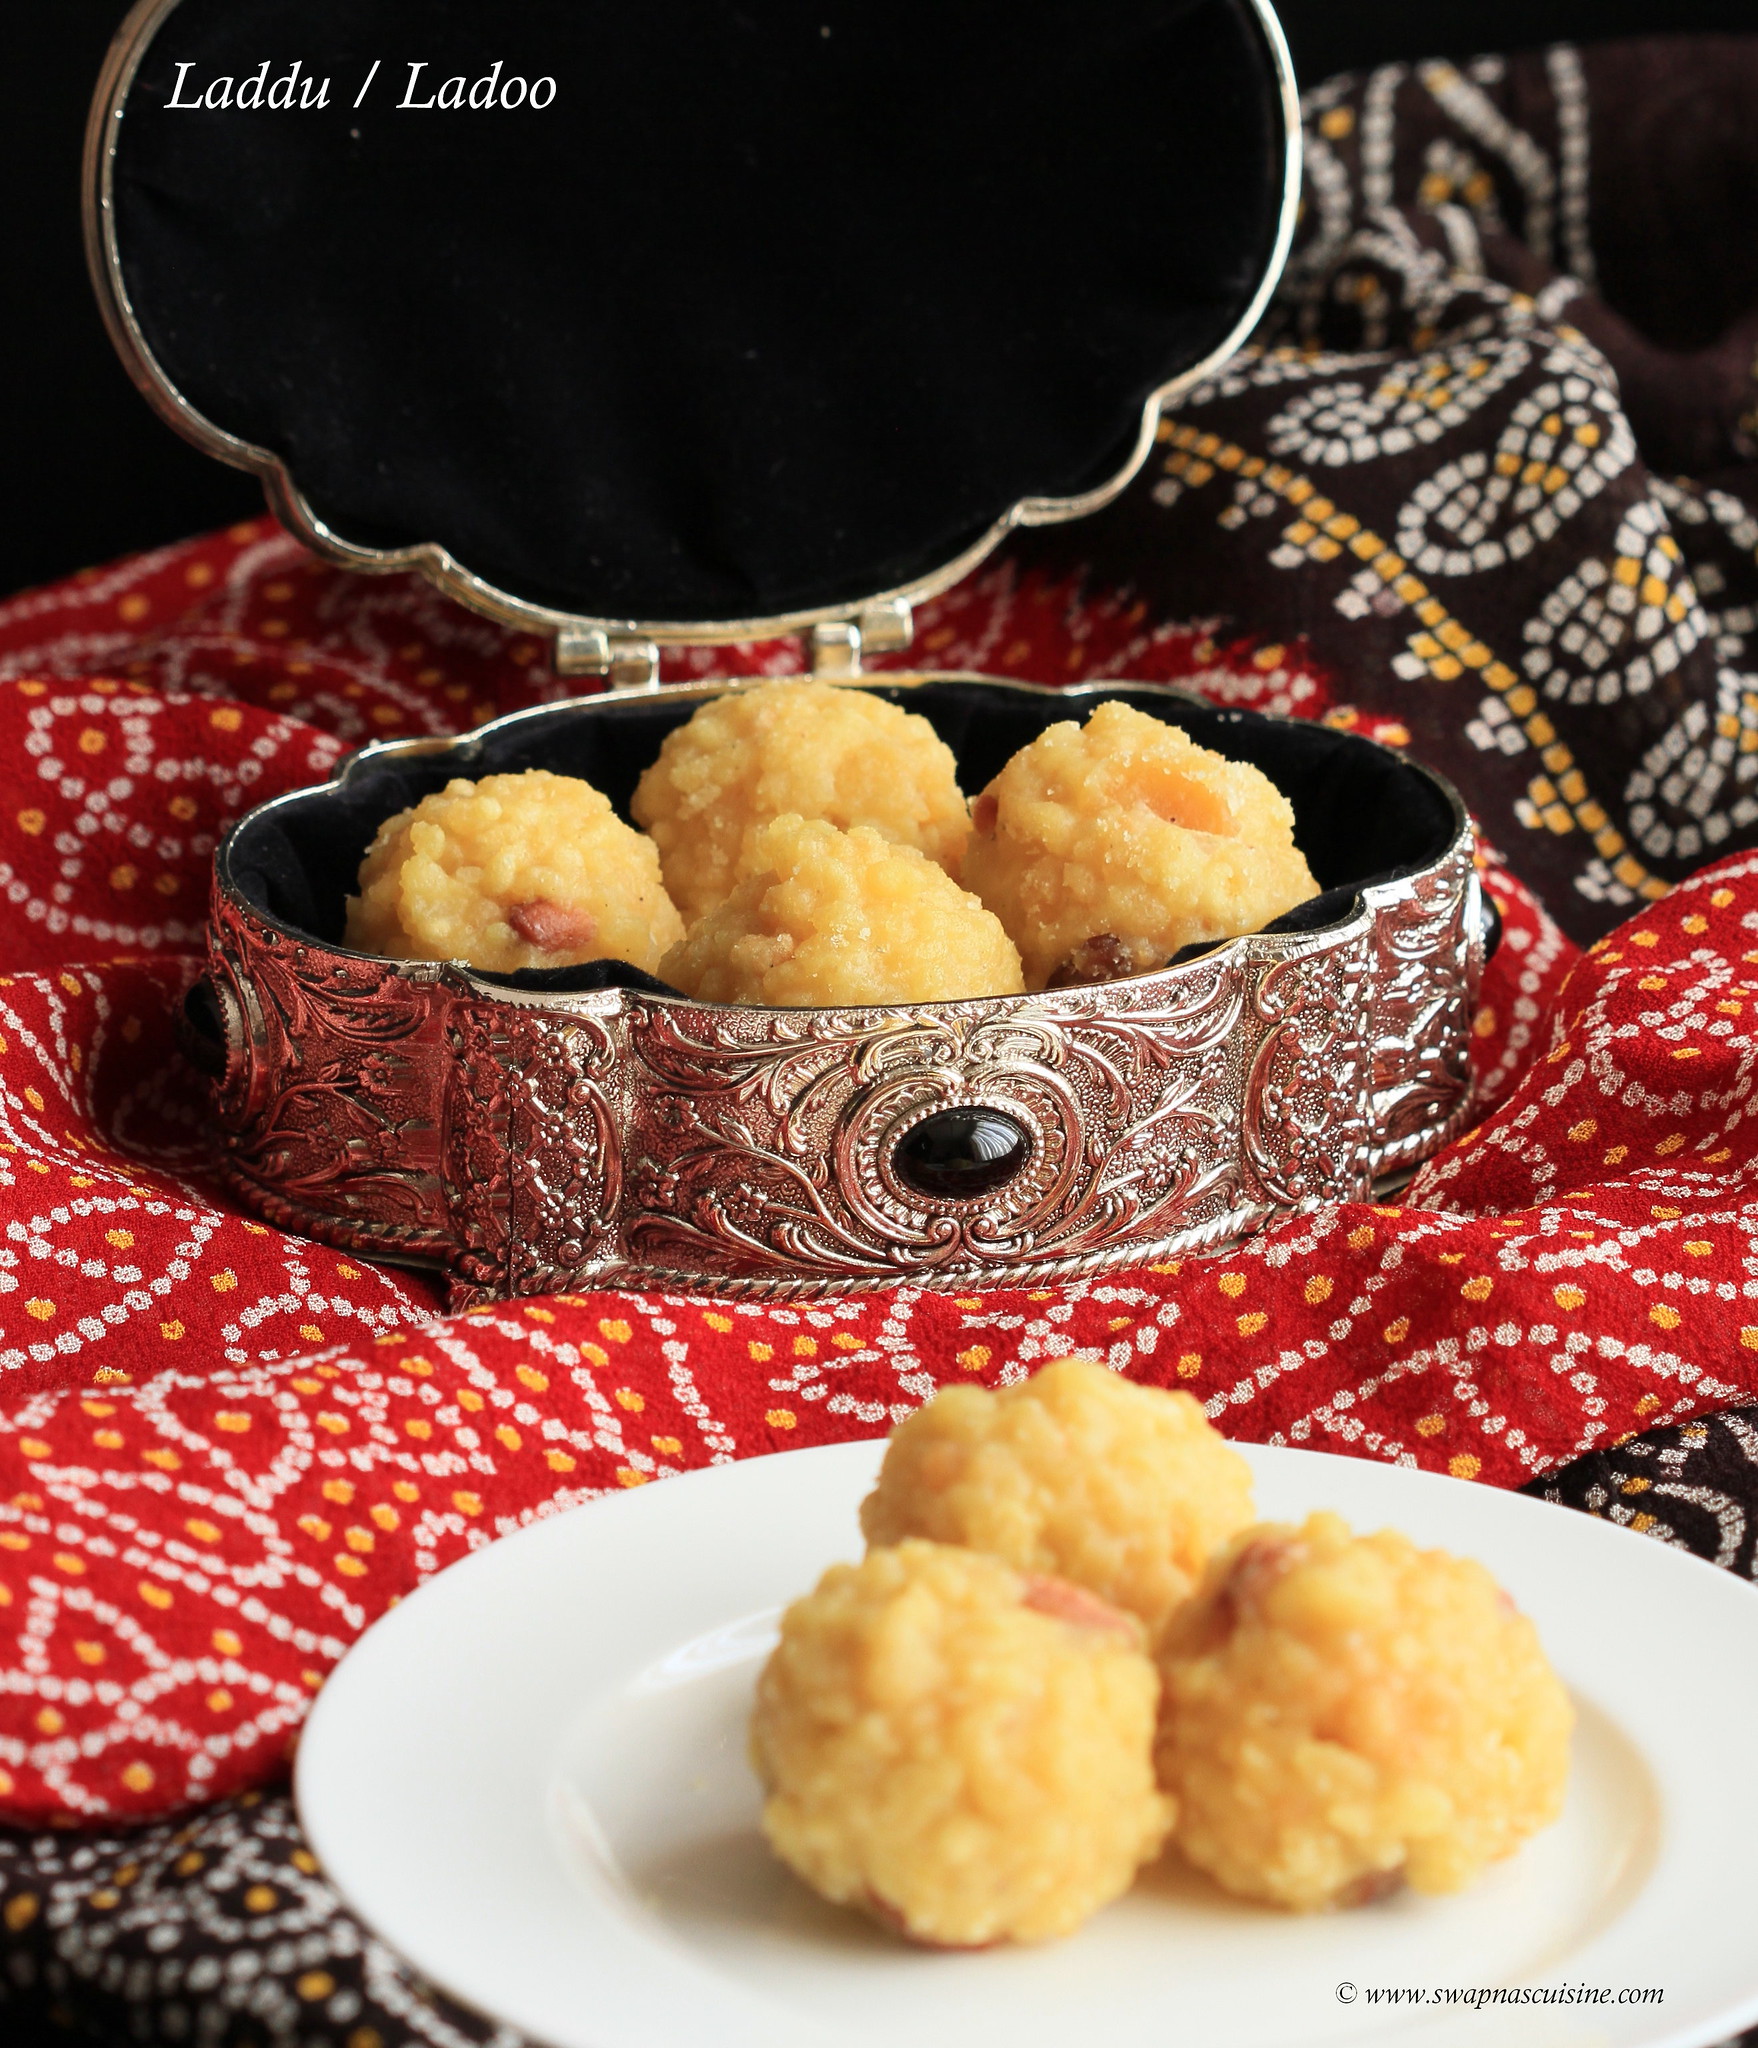
Kerala Style Ladoo / Laddu Recipe

How to make Kerala Lodoo recipe at home


Here at home all three of us love Ladoo. The only difference is my son and I love the soft and dry Kerala style ladoo and my hubby is a fan of the soft and soggy Motichoor ladoo from North India :) :).... Whenever we try store bought ladoos, we find something or the other that does not appeal to our taste buds. Finally I started making Ladoos at home and I find it far better than the colour loaded, oil tasting Ladoos that we get from the store. Now I have completely stopped buying Ladoos and have started making it at home whenever the craving starts. It’s simple, so do try theses Ladoos and share it with your friends and family this Diwali....

 Wishing You All A Very Happy, Prosperous and Safe Diwali!!!

Homemade Ladoo recipe

Kerala Style Ladoo / Laddu Recipe
(Around 35-40 small ladoos)
Ingredients:
For the boondi batter:
Bengal Gram flour/ Kadala Mavu / Besan - 2 cups
Water – around 1 ½ to 2 cups
For the sugar syrup:
Sugar - 2 ½ cups
Water - 1 ¼ cups
Cardamom powder – ½ tsp
Cloves -6 nos
Cashew nuts – 3 tbsp, chopped
Raisins – 2 tbsp
Ghee -2 tbsp
Kalkandom / Sugar Candy - 1 tbsp, broken into small pieces
Yellow food colour – as needed (optional)
Pacha karpooram / Edible Camphor – a small pinch (optional)
Oil for deep frying the boondis

Method:
  • For making Sugar Syrup: Melt sugar and water in a pan and keep stirring on medium fire till it reaches one thread consistency. Remove from fire and add cardamom powder, food colour and camphor mixed in a little water. Keep the syrup warm.
  • For making the Boondis: Mix gram flour with enough water to make a smooth pancake like batter.
  • Heat oil in a frying pan on medium heat.
  • Pour the batter through a dry perforated ladle or boondi plate and let the boondi fall into the boiling oil by gently spreading the batter with a spoon.
  • Drain the boondis before it gets browned and drop into the warm sugar syrup. Repeat with the rest of the batter.
  • Fry the cashew nuts, raisins and cloves in ghee and spread these with the ghee over the boondi.
  • Mix all the ingredients together pressing the boondis with the back of a spoon to absorb all the sugar syrup.
  • Add Kalkandom/ sugar candy and mix well.
  • To make ladoos, gently squeeze some of the warm boondi mixture between both palms and shape into Ladoos.
  • Ladoo will become firm when it cools down to room temperature. 

Notes:
  • Sugar syrup should be one thread consistency.
  • Gram flour batter should neither too thick nor too thin.
  • Wash perforated ladle or boondi plate and wipe it clean and dry before pouring the next batch of batter.

Recipe for Ladu

Tuesday, 18 October 2016

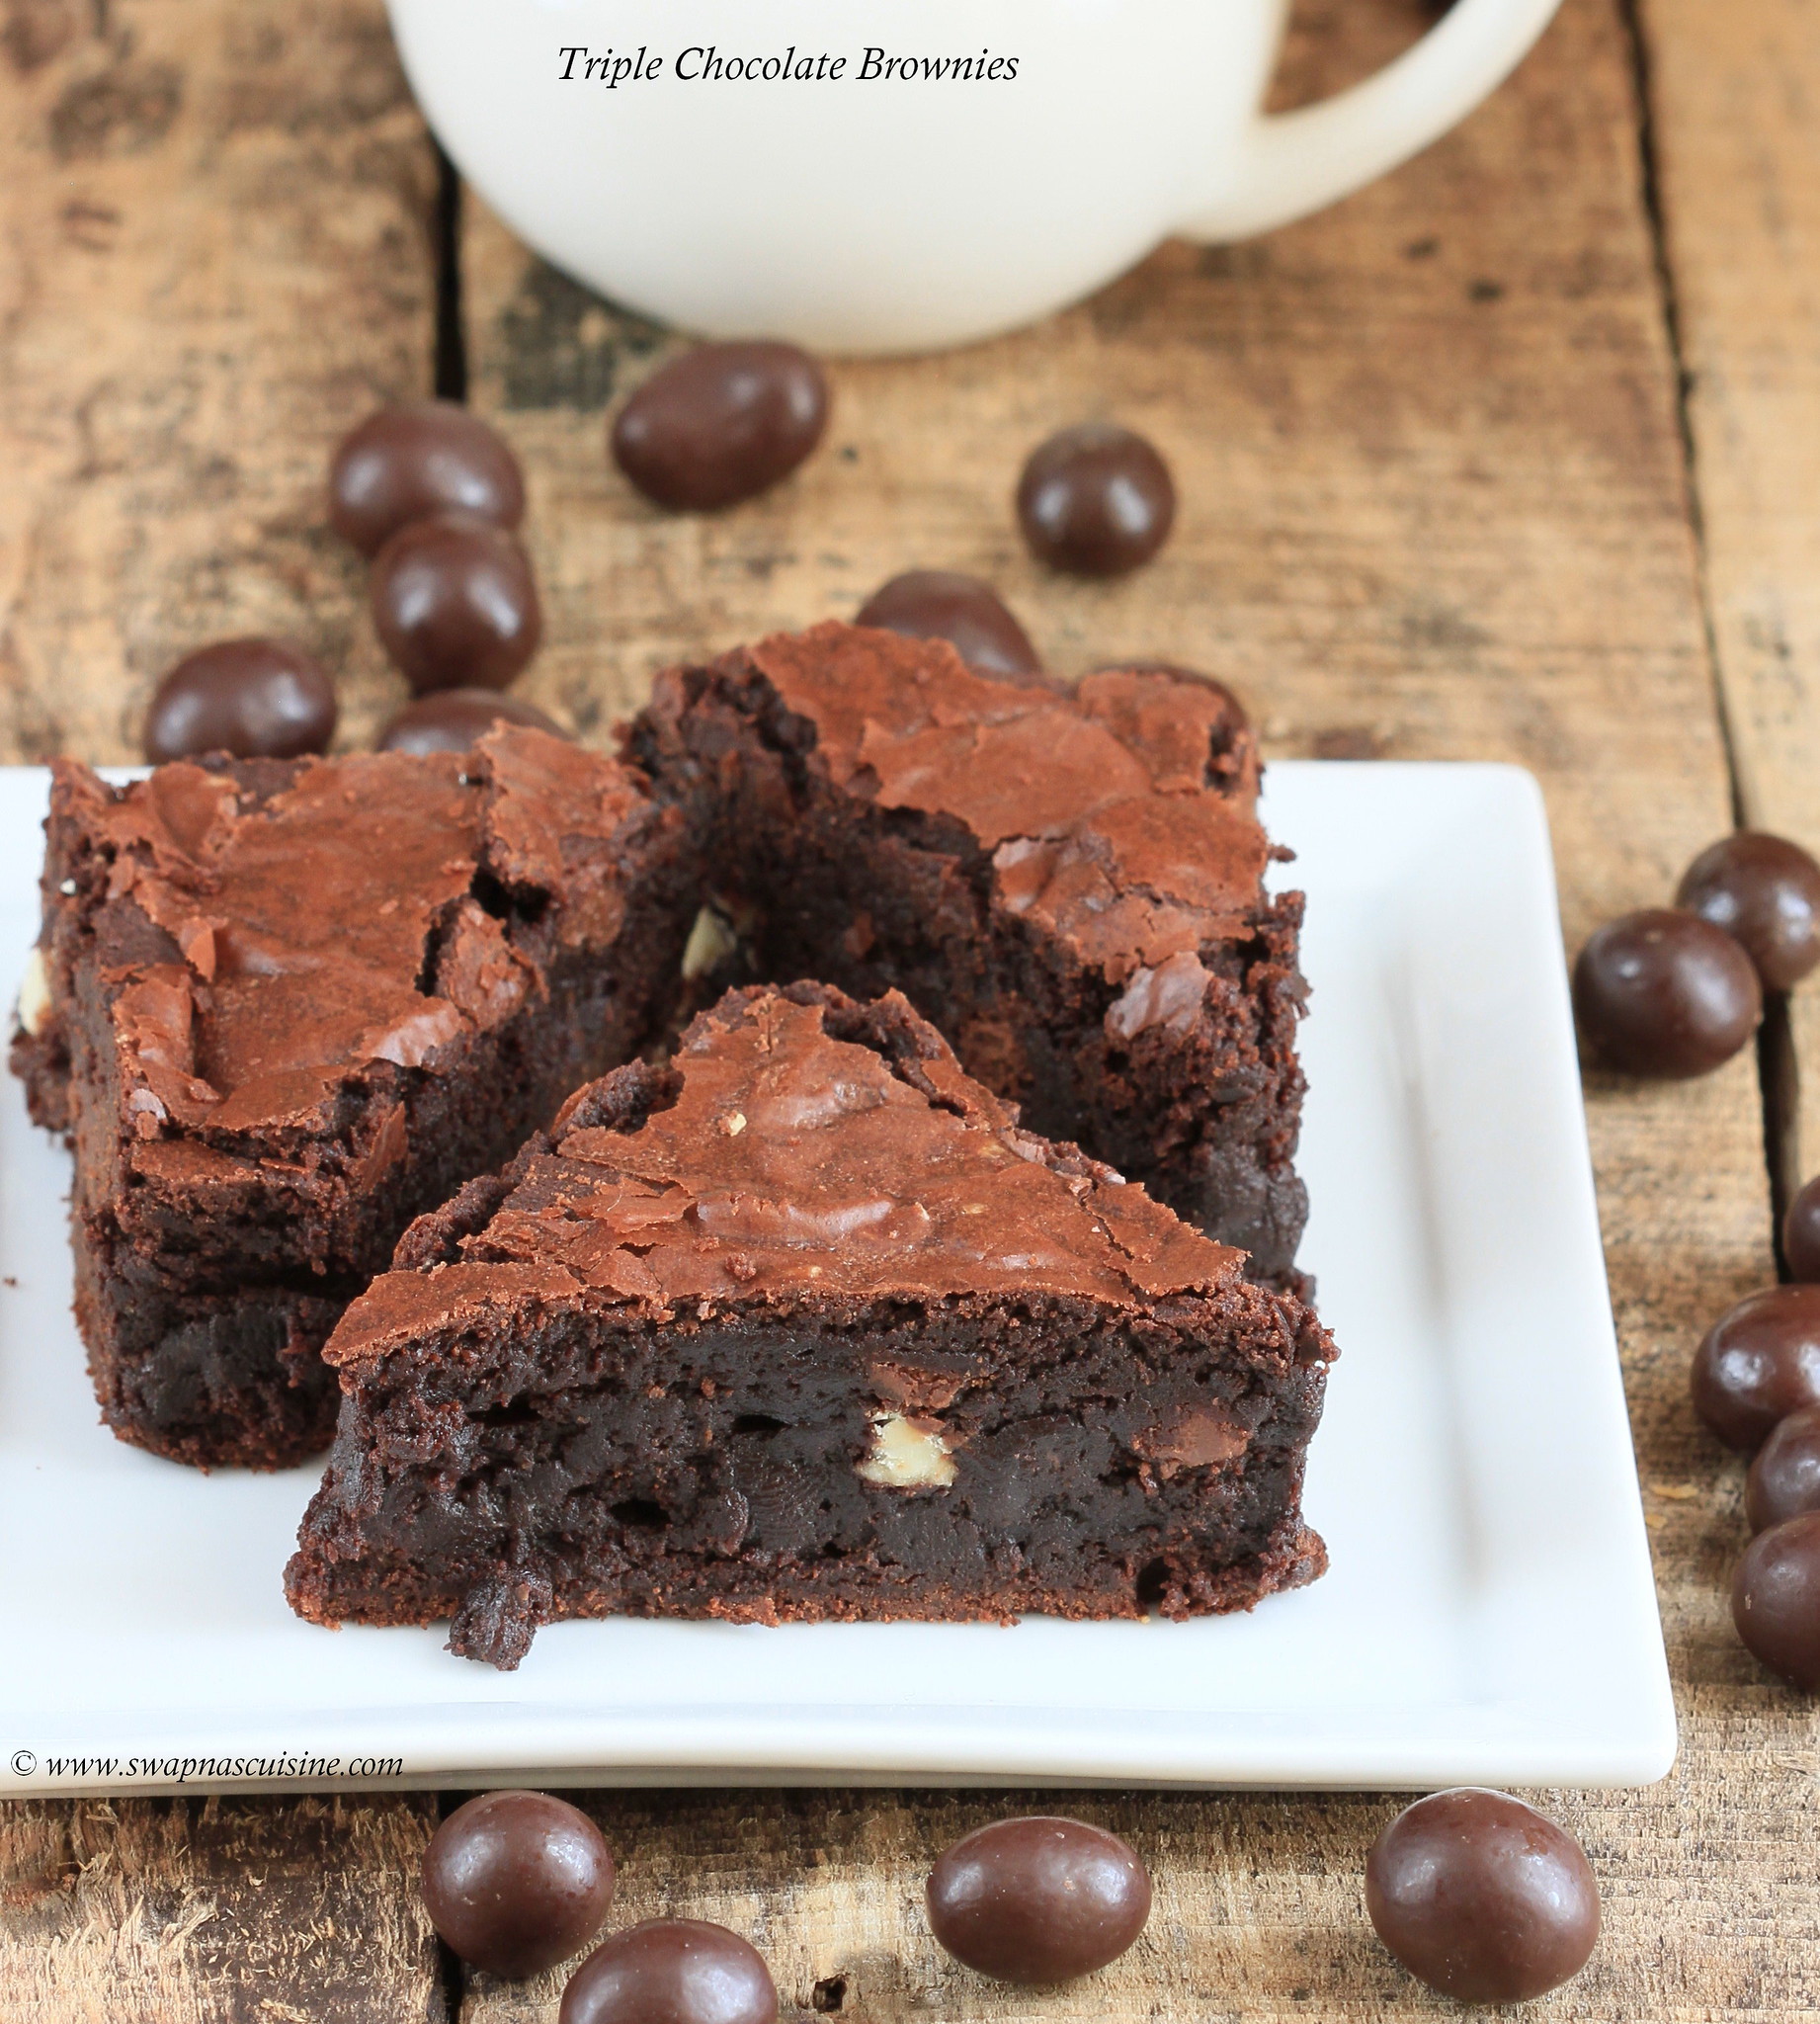
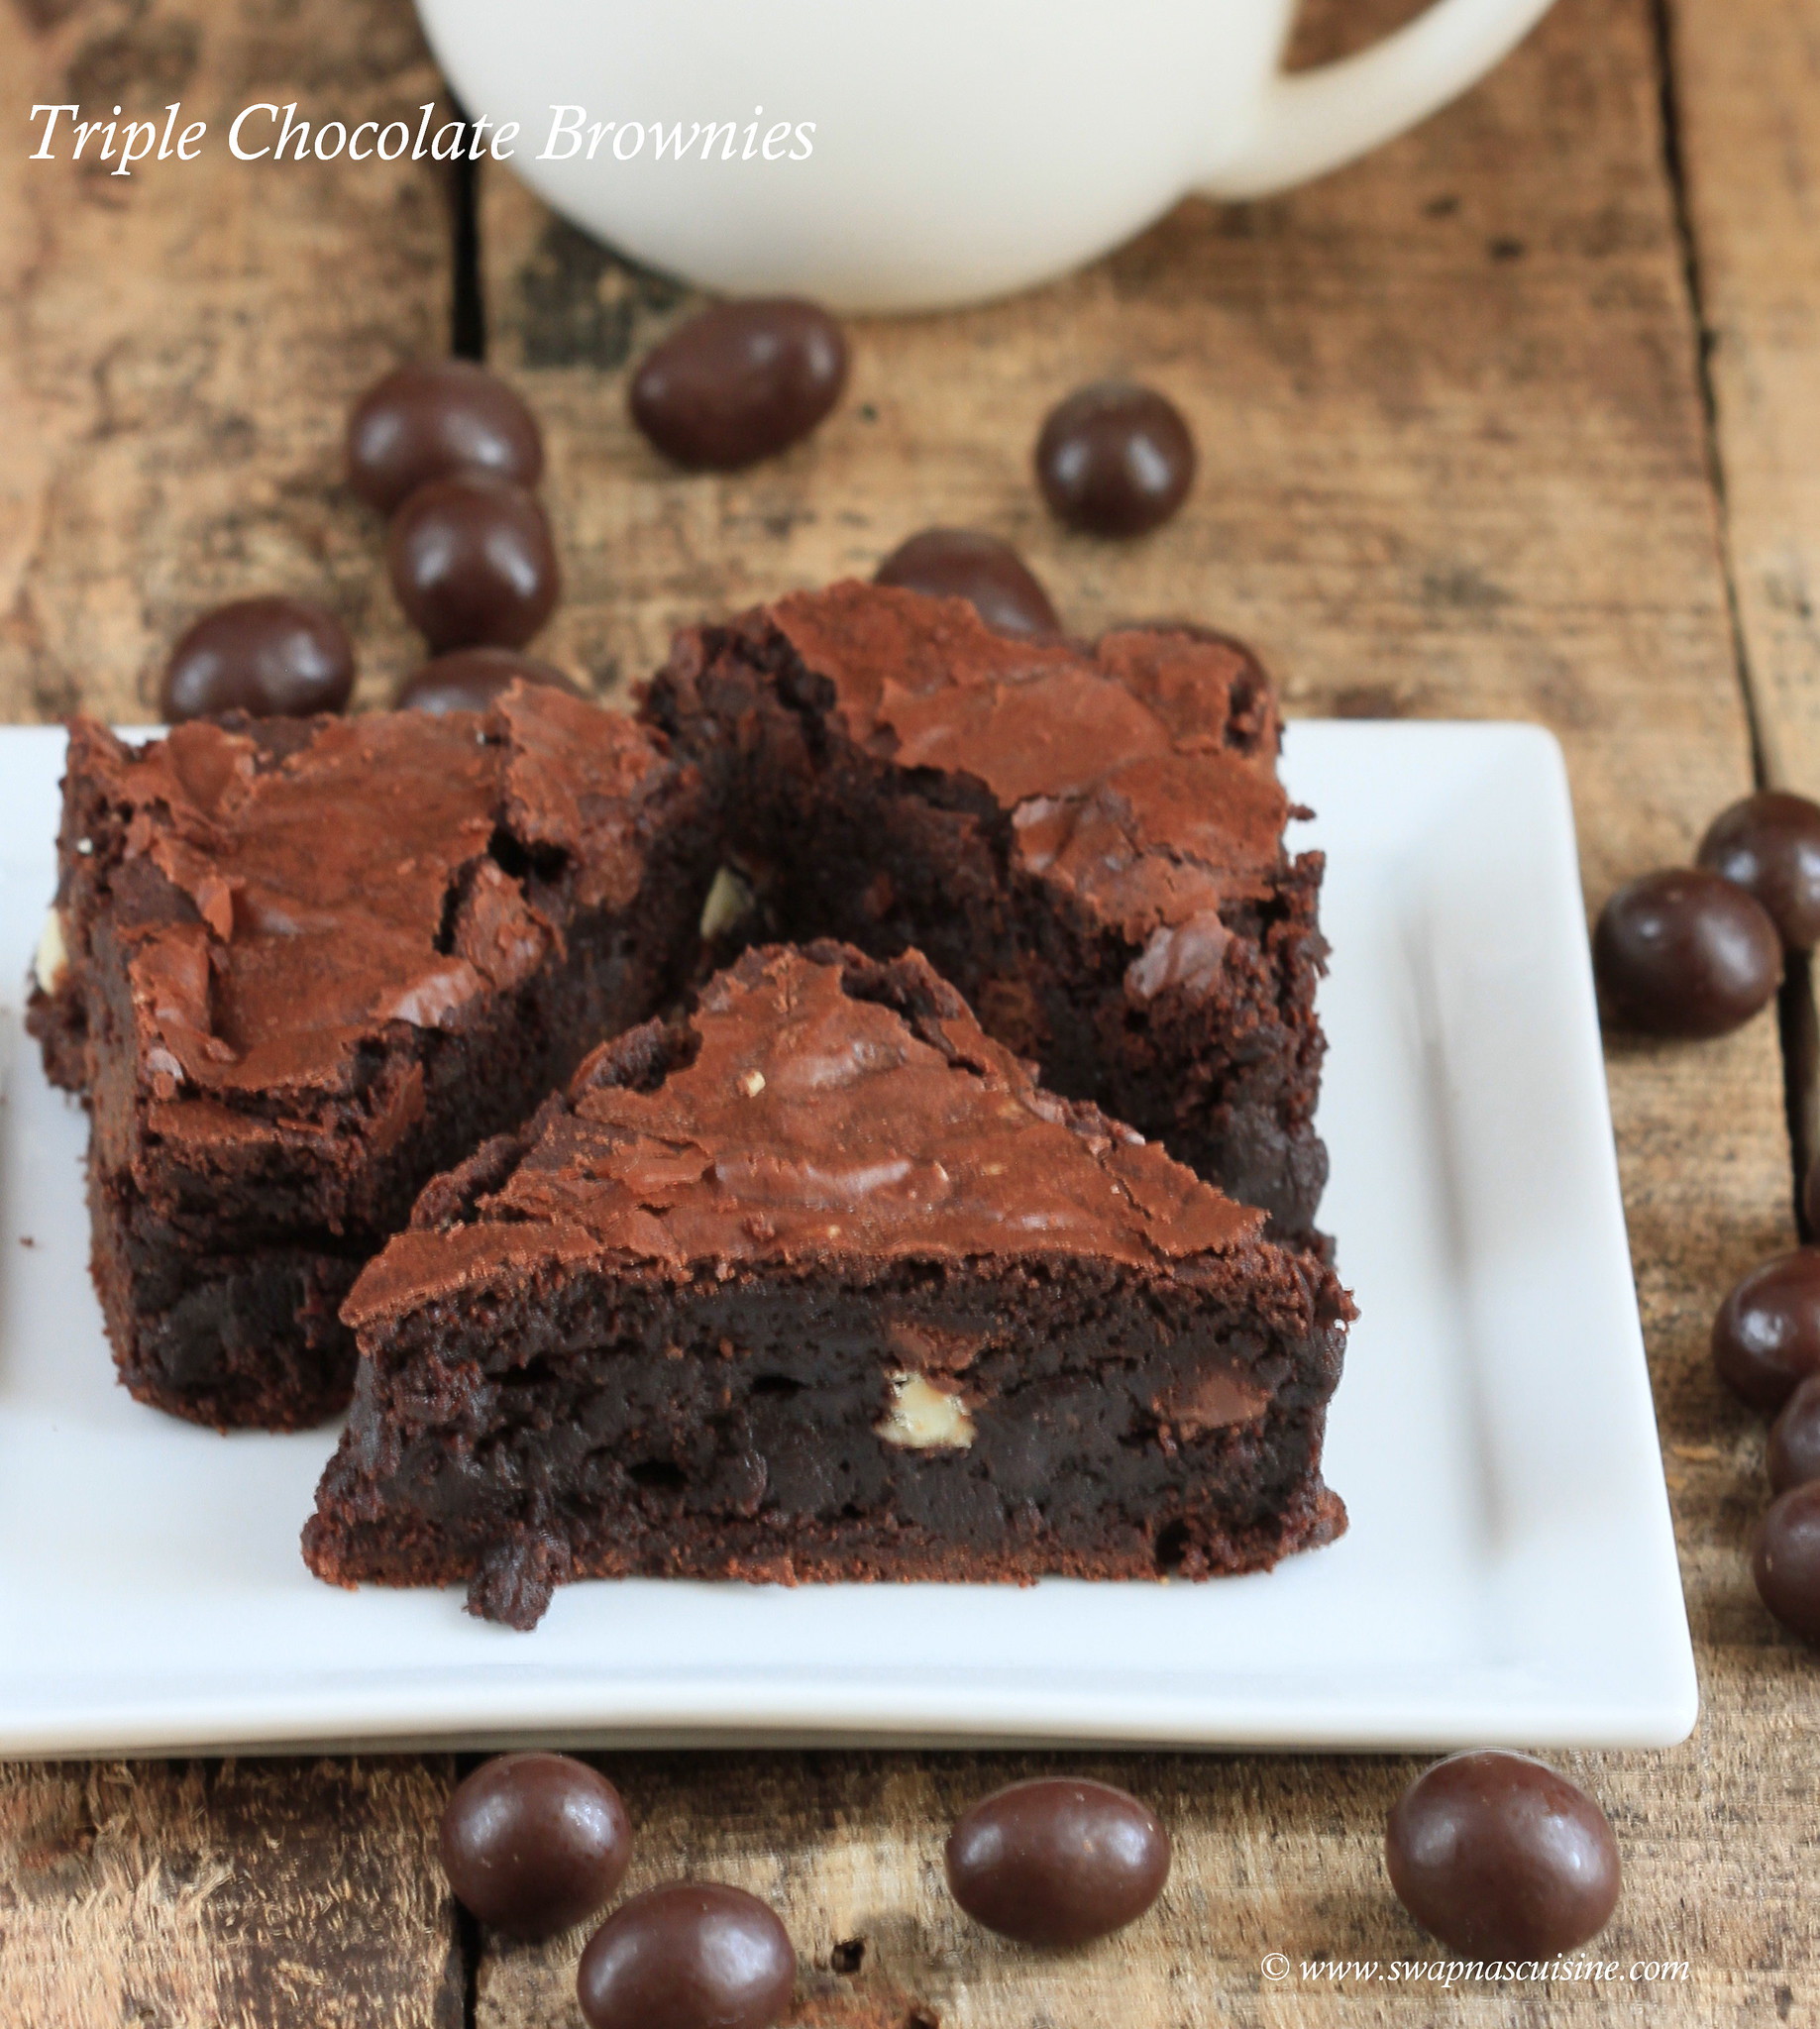
Triple Chocolate Brownies / Best-ever Chocolate Brownies

Best-ever Chocolate Brownies

This would probably rate as the best brownies I have ever baked. All the delicious goodness of dark, white and milk chocolate are combined in one dish. This gooey brownie undoubtedly will become a chocolate lover’s delight! Be careful with the baking time, if you over cook the brownie it will take on a cake like crumbly texture whereas it should be gooey. If you wish you can add half cup of chopped cashew nuts along with the chopped chocolates. I served the warm brownies with coffee ice cream and it was heavenly, of course very fattening too! But once in a while an indulgence like this is ok ;)

Triple Chocolate Brownies / Best-ever Chocolate Brownies
(Recipe from here
Ingredients:
Unsalted butter - 185 gm, cut into small cubes
Dark chocolate - 185 gm, chopped
All-purpose flour / Maida - 85 gm / ¾ cup
Cocoa powder - 40 gm / ⅓ cup  
White chocolate - 50 gm, roughly chopped  
Milk chocolate - 50 gm, roughly chopped  
Eggs - 3 large
Golden caster sugar / brown sugar - 275 gm / 1 ⅓ cup

Method:
  • Melt the butter and dark chocolate in a large heavy based pan over a low flame. Alternatively, cover the bowl loosely with cling film and put in the microwave for 2 minutes on High.
  • Leave the melted mixture to cool to room temperature.
  • Pre heat oven to 180˚ C. Line the base of a shallow 20cm square tin with non-stick baking parchment paper.
  • Sieve flour and cocoa powder together to get rid of any lumps and keep aside.
  • Break eggs into a large mixing bowl and add in golden caster sugar. Whisk the eggs and sugar on medium speed until they look thick and creamy or the mixture becomes really pale and about double its original volume.
  • Pour the cooled chocolate mixture over the eggy mousse, then gently fold together with a rubber spatula, without knocking out the air.
  • Gently fold in flour-cocoa mix and stir in the white and milk chocolate chunks until they’re just combined.
  • Pour the mixture into the prepared tin and level the top with the spatula.
  • Put in the pre heated oven and bake for 25 to 35 minutes or until the top has a shiny, papery crust and the sides are just beginning to come away from the tin. Take out of the oven.
  • Leave the whole thing in the tin until completely cold. Cut the brownies into triangles.
  • Serve as it is or slightly warm the brownies and serve with a dollop of vanilla or coffee ice cream.
How to make Triple Chocolate Brownies


Wednesday, 5 October 2016

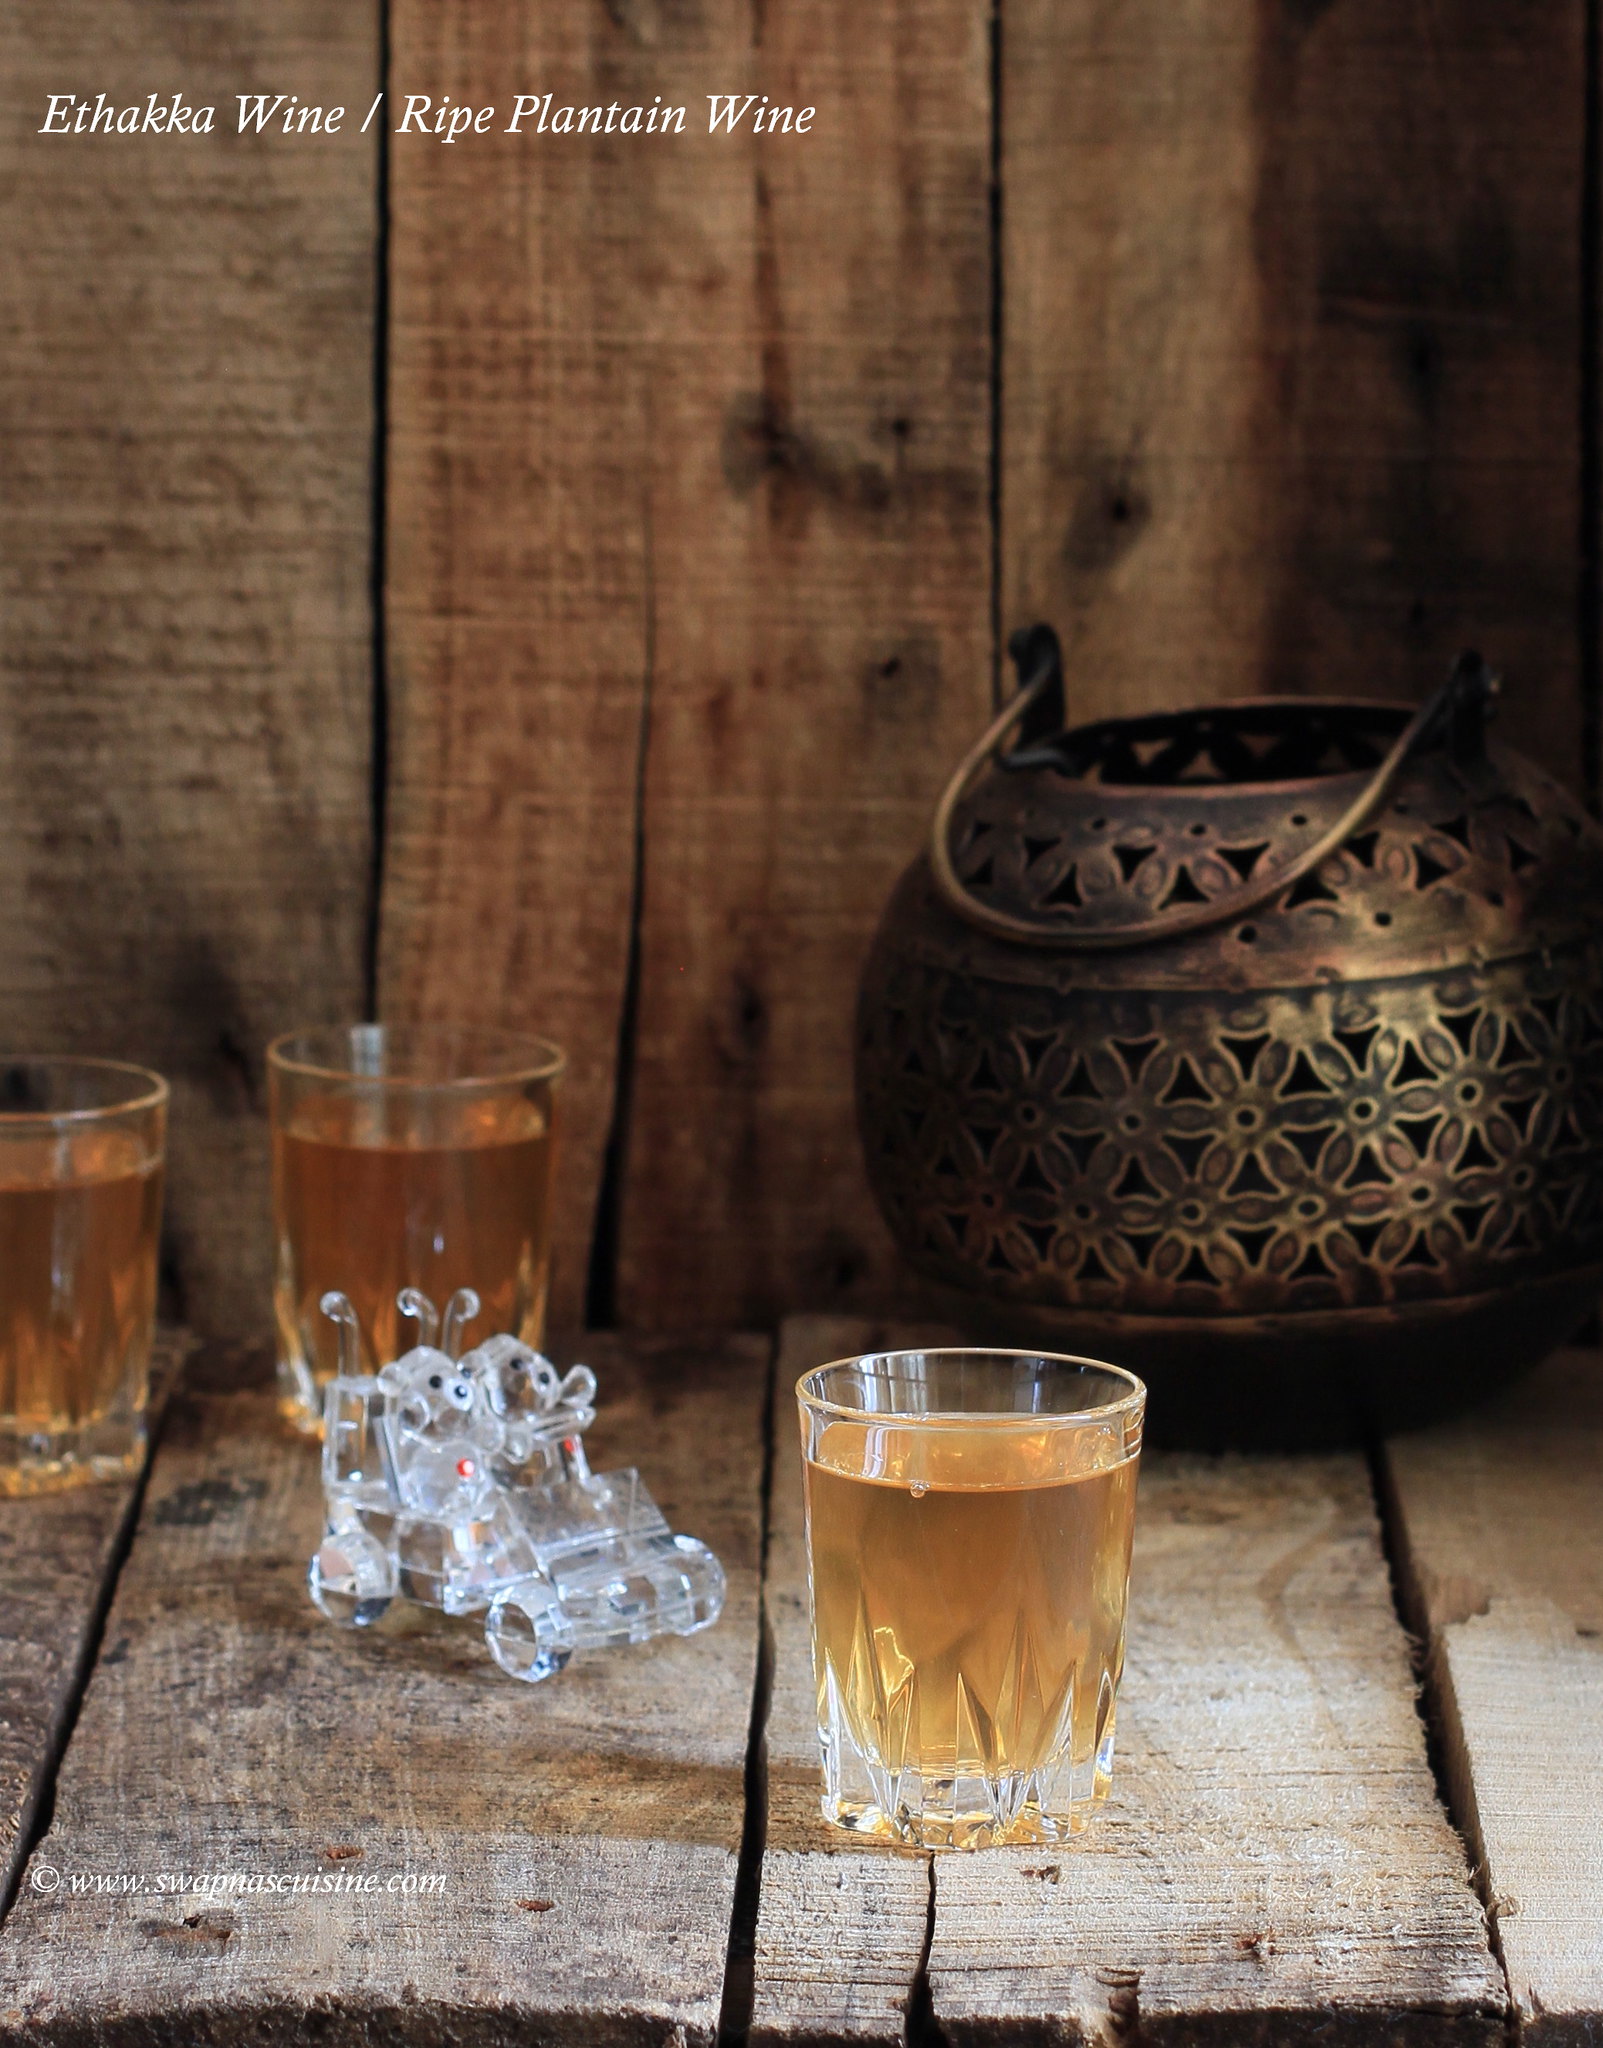
Ethakka Wine Recipe / Ripe Plantain Wine Recipe

Kerala ripe Plantain Wine

It’s been a long time since I have posted a new wine recipe. Today’s wine is with Kerala Ethakka / plantain and it is a sweet wine. I have used one orange and two grapefruits in this recipe. If you cannot find grapefruit, you can substitute it with oranges. Please make sure to go through my earlier post “Tips on making Kerala Homemade Wine” before you attempt making wine at home, which will help clear lot of doubts and save your time and my time spent on clarifications!

Ethakka Wine / Ripe Plantain Wine
Ingredients:
Ripe Ethakka / Plantain - 3
Orange -1
Grapefruit -2
Raisins - ¾ cup
Water – 6 cups
Yeast – ¾
Sugar – 500 gms

Method:
  • Cut Ethakka / Plantain in small pieces. Put ethakka pieces in a large pan and 6 cups water and bring this to the boil and simmer for approximately 15 minutes. Strain and pour the mixture into a clean large pan, while the mixture is hot making sure not to squeeze the ethakka / plantain pieces. Discard the ethakka pieces.
  • Wash orange and grapefruit and wipe it with a kitchen tissue or clean cloth. Take out the zest from one grapefruit and orange with a citrus peeler or vegetable peeler. Add orange & grapefruit zest along with orange and grapefruit segments making sure not to add white pith or seeds, raisins and sugar to the hot boiled ethakka / plantain water.
  • In a small bowl, mix ½ cup lukewarm water, ¾ tsp yeast and ¾ tsp sugar and keep aside for 10 minutes. When the mixture becomes frothy add it to the cooled mixture and mix everything well.
  • Transfer the mixture to a sterilized glass bottle / bharani, cover it and leave for 21 days stirring daily. After 21 days, strain the mixture through a cheese/muslin cloth in to a clean dry bottle. Keep this again for 14 days untouched. After14 days strain the wine again, pour it in to clean dry bottles and use.

Sunday, 11 September 2016

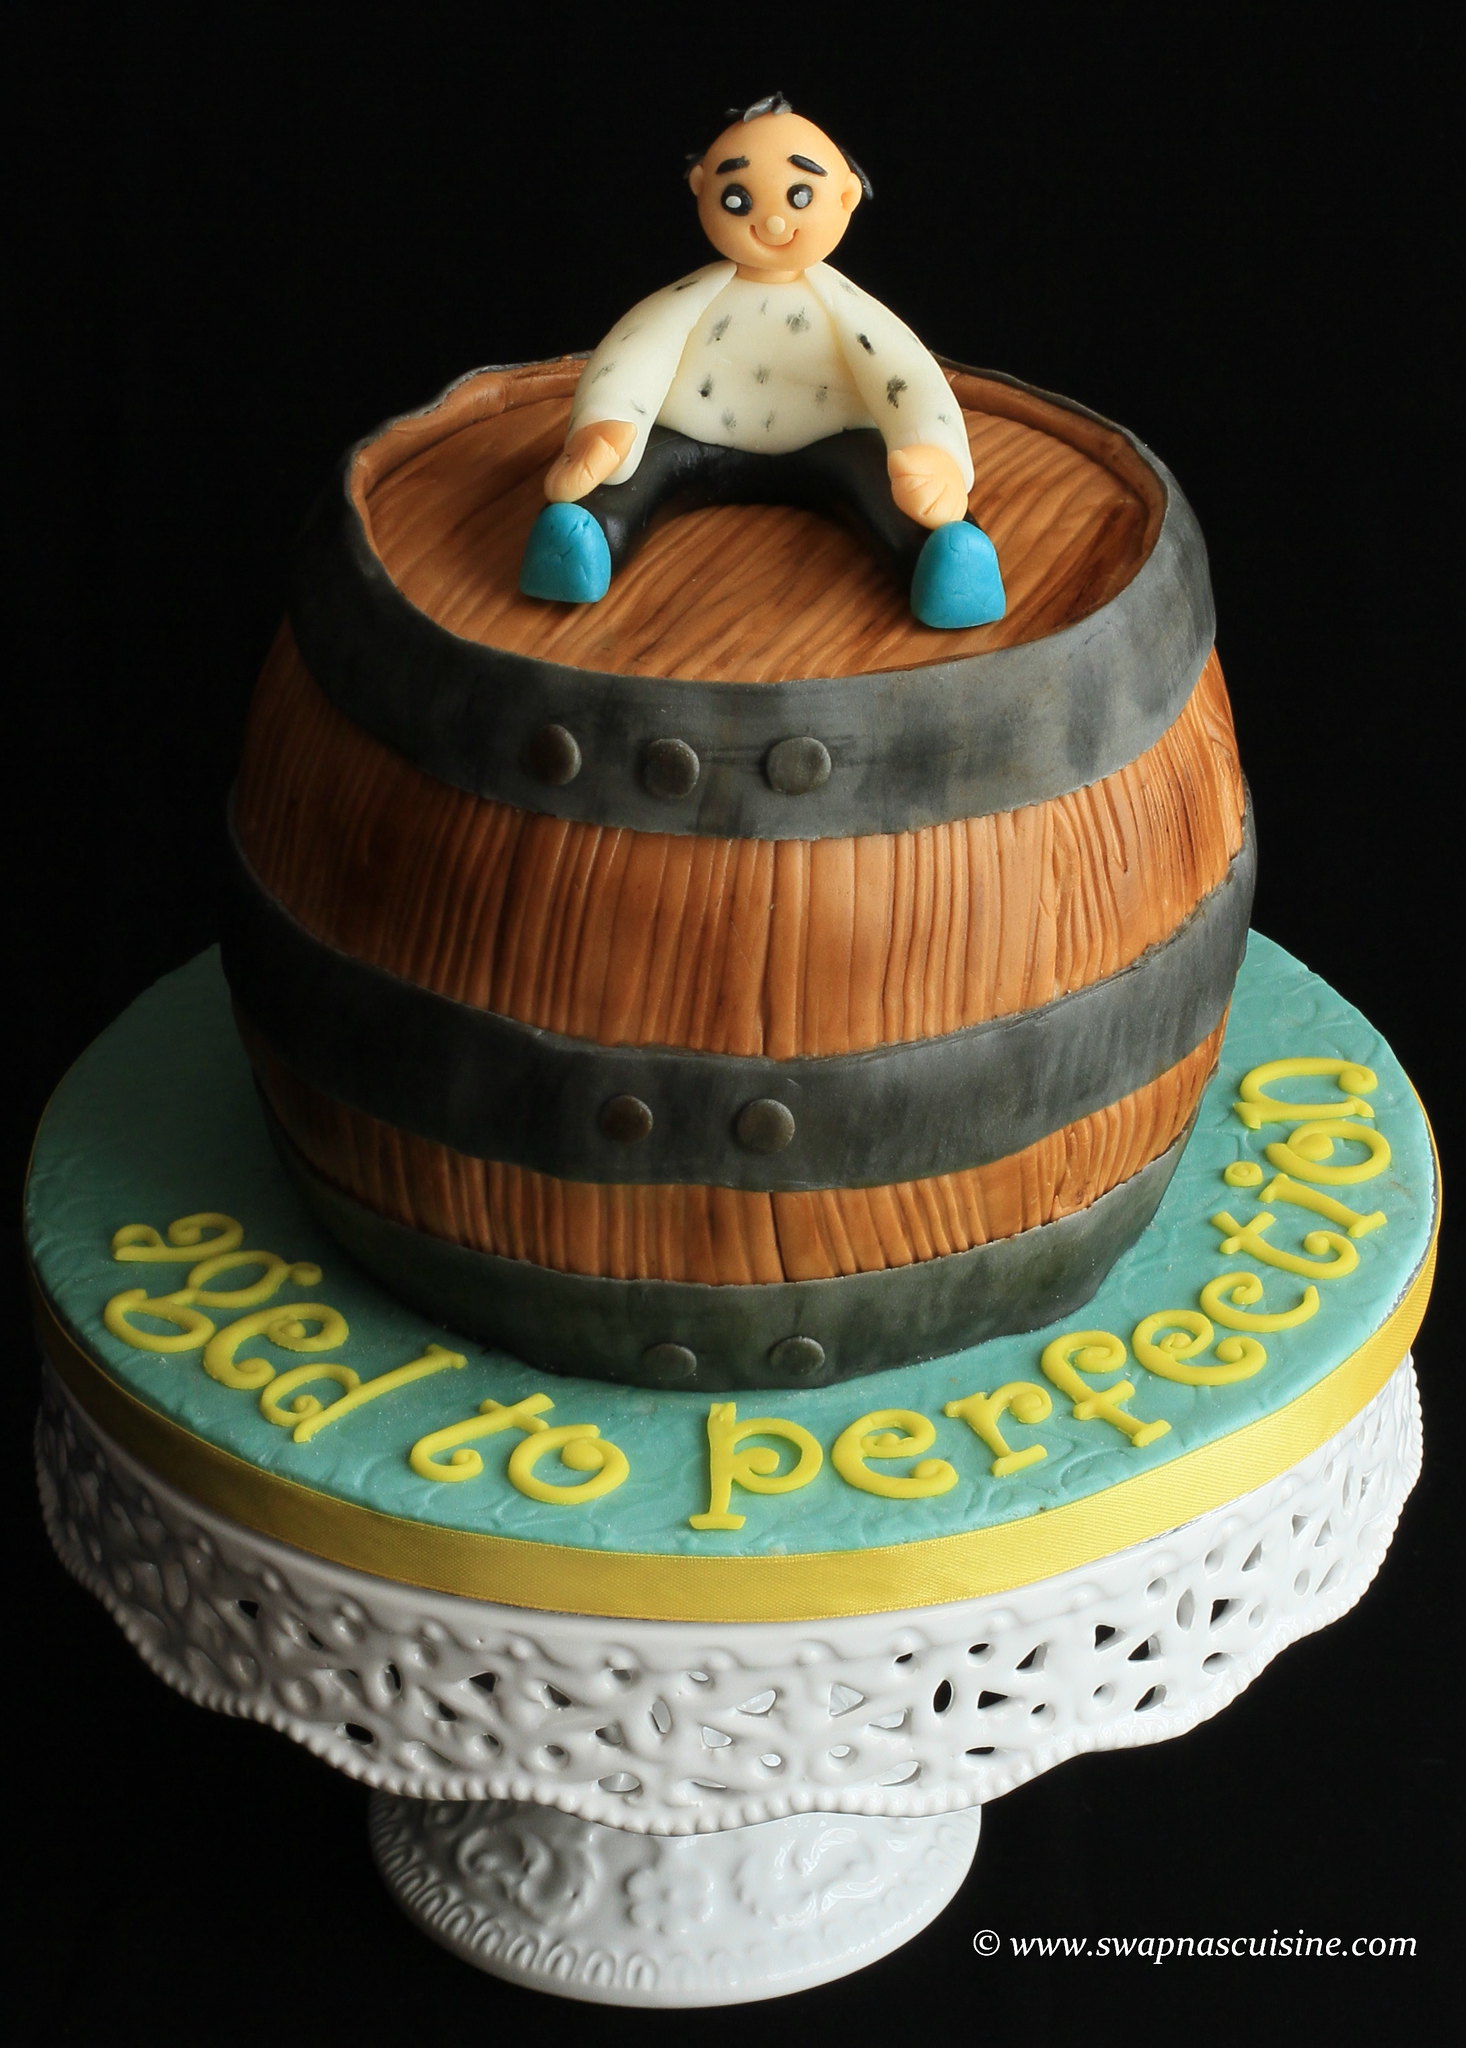
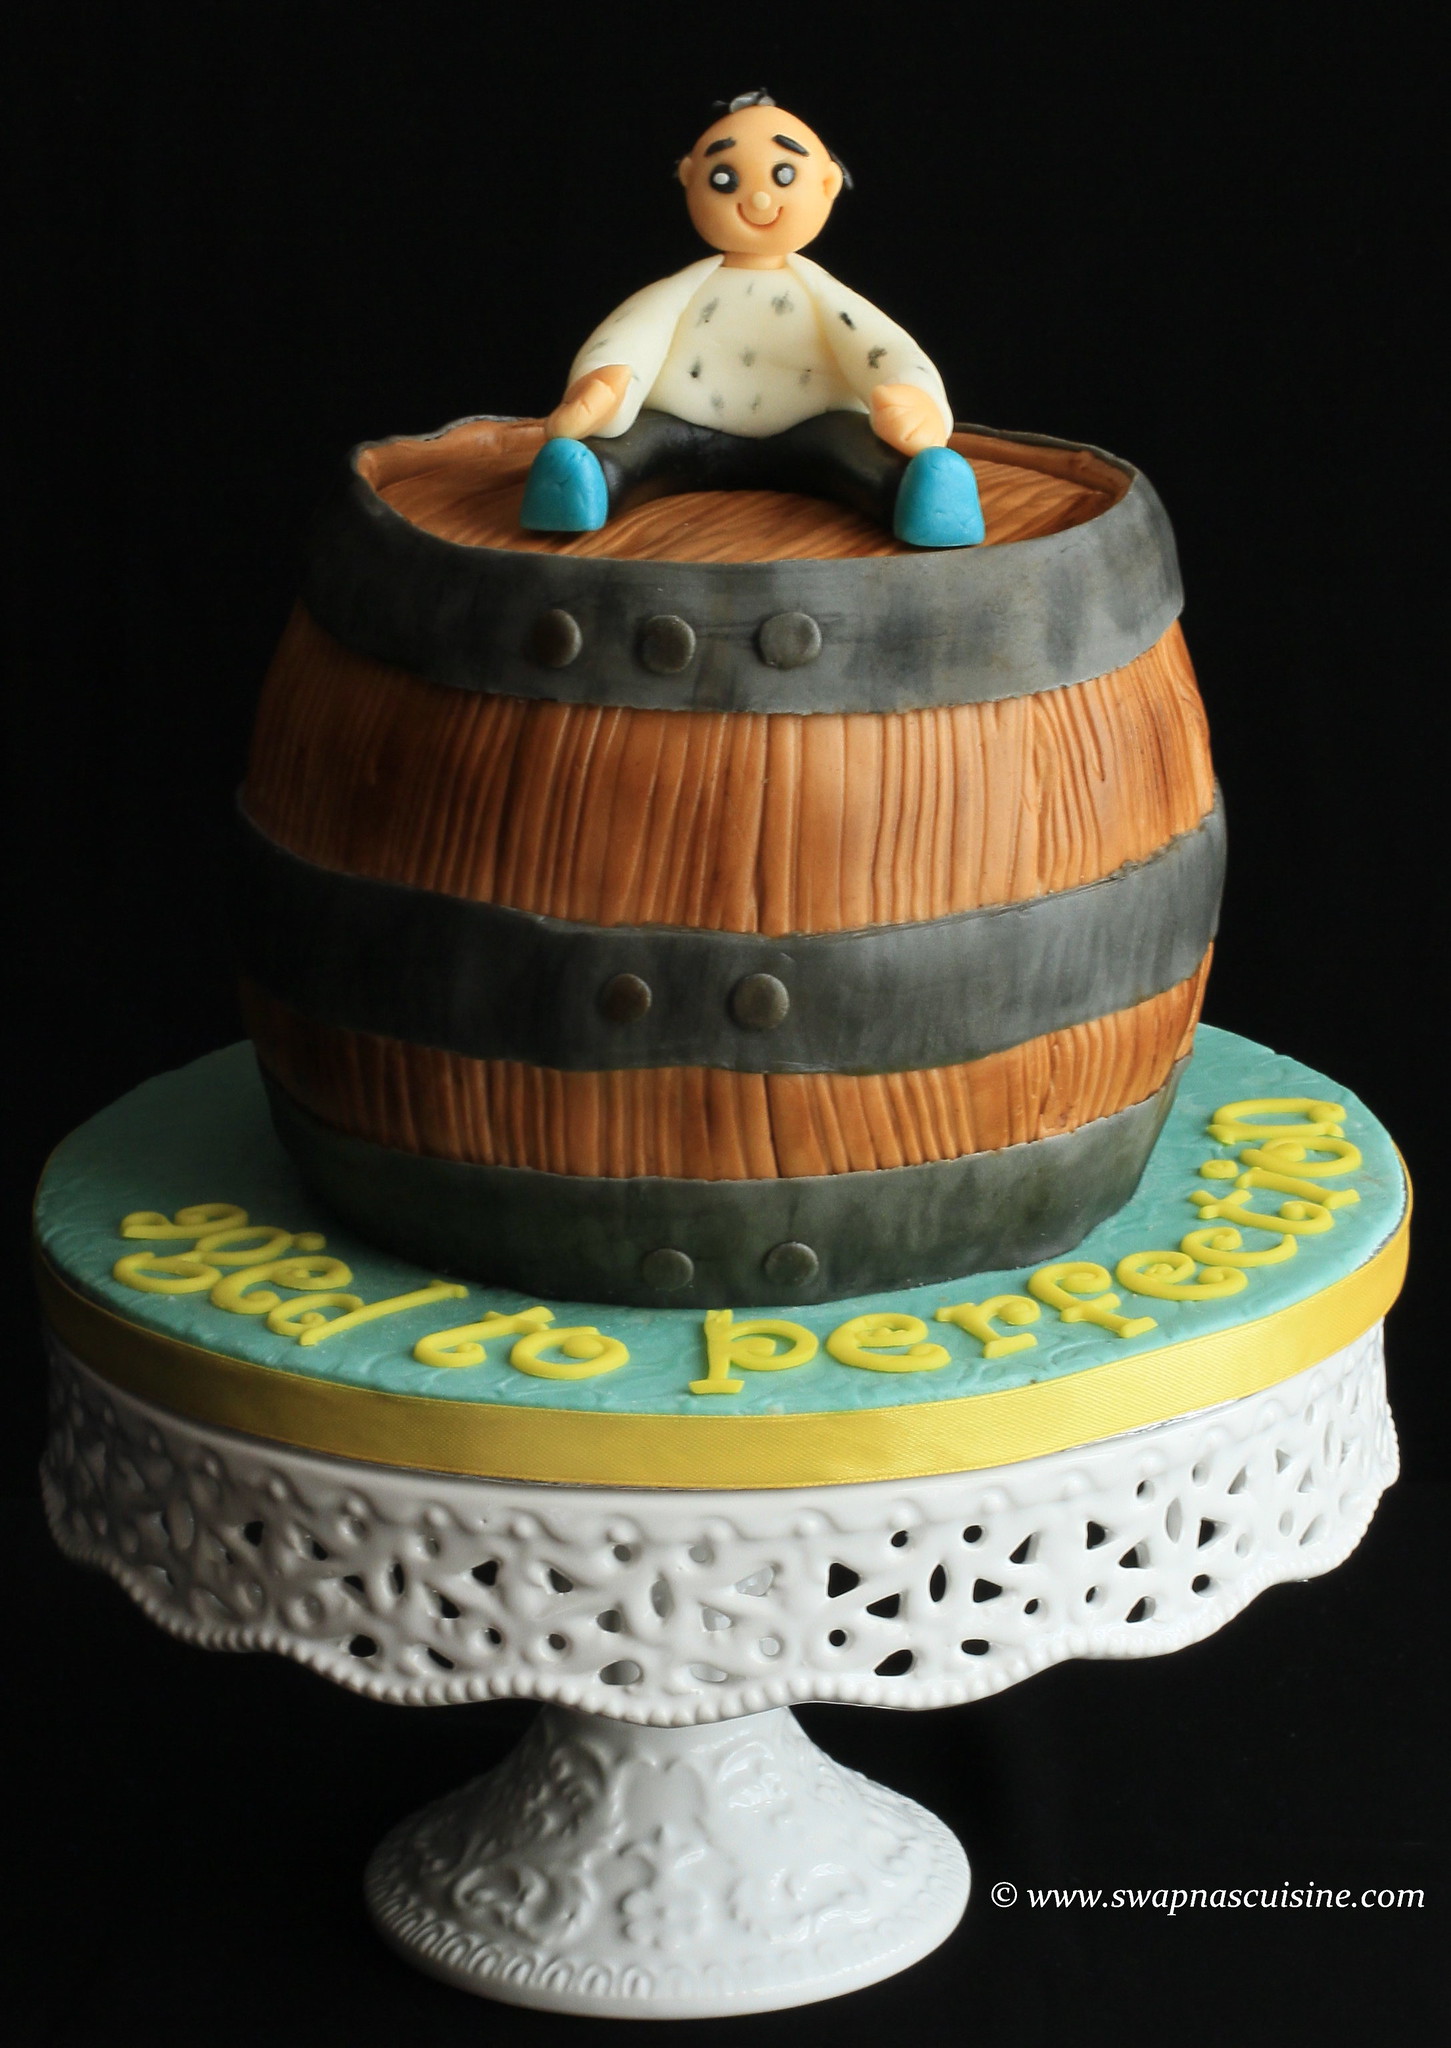
Wine Barrel Cake

I made this cake a couple of months back for my husband’s birthday and somehow forgot to post it over here....


Tuesday, 6 September 2016

BMW Theme Cake


Hi everybody, It’s been a long time since I updated this space. I am finding it hard to resume blogging regularly after my summer vacation solely due to laziness ;) ;) ....  Trying my level best to restart blogging with this BMW themed cake I made for my son on his birthday.... Promise to be back with a new recipe post soon....


BMW Theme Birthday Cake

Boys birthday cake ideas

Wednesday, 27 July 2016

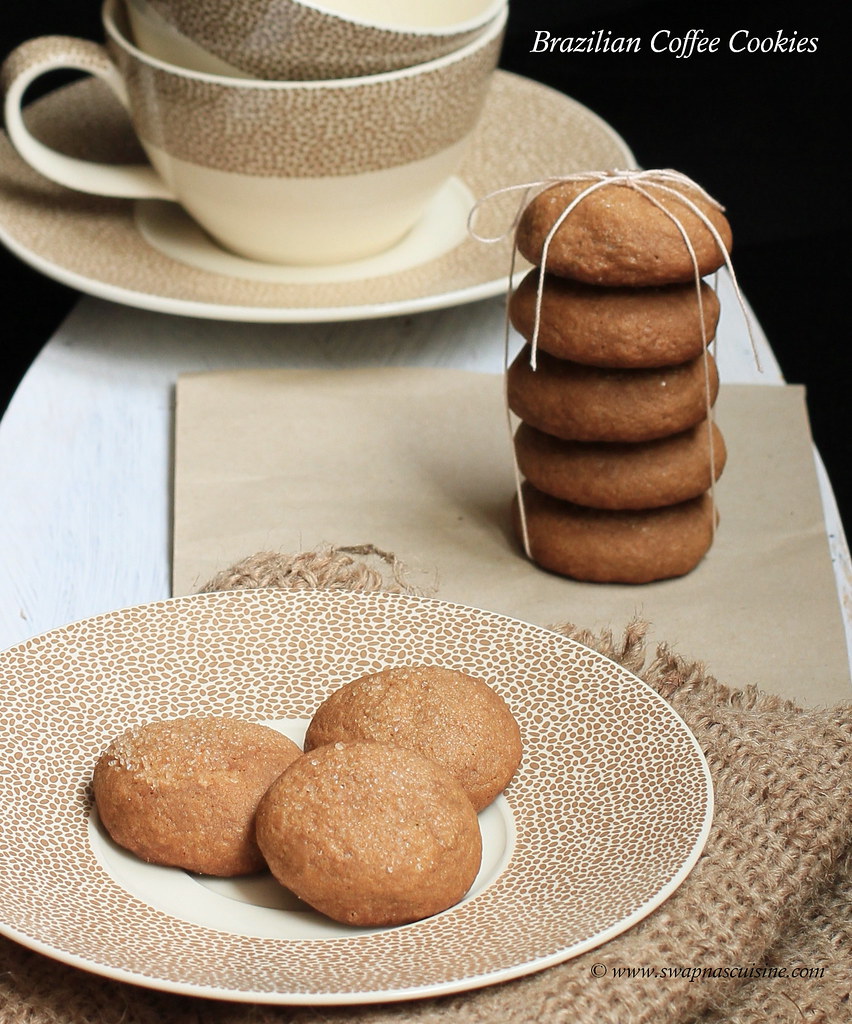
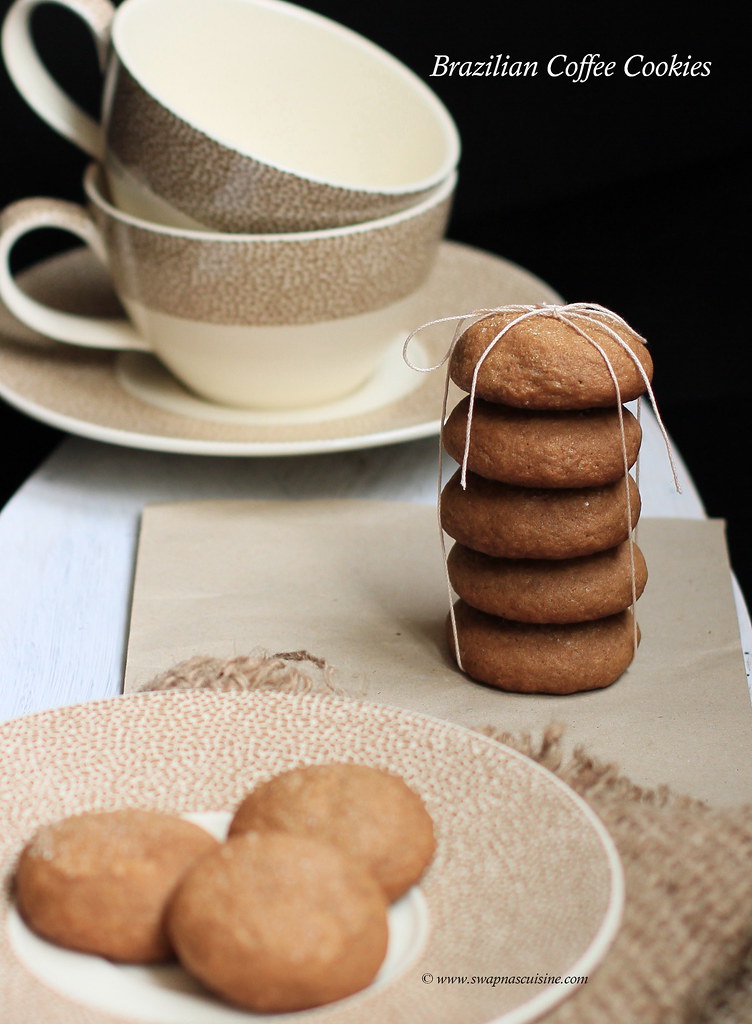
Brazilian Coffee Cookies Recipe

Recipe for Brazilian Coffee Cookie


I have been trying a variety of cookies recently. We really loved this coffee flavoured cookies. While baking these cookies our flat is filled with the aroma of freshly brewed coffee…. If you are a coffee lover I am sure you will love these cookies…

Brazilian Coffee Cookies Recipe
(Recipe from here)
Ingredients:
All-purpose flour / Maida - 2 cups
Salt - ½ tsp
Baking soda - ¼ tsp
Baking powder- ¼ tsp
Butter- ⅓ cup (75 gms)
Brown Sugar - ½ cup
White sugar - ½ cup
Egg - 1
Vanilla essence – 1 ½ tsp
Milk - 1 tbsp
Hot water - 1 tbsp
Instant coffee powder - 2 ½ tbsps
Method:
  • Sieve together flour, baking powder, baking soda and salt. Keep aside.
  • Add hot water to the coffee powder and keep aside.
  • In a bowl, cream together butter, brown sugar and white sugar until well blended. Beat in the milk, vanilla essence and egg until light and creamy. Add the coffee mixture and mix.
  • Mix in the sieved ingredients until just blended. Cover with plastic foil and place in refrigerator for 10-15 miniuts.
  • Prepare small lemon sized balls and place on baking sheet that has been lined with butter paper. Place each ball about 2 inches apart as they spread. Lightly flatten the balls with a fork. Sprinkle some sugar on top of each ball.
  • Bake in a pre-heated oven at 200˚C for about 10-12 mts till the edges are slightly toasted or till done. Once baked, the cookie will feel soft on touch but once cool it will harden.
  • Cool on a wire rack. Repeat with remaining dough. Store in airtight container.

Recipe for coffee cookies

Thursday, 14 July 2016

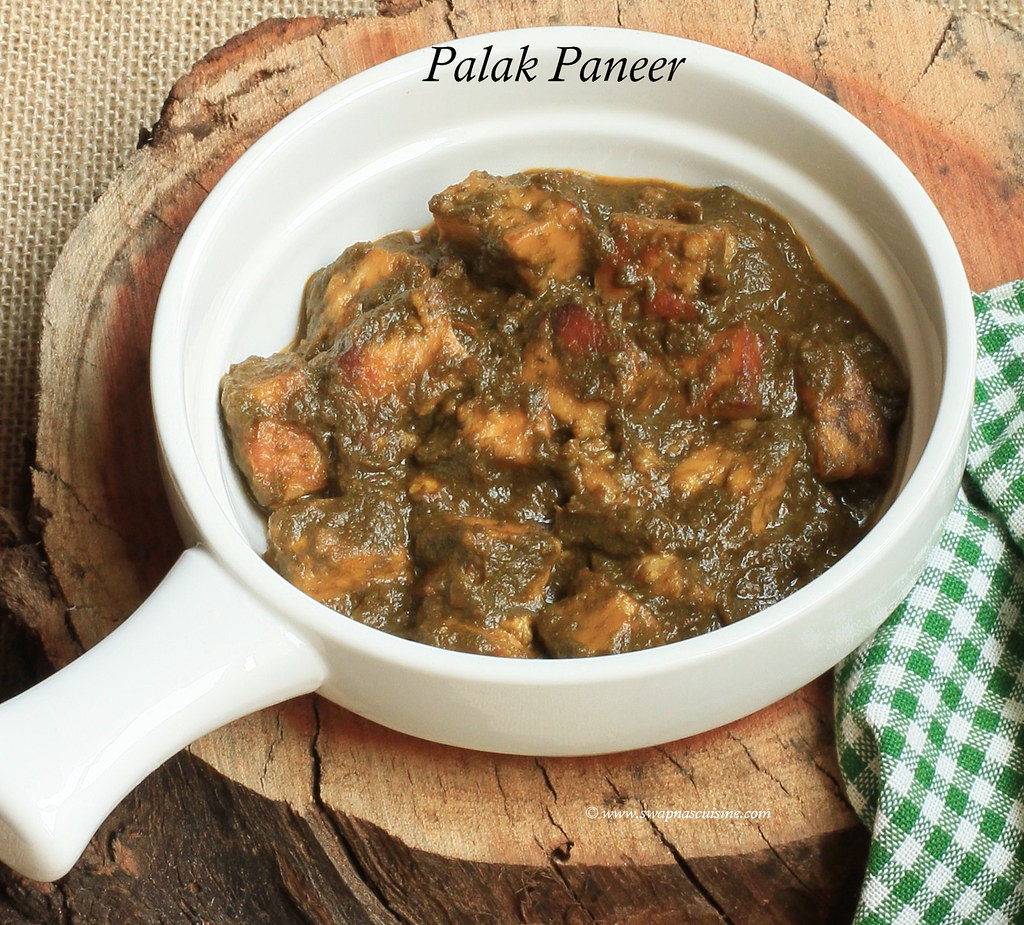
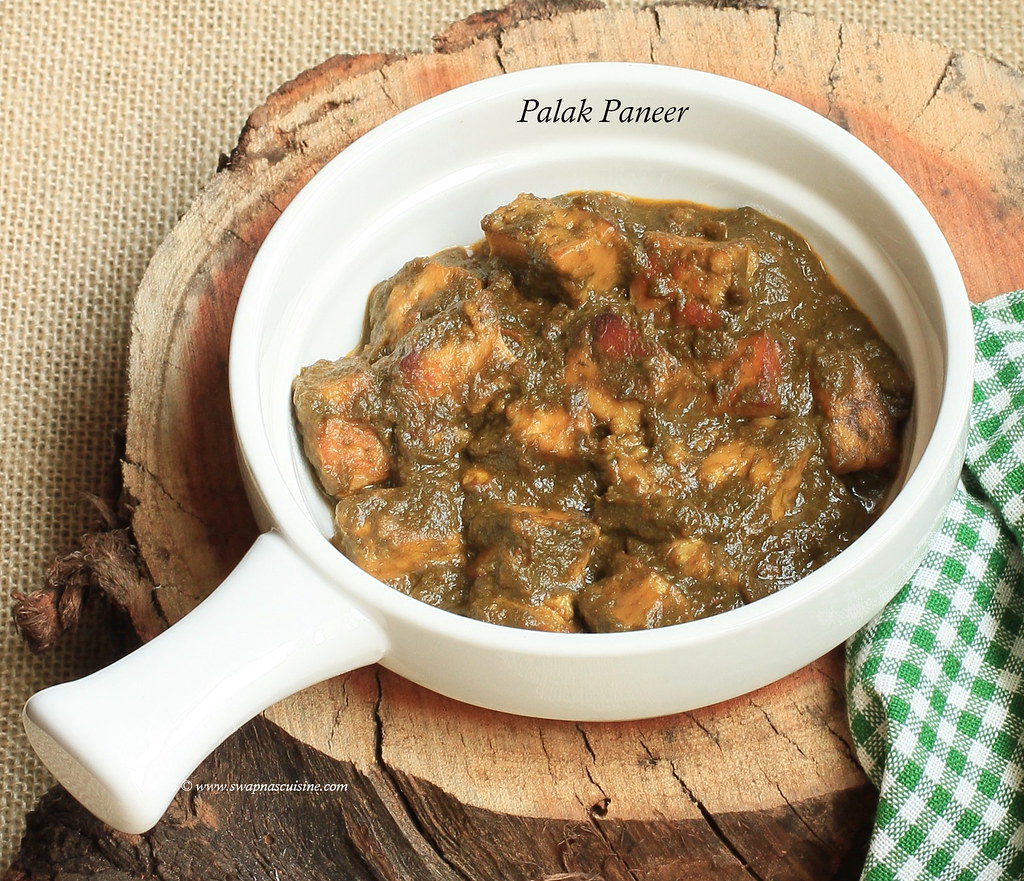
Palak Paneer / Indian Cottage Cheese in Spinach Gravy

Indian Cottage Cheese in Spinach Gravy

Palak Paneer is a popular paneer dish served in road side dhabas and in restaurants. Lightly fried paneer is cooked in a pureed spinach-tomato gravy. Goes well with boiled rice, chapathi or Nan.

Palak Paneer / Indian Cottage Cheese in Spinach Gravy
(Recipe adapted from NitaMehta's Paneer All the way)
Ingredients: 
Paneer (Indian Cottage Cheese) - 200 gms, cut in to 1" cubes
Palak (Spinach) - 1/2kg (1 bunch)
Onions - 2
Ginger - 1" piece
Garlic  - 5 cloves
Tomatoes - 2 medium, chopped
Green chillies - 2, chopped
Red chilly powder -1 tsp
Cardamom powder - ¼  tsp
Ghee - 3 tbsp
Salt to taste

Method:
  • Wash and chop palak. Cook with 1/2 cup water for 10 minutes on low flame after the first boil. Cool and grind to a smooth paste.
  • Grind onions, garlic and ginger together.
  • Heat 1 tbsp ghee in a non-stick pan and slightly fry cubed paneer. Drain and keep aside.
  • Heat rest of ghee in the same pan. Add onion paste and cook till onions turns golden and ghee separates.
  • Add chopped tomatoes and green chillies. Cook for 5-6 minutes on slow fire, till ghee separates.
  • Add ground palak, add a little water if too thick.
  • Cook for 6-8 minutes on slow fire. Add salt.
  • Add cardamom powder and fried paneer. Mix well and remove from fire.
  • At the time of serving, heat 1 tbsp ghee,add 1 tsp red chilly powder. Remove from fire and pour this over the heated palak paneer.
  • Mix well and serve at once with Rice,Chapathi, Paratha or Nan
How to make Palak Paneer

Monday, 27 June 2016

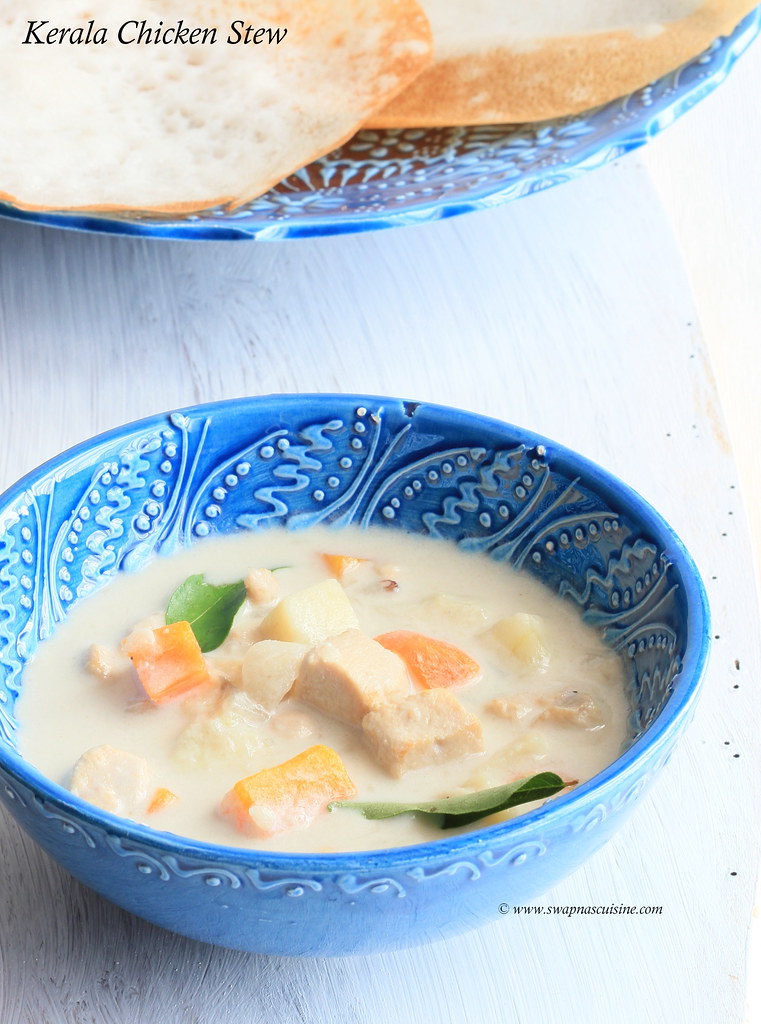
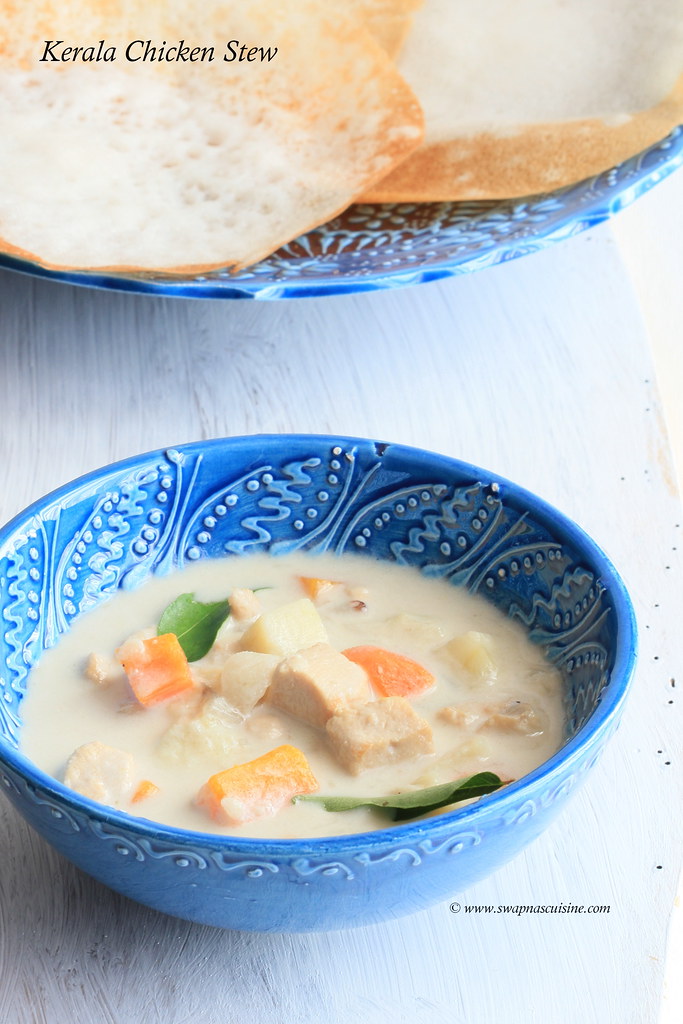
Kerala Chicken Stew Recipe / Kozhi Stew

How to make Kerala Chicken Ishtew

Stew or Ishtew is a mildly spicy and creamy Kerala special delicacy which goes very well with appam,bread, puttu, chapathi etc. In most Kerala Christian families, Christmas or Easter breakfast is incomplete without appam and chicken or mutton stew. Stew has to be white in colour and you have to make sure not to brown the onion while sautéing. Cashew nut paste will enhance the flavor and make the gravy thick and creamy.

Kerala Chicken Stew Recipe / Kozhi Stew
Ingredients: 
Chicken - ½ kg (cut in to medium pieces, I used boneless chicken)
Potato - 1 small, cubed
Carrot - 1 small, cubed
Onion - 1, thinly sliced
Green chillies - 4, slit
Ginger - 1 tsp, finely chopped
Garlic - 1 tsp, finely chopped
Cinnamon sticks - 1 inch x2 pieces
Cardamom - 4
Cloves - 4
Black peppercorns - 1 tsp
Medium thick coconut milk - 3 cups
Thick coconut milk - 1 cup
Cashew nuts - 6 - 8 ground to a fine paste
Curry leaves - few
Salt - to taste
Coconut oil - 2 tbsp


Method:
  • Heat oil in a pan and add cinnamon sticks, cardamom, cloves, black peppercorns and sauté. Add onion, ginger, garlic and green chillies and curry leaves and stir fry until they becomes soft and translucent. (make sure not to brown the onion).
  • Add chicken pieces and stir fry for 2-3 minutes until the meat is lightly seared.
  • Add cubed potatoes and carrots, medium think coconut milk and salt, and cook for 15-20 minutes over medium heat until the chicken, carrot and potatoes are fully cooked.
  • Add cashew nut paste, thick coconut milk and vinegar, mix well and simmer for 2 minutes or until you get the required thickness.
  • Serve hot with palappam, vellayappam, Idiyappam, Puttu, Chapathi or bread.
How to make Kerala Chicken Stew

Monday, 20 June 2016

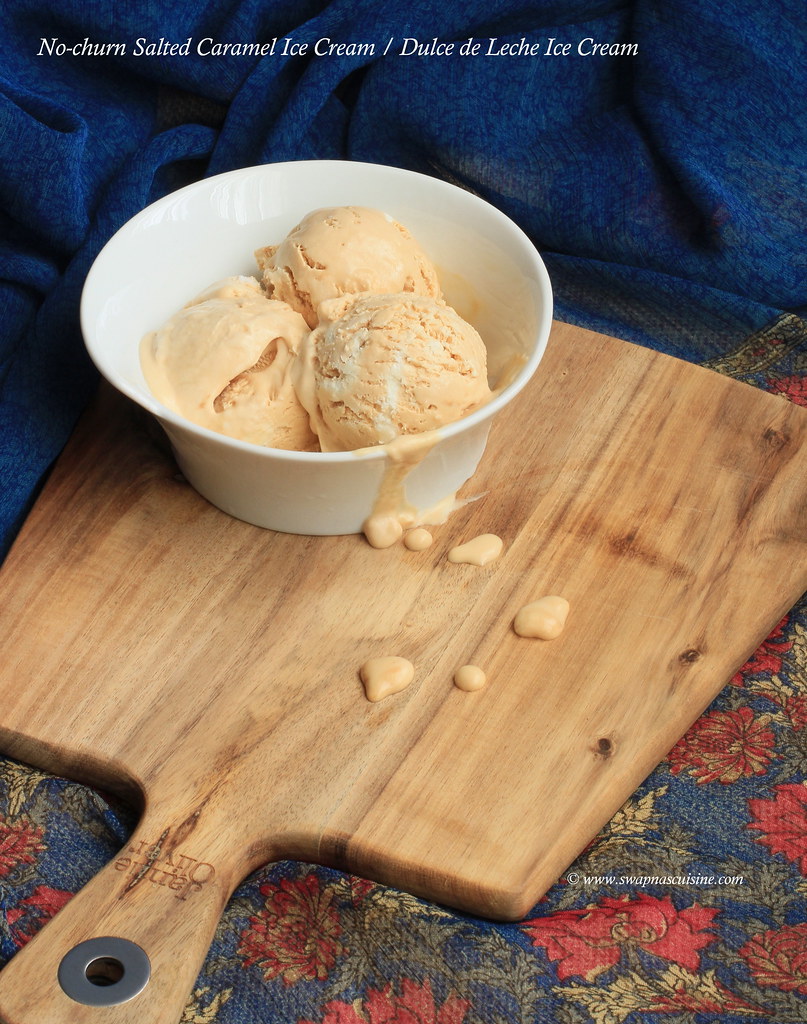
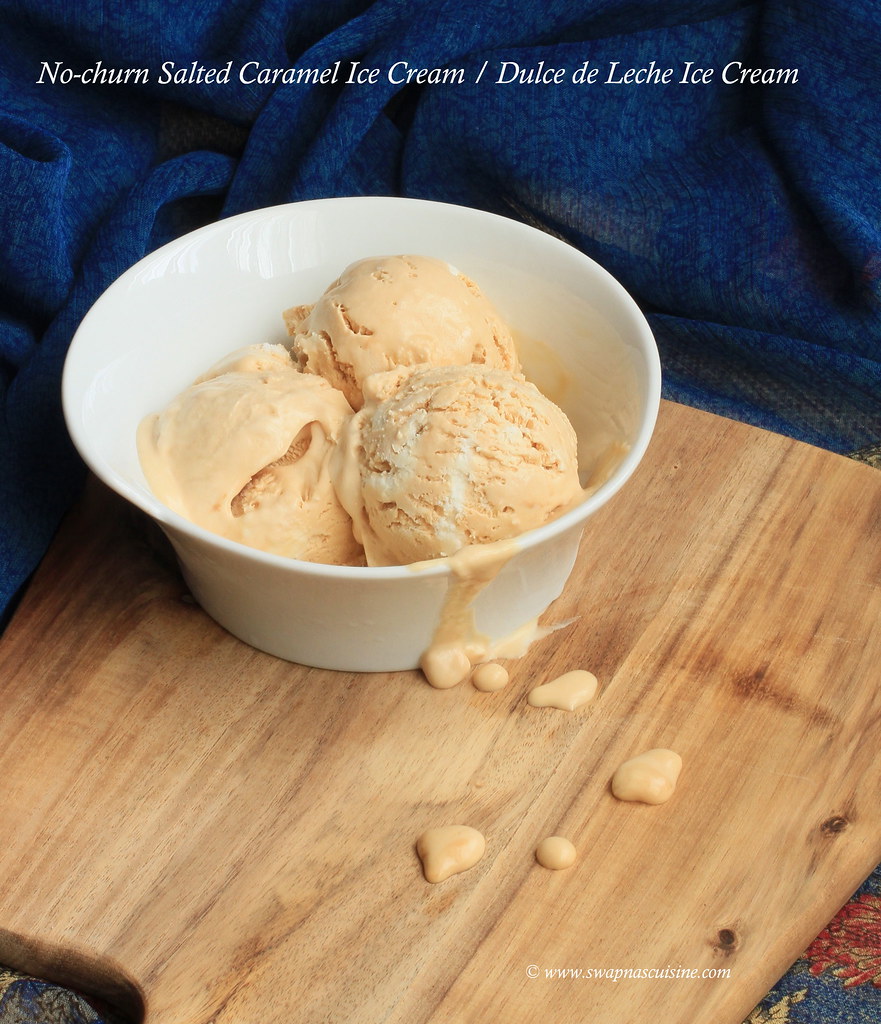
No-churn Salted Caramel Ice Cream / Dulce de Leche Ice Cream

How to make Dulce de Leche Ice Cream

Making a very rich and delicious Salted Caramel Ice Cream without an ice cream maker and with only three ingredients. An extremely easy to make dessert if you have dulce de leche ready in your kitchen. You can either use store bought dulce de leche or can easily make at home. I have explained 3 different methods of boiling the can of condensed milk. You can follow the method you are most comfortable with :)  Do try it at home, I am sure you will love this!

Dulce de Leche Ice Cream


No-churn Salted Caramel Ice Cream / Dulce de Leche Ice Cream
(Recipe from here)
Ingredients:
*Homemade or store-bought dulce de leche - 1 can or 1 1/3 cup
Flaky sea salt - 1/2 teaspoon (or 1/8 teaspoon table salt) 
Very cold heavy whipping cream - 2 cups

Method:
  • Combine dulce de leche with salt in a large bowl and keep aside.
  • Using an electric mixer on high speed, beat cream in a large bowl until stiff peaks form, about 3 minutes.
  • Stir about 1/3 of the whipped cream into dulce de leche until just combined.
  • Gently fold remaining whipped cream into dulce de leche mixture, then pour into 9x5" loaf pan.
  • Cover with plastic wrap and freeze until firm, about 6 hours.
How to make Dulce the Leche at home.
  • Traditional Method ~ Put the can of condensed milk, unopened, in a large pan, cover with water, bring to boiling point and boil for 3 hours, topping up with boiling water from a kettle as needed. Ensure that the can remains covered in water. Remove and leave to cool completely.
  • Pressure cooker method without weight  ~ Fill a pressure cooker with water. Immerse the can into the pressure cooker and close the lid. Switch on the gas on high and wait for steam to come and reduce to medium flame and cook for 1 hour.
  • Pressure cooker method with weight, easiest and less time consuming ~  Fill a pressure cooker with water. Immerse the can into the pressure cooker and close the lid. Switch on the gas on high. Wait for steam to come and then put on the weight. When you hear the first whistle, simmer the flame and let it cook for 30-45 minutes Switch off the gas and let it cool down to room temperature.


Three Ingredient Ice Cream

Monday, 13 June 2016

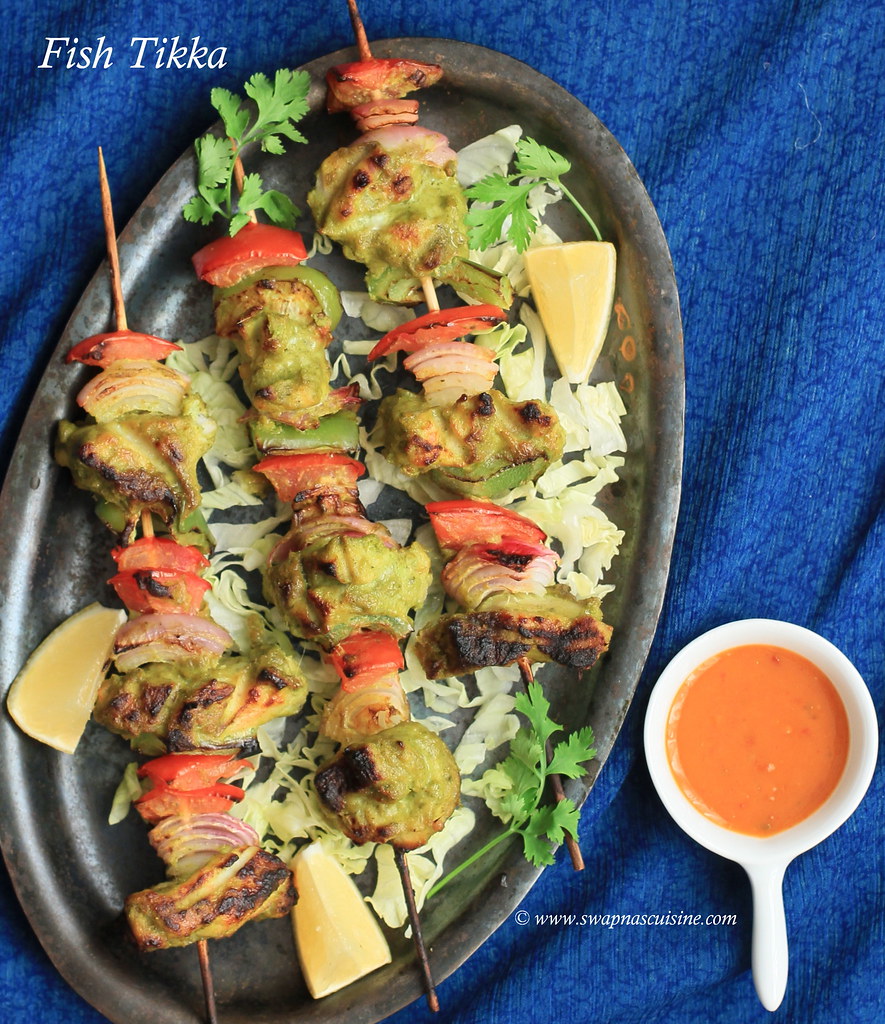
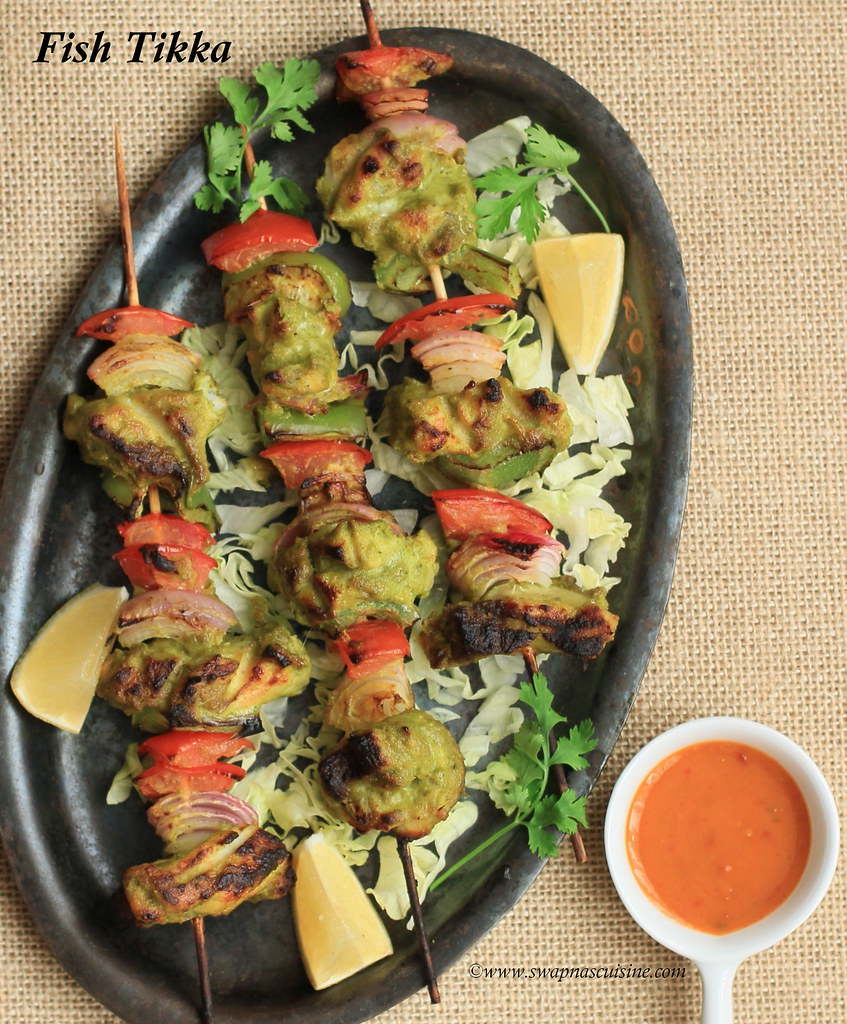
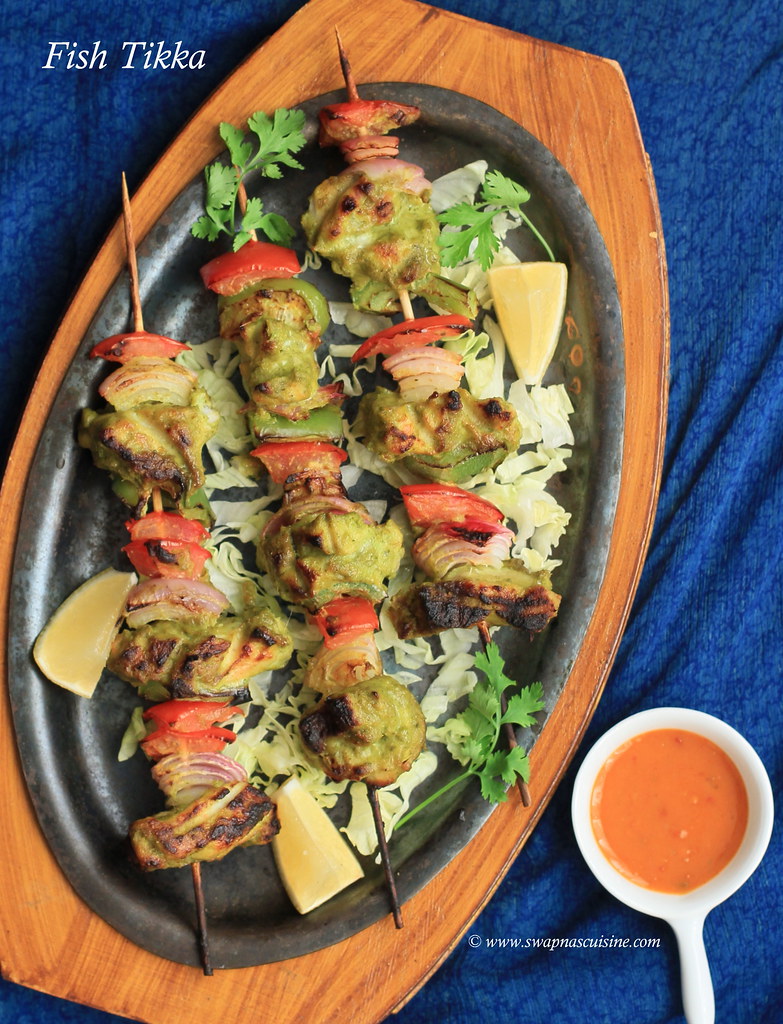
Fish Tikka

How to make Tikka on stove top

Tried this recipe after seeing a popular cookery show, Annie’s Kitchen.  It came out really well so thought of sharing it with you. You can either grill or bake tikkas in the oven, use an electric toaster grill or on stove top. It’s a very easy and hassle free recipe. You can marinate the fish pieces and keep it overnight in the fridge before grilling. It is a perfect recipe to serve as a starter or as a main or side dish. A great addition to a party menu :) :) ...

Homemade fish tikka recipe

Fish Tikka

Ingredients:
Boneless Fish - 1kg {can use Neymeen (Seer fish),  Motha (King fish) or any thick boneless fish pieces}
Onion -1 cup, cut into 1 ½“pieces
Tomato -1 cup, cut into 1 ½“pieces (remove seeds)
Capscium – 1 cup, cut into 1 ½“pieces
Butter – 3 tbsp

For the marinade:
Ginger paste - 2 tsp
Garlic paste – 2 tsp
Green chilly paste- 4 tsp
Mint leaves paste – 2 tsp
Ajwain powdered / Ayamodakam podi -1 tsp
Turmeric powder – ½ tsp
Dried fenugreek leaves / Kasoori methi- ½ tsp
Lightly roasted Besan/ chickpea flour/ kadala maavu - 2 tsp
Hung Curd (yogurt) - 4 tsp
Vegetable oil – 1 tbsp
Lemon juice -2 tbsp
Salt to taste

Method:
  • Cut into 1 ½ inch pieces and rub the fish with little salt and vinegar to remove the fishy odour. Keep aside for 5 minutes. Wash well and pat dry on a kitchen towel.
  • Mix all the marinade ingredients in a big bowl and add fish pieces and mix well to coat all the marinade to the fish pieces. Keep aside for half hour. (you can keep this marinated fish overnight in the fridge).
  • Just before grilling, add onion, capsicum and tomato pieces to the marinated fish and well.
  • Skewer the fish and vegetables alternately on skewers or tooth picks.
  • If you are using an oven, place the skewered tikkas on the wire rack. Brush tikkas with melted butter and grill for 10-15 minutes overturning them every few minutes.
  • If you are using stove top, melt little butter in a non-stick tava, add skewered fish tikkas and grill on medium flame until all sides are lightly browned and fish is cooked well.
  • Serve hot decorated with lemon wedges and pudina chutney or sauce.
Mahi Tikka

Monday, 6 June 2016

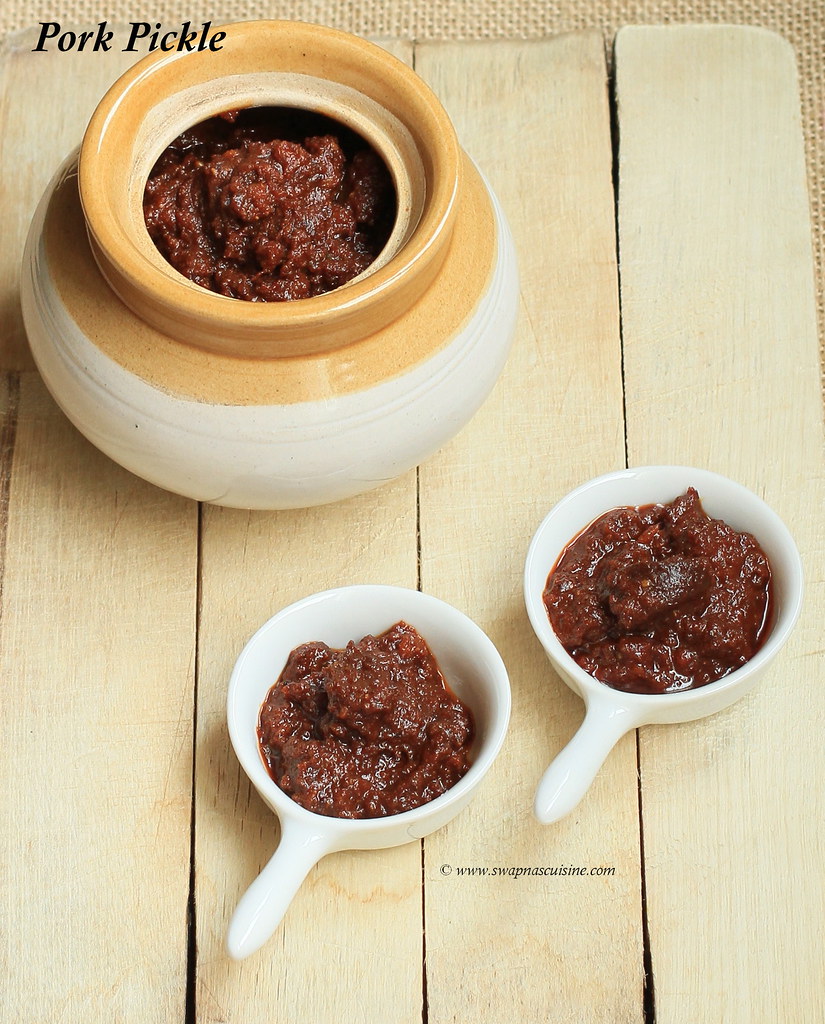
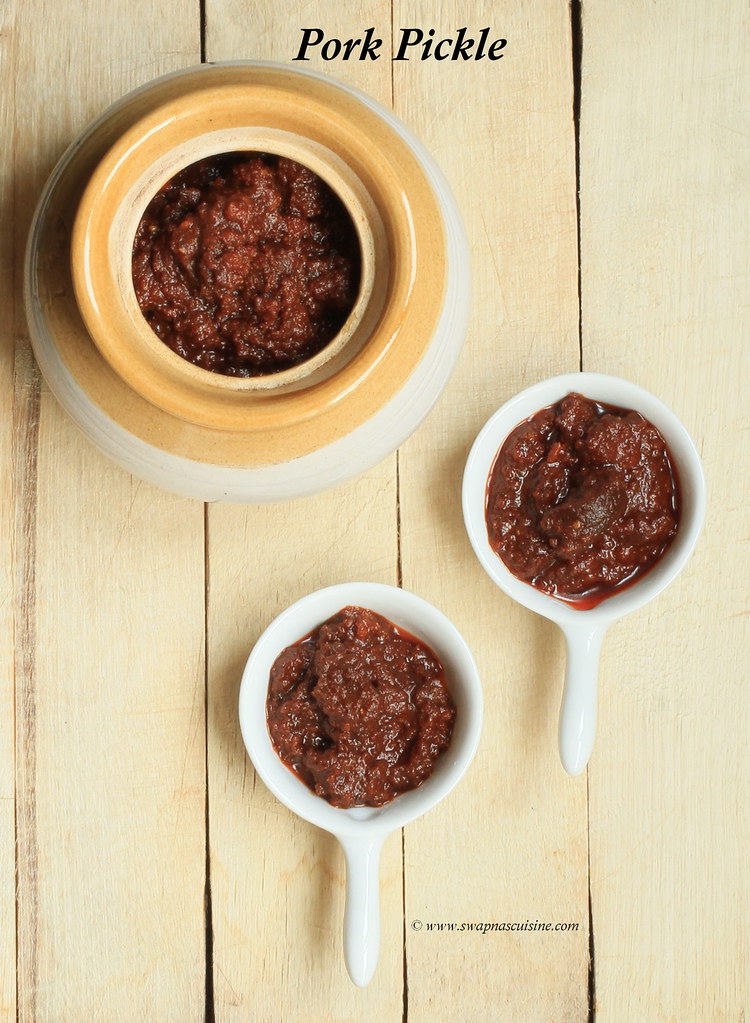
Pork Pickle Recipe / Panniyearchi Achar

, How to pickle pork

My Pickling bug continues and this time its Pork Pickle :) :)  Recently while emptying my freezer I found a packet of pork and thought of pickling it. I followed the chicken pickle recipe with slight changes. Worth the trial and we loved it. I highly recommend to use boneless pork pieces without the fat and increase or decrease the oil according to the pork pieces you use. Like I say in all my pickle recipe posts, you can keep pickle at room temperature, if you avoid adding water while preparing it. Always remember to use a clean sterilized dry bottle to store the pickle and always use a dry spoon to take the pickle.

Kerala Panniyearchi Achar Recipe

Pork Pickle Recipe / Panniyearchi Achar
Ingredients:
Boneless Pork without fat - 500 gms
Ginger - 2 tbsp, chopped
Garlic - 2 tbsp, chopped
Curry Leaves – 2 sprigs
Salt to taste
Kashmiri Red chilly powder – 3 tbsp
Turmeric powder – 1 tsp
Asafoetida powder / Kaayam – 1 tsp
Fenugreek powder / Uluva podi - 1 tsp
Garam masala – 1 ½ tsp
Sugar – 1 tsp
Vinegar - ½ to 1 cup
Gingelly oil / Sesame Oil / Nallenna – ¾ cup

Method:
  • Wash, clean and drain pork pieces. Add salt, turmeric powder and pepper powder and let marinate the pork for 1 hour.
  • Heat oil in a pan, splutter the mustard seeds. Then add ginger, garlic and curry leaves and sauté well until golden brown.
  • Add the marinated pork and fry till the pork pieces are light brown in colour.
  • Lower the flame and add the powders and mix well till the raw smell goes.
  • Add vinegar to taste and cook on low flame till the pork is cooked and the gravy is thick.
  • Sprinkle sugar and check for salt and turn off the heat.
  • Once the pickle is cooled transfer it to a clean dry bottle and use. 

Monday, 23 May 2016

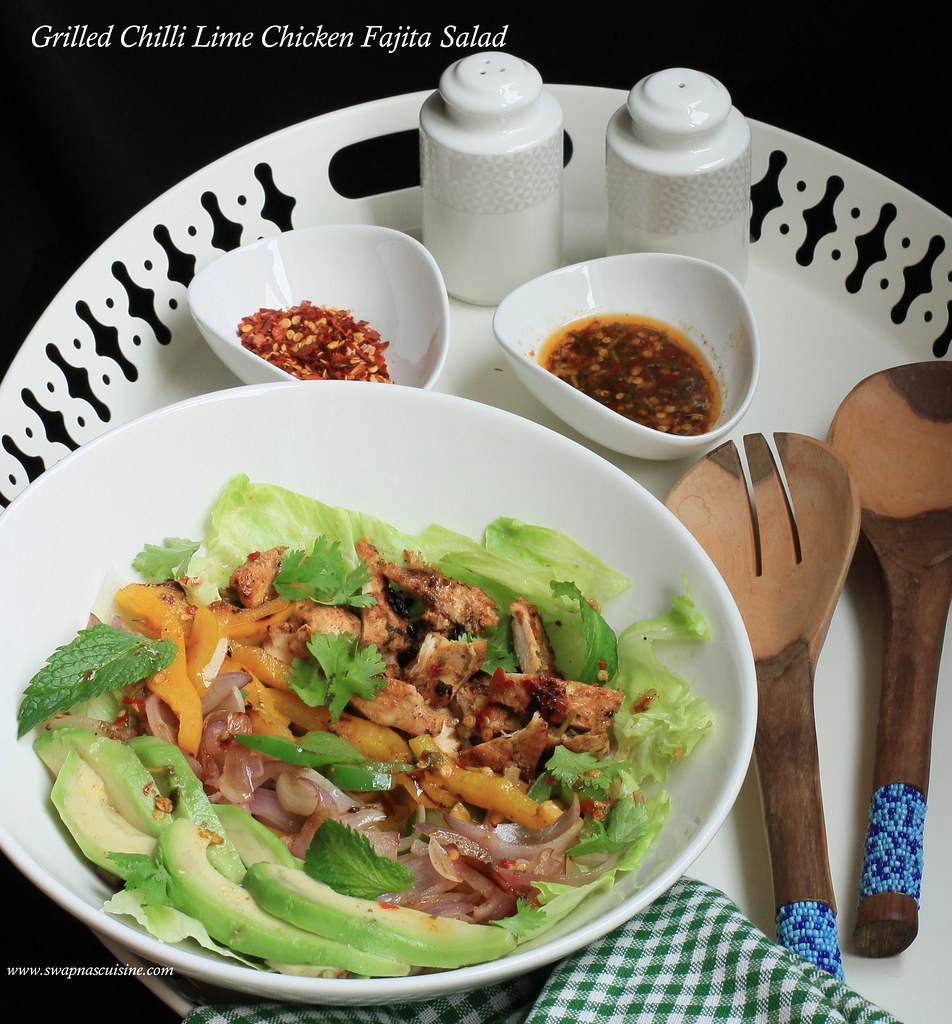
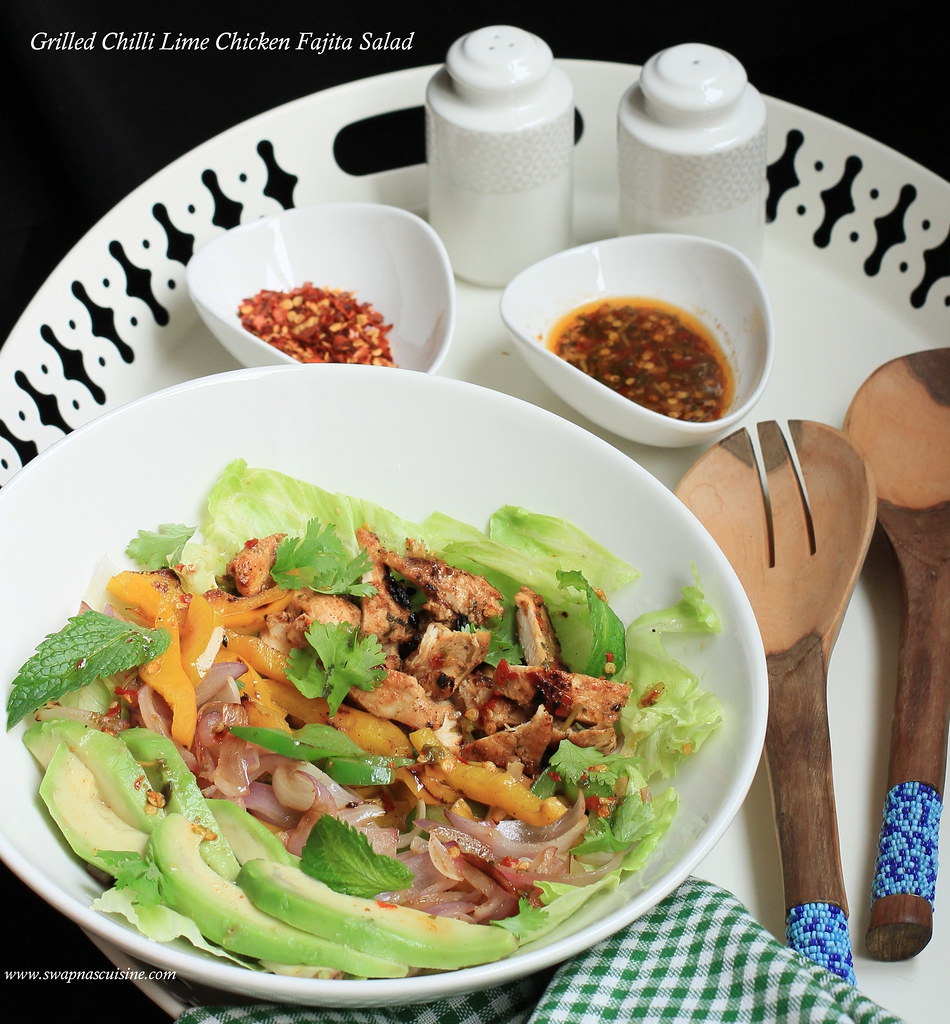
Grilled Chilli Lime Chicken Fajita Salad

Chicken Fajita Salad,

This salad caught my eye when I first saw the picture on the net. Tender and juicy chicken grilled in a chilli lime marinade and served with avocado slices, grilled capsicum, onion and lettuce. The best part of this recipe is that the marinade is also used as a dressing. Just make the marinade and use half of it to marinate chicken and other half can be kept in the fridge to use as dressing. We really loved this flavourful salad and is a great addition to a party menu :) 

Grilled Chilli Lime Chicken Fajita Salad
(Recipe from here)
Ingredients:
Marinade/Dressing:
3 tablespoons olive oil
100ml (just over ⅓ cup) freshly squeezed lime juice
2 tablespoons fresh chopped coriander leaves
2 cloves garlic, crushed
1 teaspoon brown sugar
1 teaspoon red chilli flakes 
½ teaspoon ground Cumin
1 teaspoon salt
Salad:
4 boneless chicken
½ yellow bell pepper, deseeded and sliced
½ red bell pepper, deseeded and sliced
½ an onion, sliced
5 cups lettuce leaves, washed and dried
2 avocados, sliced
Extra coriander leaves to garnish
Sour cream (optional) to serve
Method:
  • Whisk marinade ingredients together to combine. Pour half the marinade into a shallow dish to marinade the chicken fillets for two hours if time allows. Refrigerate the reserved untouched marinade to use as a dressing.
  • Heat about one teaspoon of oil in a grill pan or skillet over medium-high heat and grill chicken fillets on each side until golden, crispy and cooked through. (Grill in batches to prevent excess water being released.) Once chicken is cooked, set aside and allow to rest.
  • Wipe pan over with paper towel; drizzle with another teaspoon of oil and fry pepper and onion strips until cooked to your liking.
  • Slice chicken into strips and prepare salad with leaves, avocado slices, peppers, onion strips and chicken. Drizzle with remaining marinade/dressing and serve with extra coriander leaves and sour cream.

Salad Recipes,

Thursday, 12 May 2016

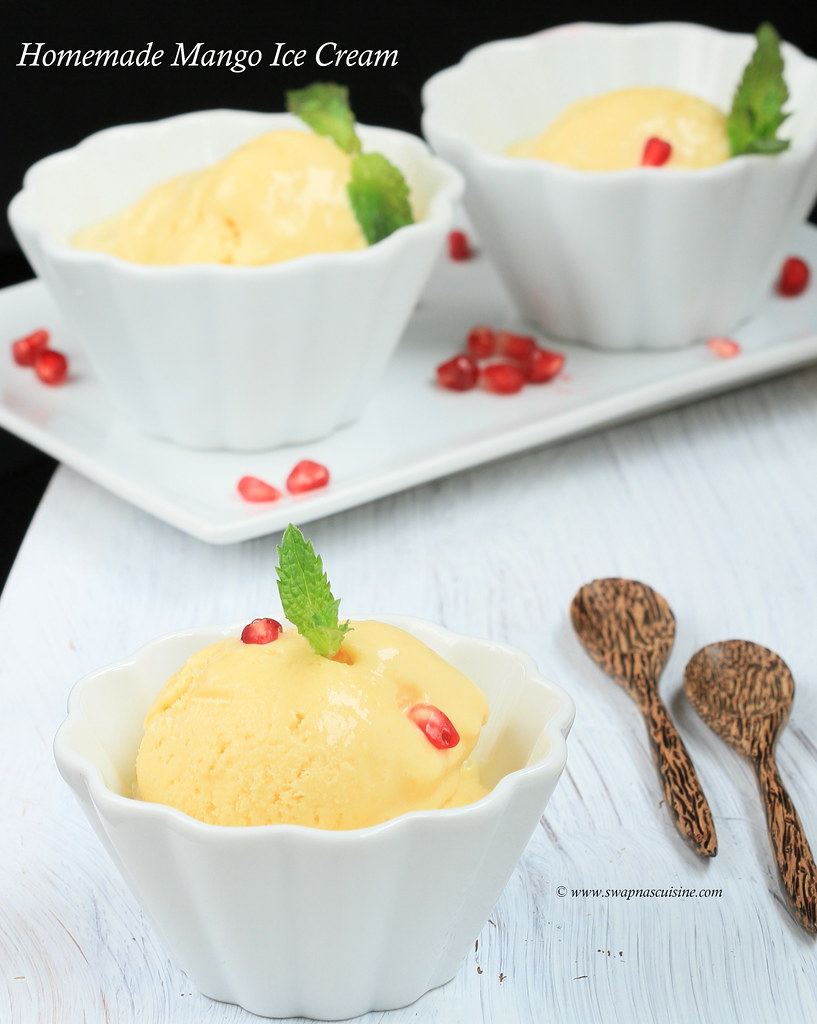
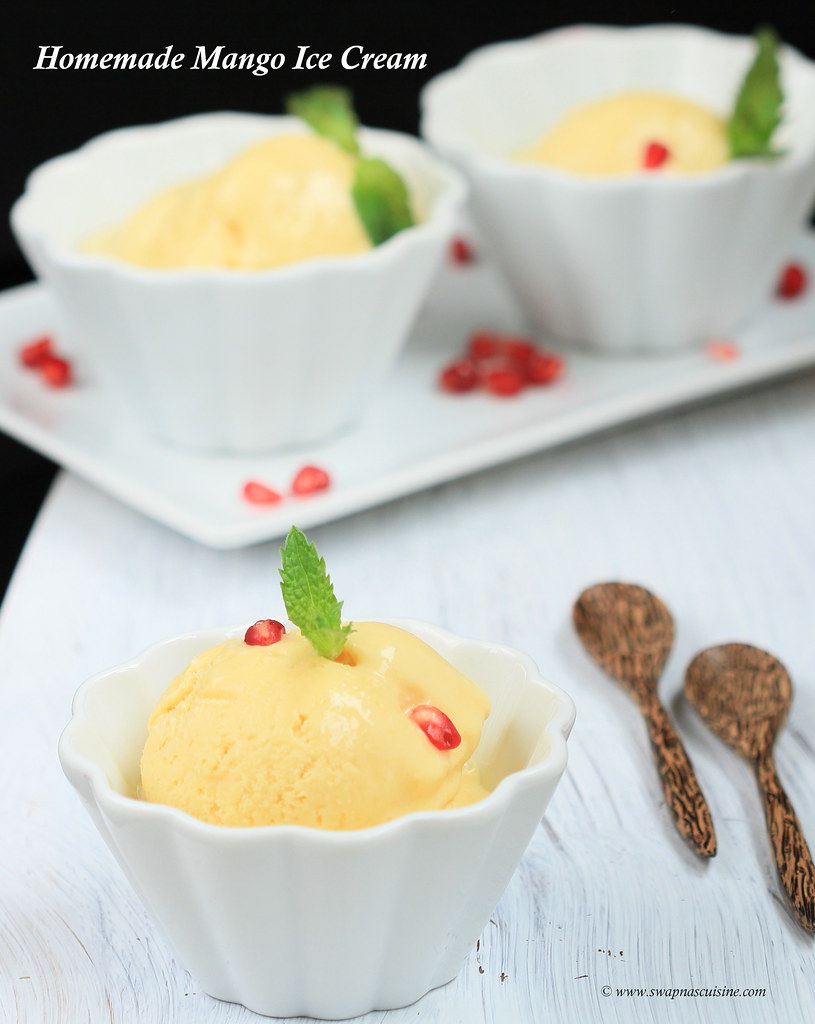
Homemade Mango Ice Cream

No Churn Homemade Mango Ice Cream with Condensed milk

It’s that season of the year when supermarket shelves are filled with different varieties of mangoes. I made this easy condensed milk mango ice cream that needs no cooking at all. Just whip up everything and freeze and you will have an amazing homemade mango ice cream. Even teenagers can make it at home! If you don’t have an ice cream maker, you need to whip the ice cream 2-3 times as it freezes to avoid crystallisation in the ice cream. You will get soft and smooth ice cream without an ice cream maker at home :) :) 

Eggless Mango Ice Cream Recipe


Homemade Mango Ice Cream with Condensed Milk

Ingredients:
Ripe Mango puree – 3 cups
Milk – 3 cups
Fresh Cream – 2 cups
Sweetened Condensed Milk – 1 tin
Sugar – ½ cup 
Lemon juice -1 tbsp

Method:
  • Combine the condensed milk, milk, mango puree and lemon juice in a bowl.
  • Whip the cream lightly with sugar and fold into the mixture.
  • Pour into a freezing tray and freeze till half set. Remove and beat with a whisk or electric beater until smooth. Repeat the process two more times. Doing so will help keep the texture of the ice cream soft and creamy while it sets.
  • Return to tray and freeze till well set and serve.
How to make easy Mango Ice cream at home

Tuesday, 26 April 2016

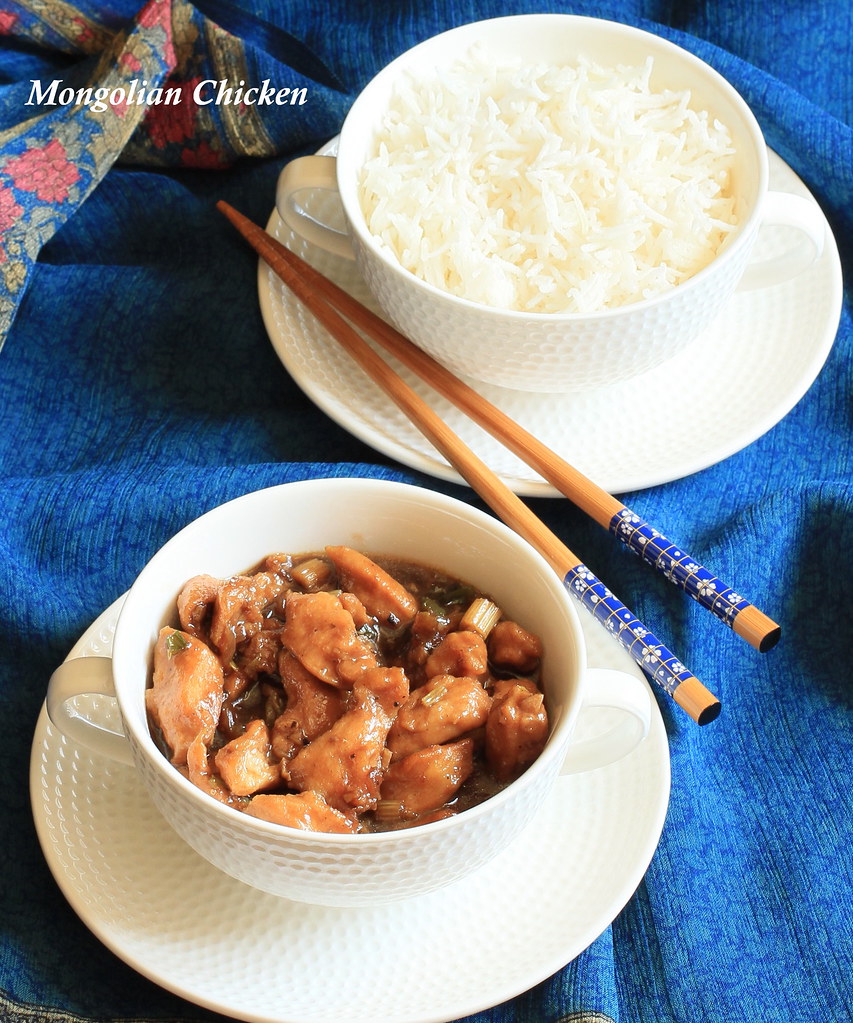
Mongolian Chicken Recipe

Copycat P.F Chang’s Chicken Recipe,

It’s been quite a while since I updated my blog. My son had a short year end break from school and also had to travel to India for my mother in law’s funeral. Now I am slowly getting back to my routine. If you haven’t got a reply for an e-mail or query please excuse me, will revert back soon…

P.F Chang’s restaurants are very famous all over the world and when it opened a branch in Kuwait few years ago, it was so crowded that people had to wait hours to get inside. Of course the food is good and one never regretted the long wait :D...  After tasting their food, I have tried to replicate some of the dishes like Spicy Chicken, Mongolian Beef etc at home.... This Mongolian Chicken is a healthier version of the beef and we all really loved the sweet and spicy chicken, which goes well with fried rice, noodles or even with plain rice! Do try and let me know how it turns out...

Mongolian Chicken Recipe
(Recipe adapted from here

Ingredients:
Boneless Chicken - 500 gms, cut into bite size pieces
Corn flour - ¼ cup
Vegetable oil - 2 tbsp
Ginger - ½ tsp, minced
Garlic - 1 tbsp, minced
Celery - 3 tbsp, chopped
Pepper powder - ½ tsp -1tsp
Soy sauce - 4 tbsp
Chicken stock - ½ cup
Brown sugar - 2 tbsp
Sesame oil - 1 tsp 
Spring onions -4 stems, chopped

Method:
  • In a bowl, mix chicken pieces with corn flour until all the pieces are evenly coated.
  • In a pan over high heat, add oil and when the oil is hot, add chicken. Cook until chicken is cooked through (about 4 minutes).
  • Add garlic and ginger and cook for 2 minutes.
  • Add soy sauce, chicken stock, celery, pepper powder and brown sugar and cook for 3-4 minutes, until sauce thickens.
  • Turn the heat off, add sesame oil and spring onions. Stir well and serve with fried rice, noodles or white rice.
Easy Chicken Recipe

Wednesday, 10 February 2016

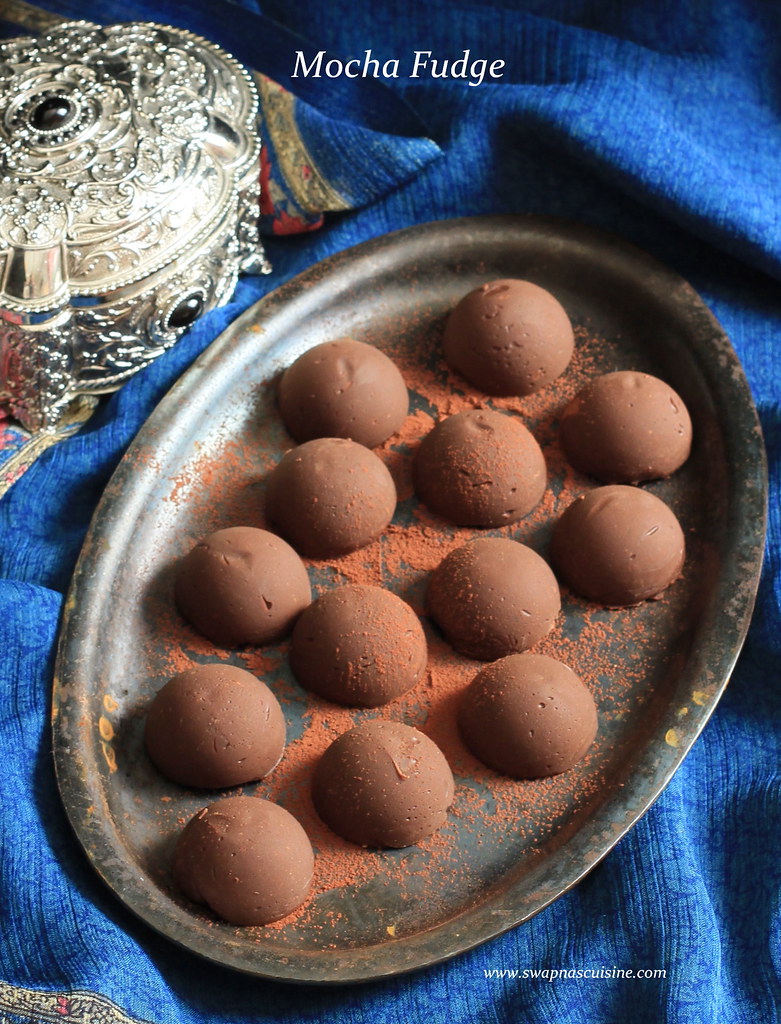
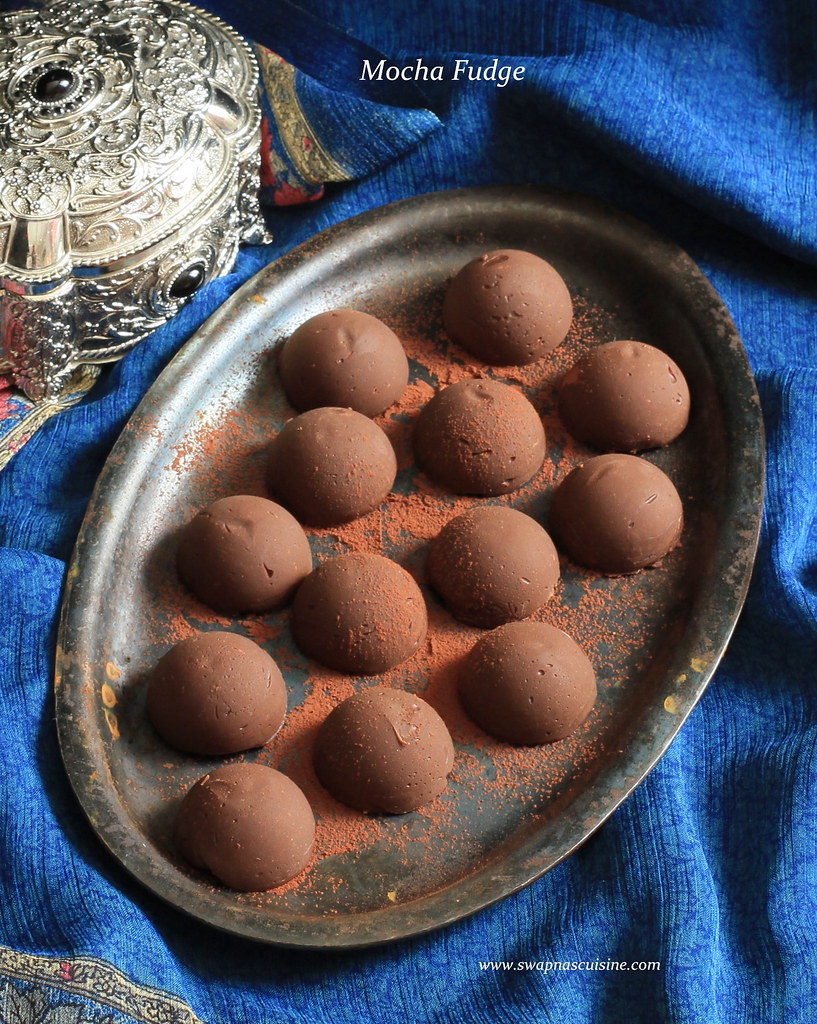
Mocha Fudge / Coffee Fudge

How to make Mocha Fudge

Valentine’s Day is around the corner, and if you want to make a perfect last minute treat for someone special in your life, you must try this easy Mocha Fudge :). And if you don’t celebrate Valentine’s Day like us, you can make it as a quick chocolate fix whenever you crave to indulge in chocolate. This Mocha Fudge has a rich chocolate flavour with a hint of coffee. It only needs 3 ingredients and 10 minutes of your time! Usually fudge is set in a pan and cut into squares. However, this time I used my silicone round molds to set fudge for a neat and cute look. If you are a coffee lover, I am sure you will love this chocolate indulgence.

Homemade Coffee Fudge Recipe


Mocha Fudge / Coffee Fudge
(Recipe Adapted from here)

Ingredients:
Condensed milk -1 can
Semi-sweet chocolate chips - 2 cups (325 gms / 12 ounces)
Instant coffee powder - 1 tbsp  (I used Bru coffee)

Method:
  • Line an 8-inch baking pan with parchment paper and set aside.
  • In a sauce pan over low heat, put condensed milk and chocolate chips. Stirring frequently, cook until chocolate chips melt and mixture is smooth.
  • Remove from heat and stir in coffee powder.
  • Pour mixture into prepared baking pan. Put in the refrigerator until set. (You can use silicone molds to set the fudge) 

Other Fudge Recipes

Tuesday, 2 February 2016

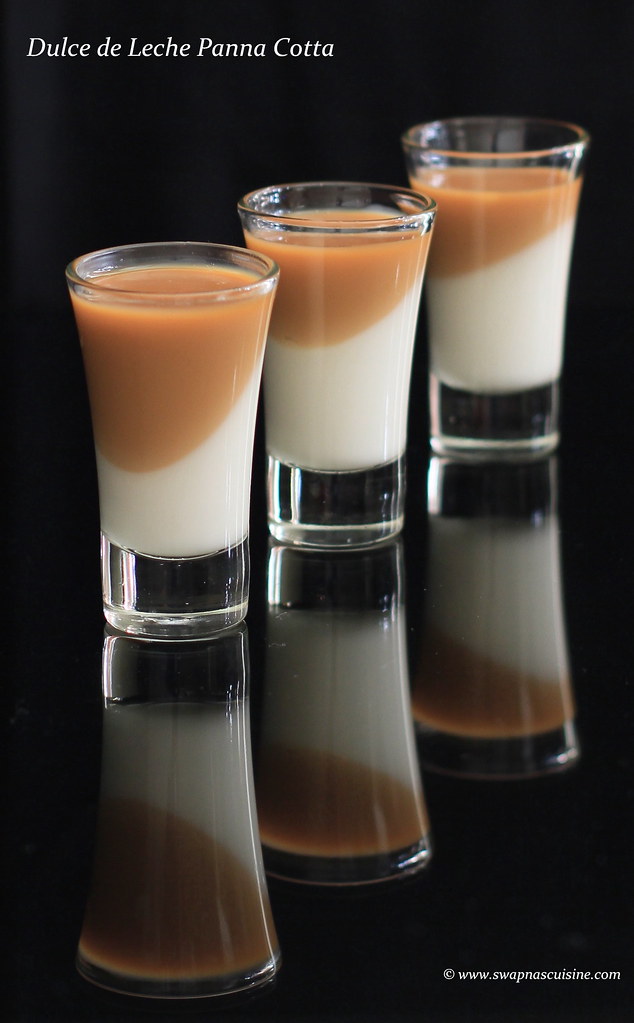
Dulce de Leche Panna Cotta Recipe

Dulce de Leche Panna Cotta

I have tried and posted many dessert recipes using Dulce De Leche and if you happen to be a regular reader, by now, you must have come to know of my love for Dulce deLeche desserts :) . Since it is the romantic month of February and Valentine’s Day is around the corner, I thought I will post a dessert recipe that is really easy to make for Valentine's day or for any other function. I have used store-bought Dulce de Leche, but you can easily prepare it at home by boiling a can of sweetened condensed milk. I have already posted the detailed recipe of how to prepare DDL at home here. Do try this recipe and present this Panna Cotta in individual serving glasses for stunning visual appeal! 
Do check out for other Valentine's Day special Recipes....

Wednesday, 27 January 2016

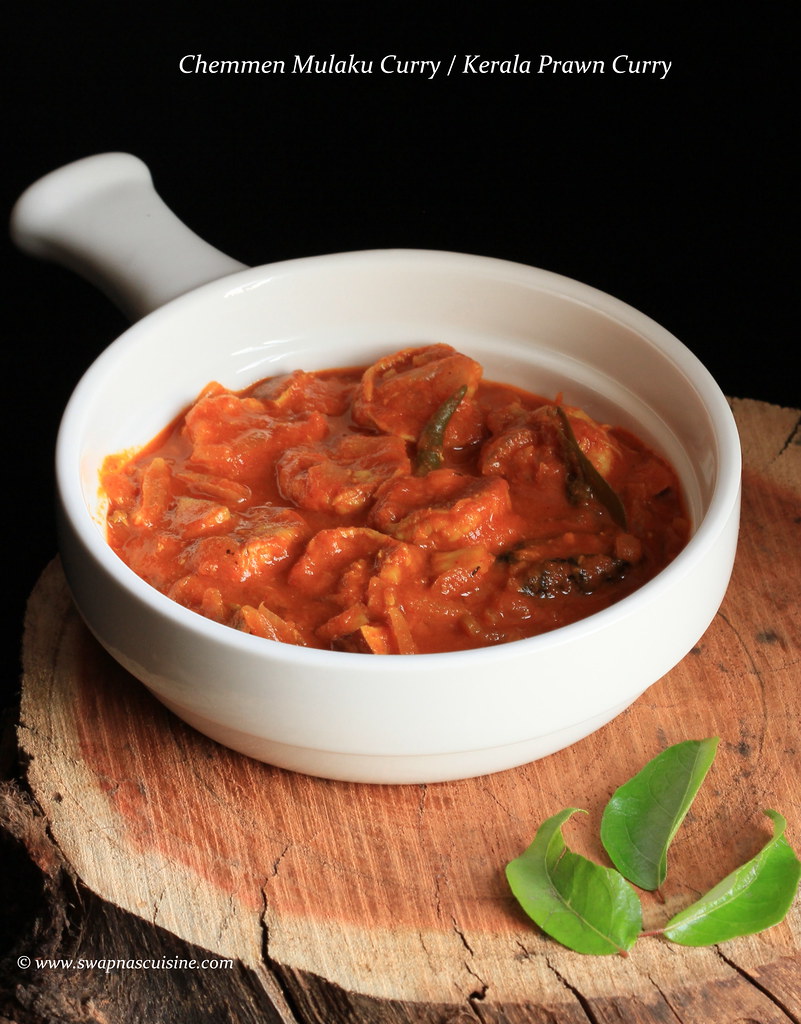
Chemmen Mulaku Curry with Thenga Kothu / Kerala Konju Curry / Kerala Style Prawn Curry with Coconut Pieces

Chemmen Mulaku curry is a very easy to make Kerala delicacy. Prawns are cooked along with coconut pieces, kudam puli and masala. Shallots, coconut pieces and Coconut oil are a must for making this curry to capture the authentic taste. Coconut oil (pacha velichenna) poured on top of the cooked curry enhances the taste. A true Keralite will indulge this spicy prawn curry with rice; it is also one of my favorite prawn dish.