As always an intention of a short break somehow gets extended
to several months!! After a great eight weeks of summer vacation we
came back last month. By the time I settled down, my son’s mid-term
exam had started! Anyway to compensate for the five
month long gap, today, I have come up with a lengthy dessert
post for you all :) :)
An
entremet or entremets is in modern French cuisine a small dish served between
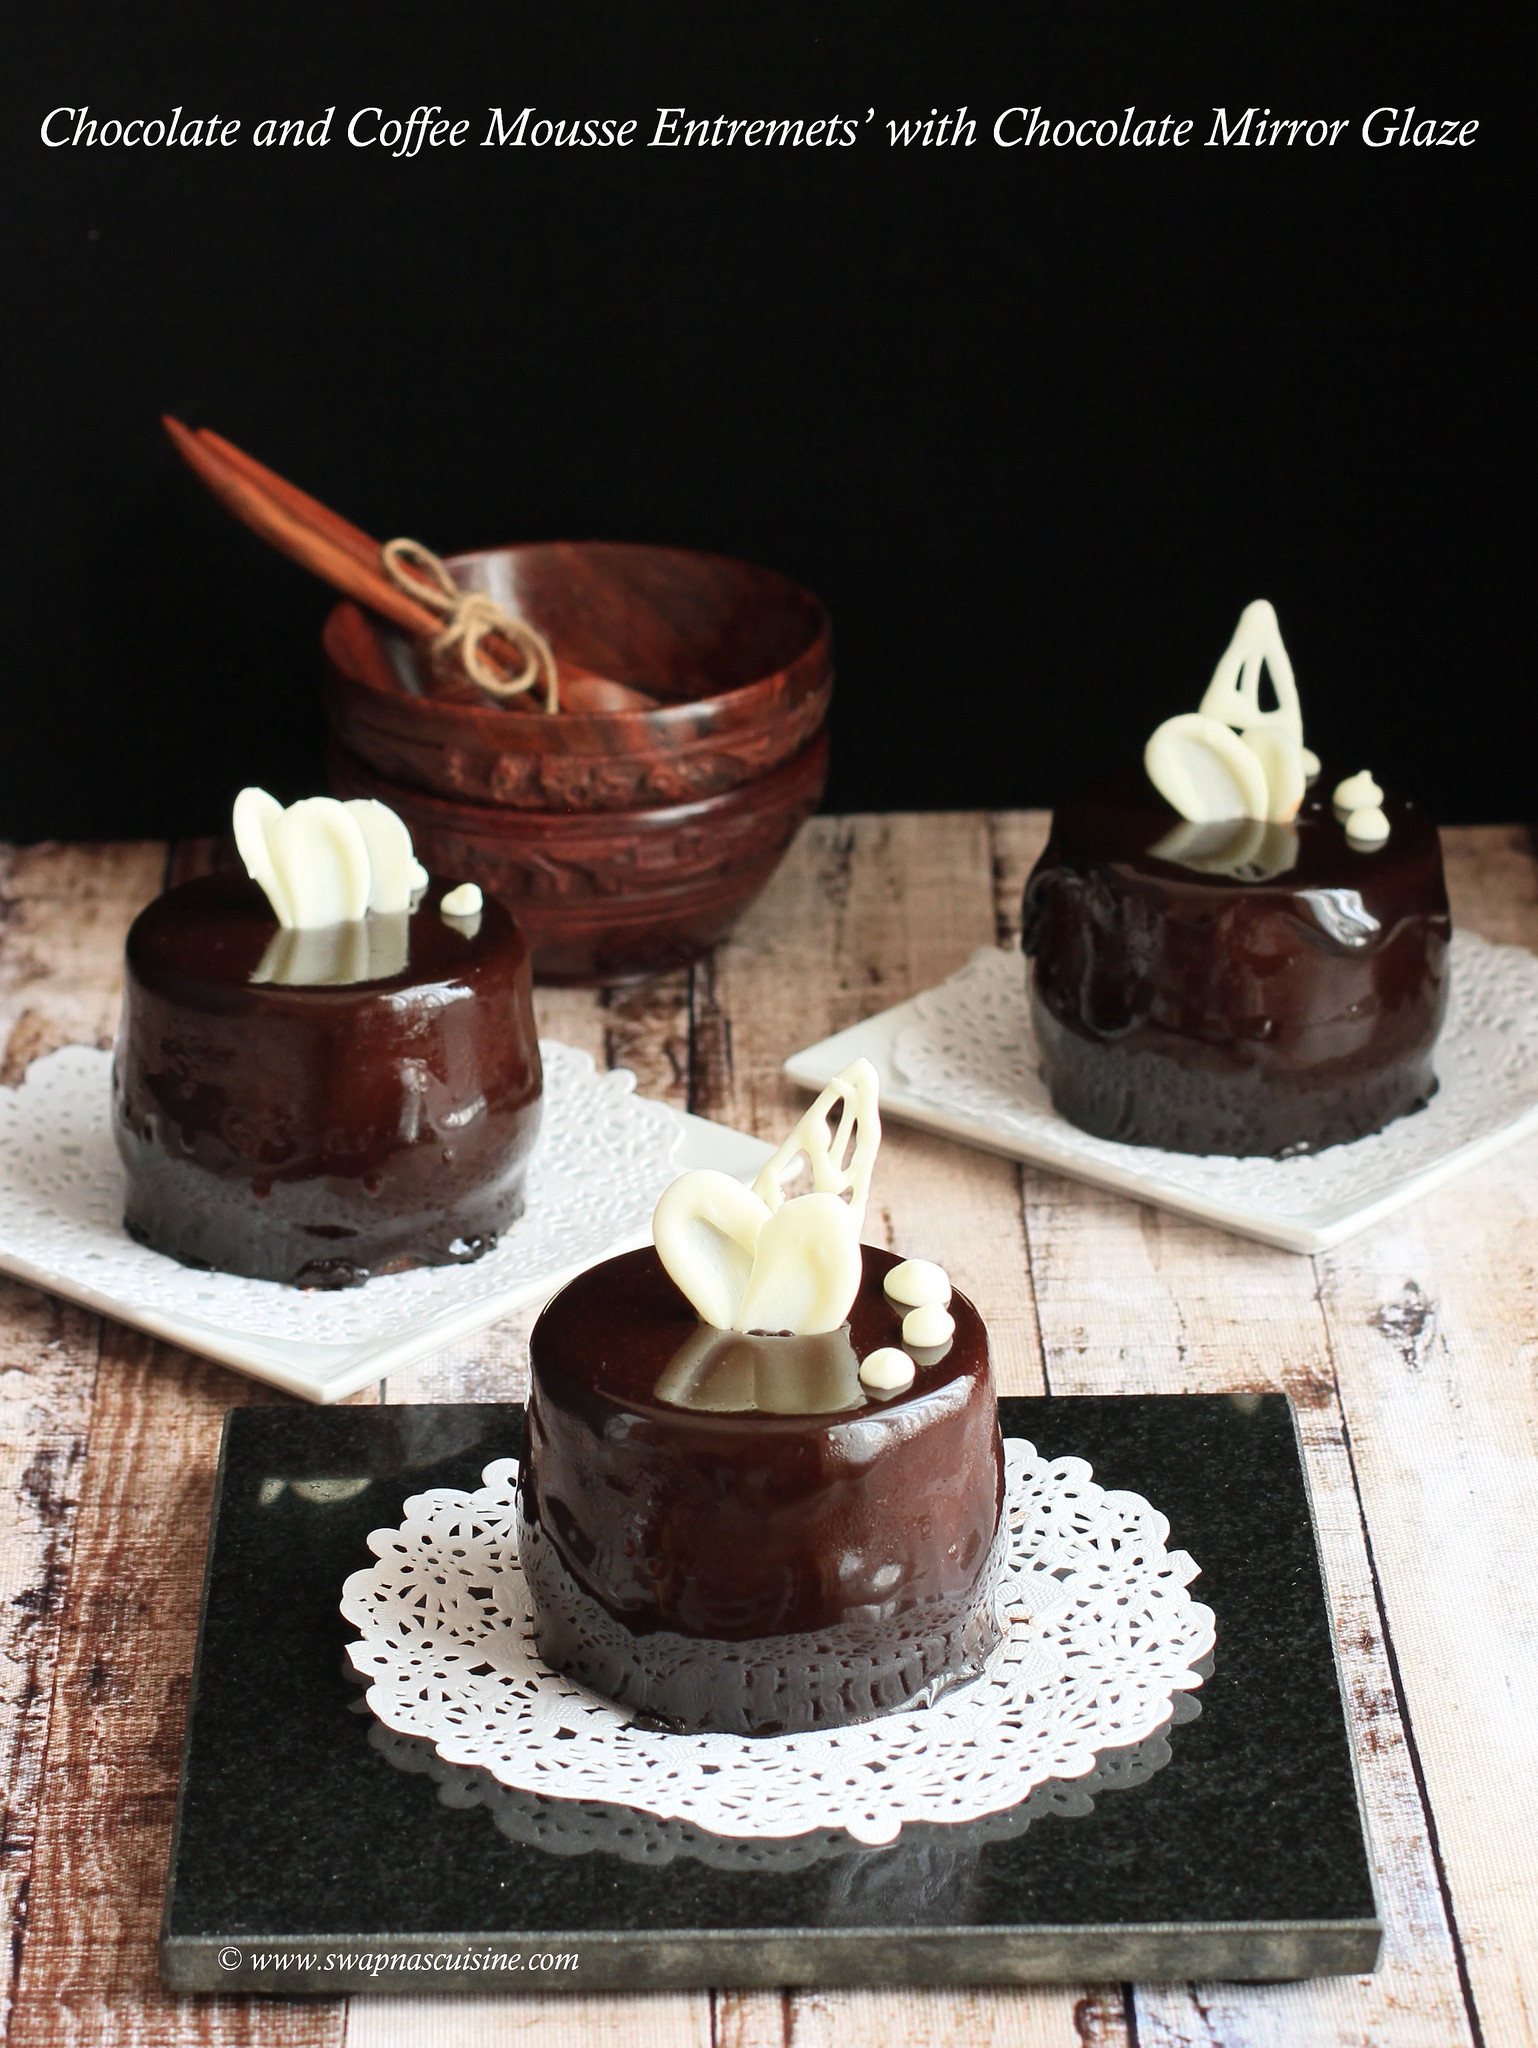
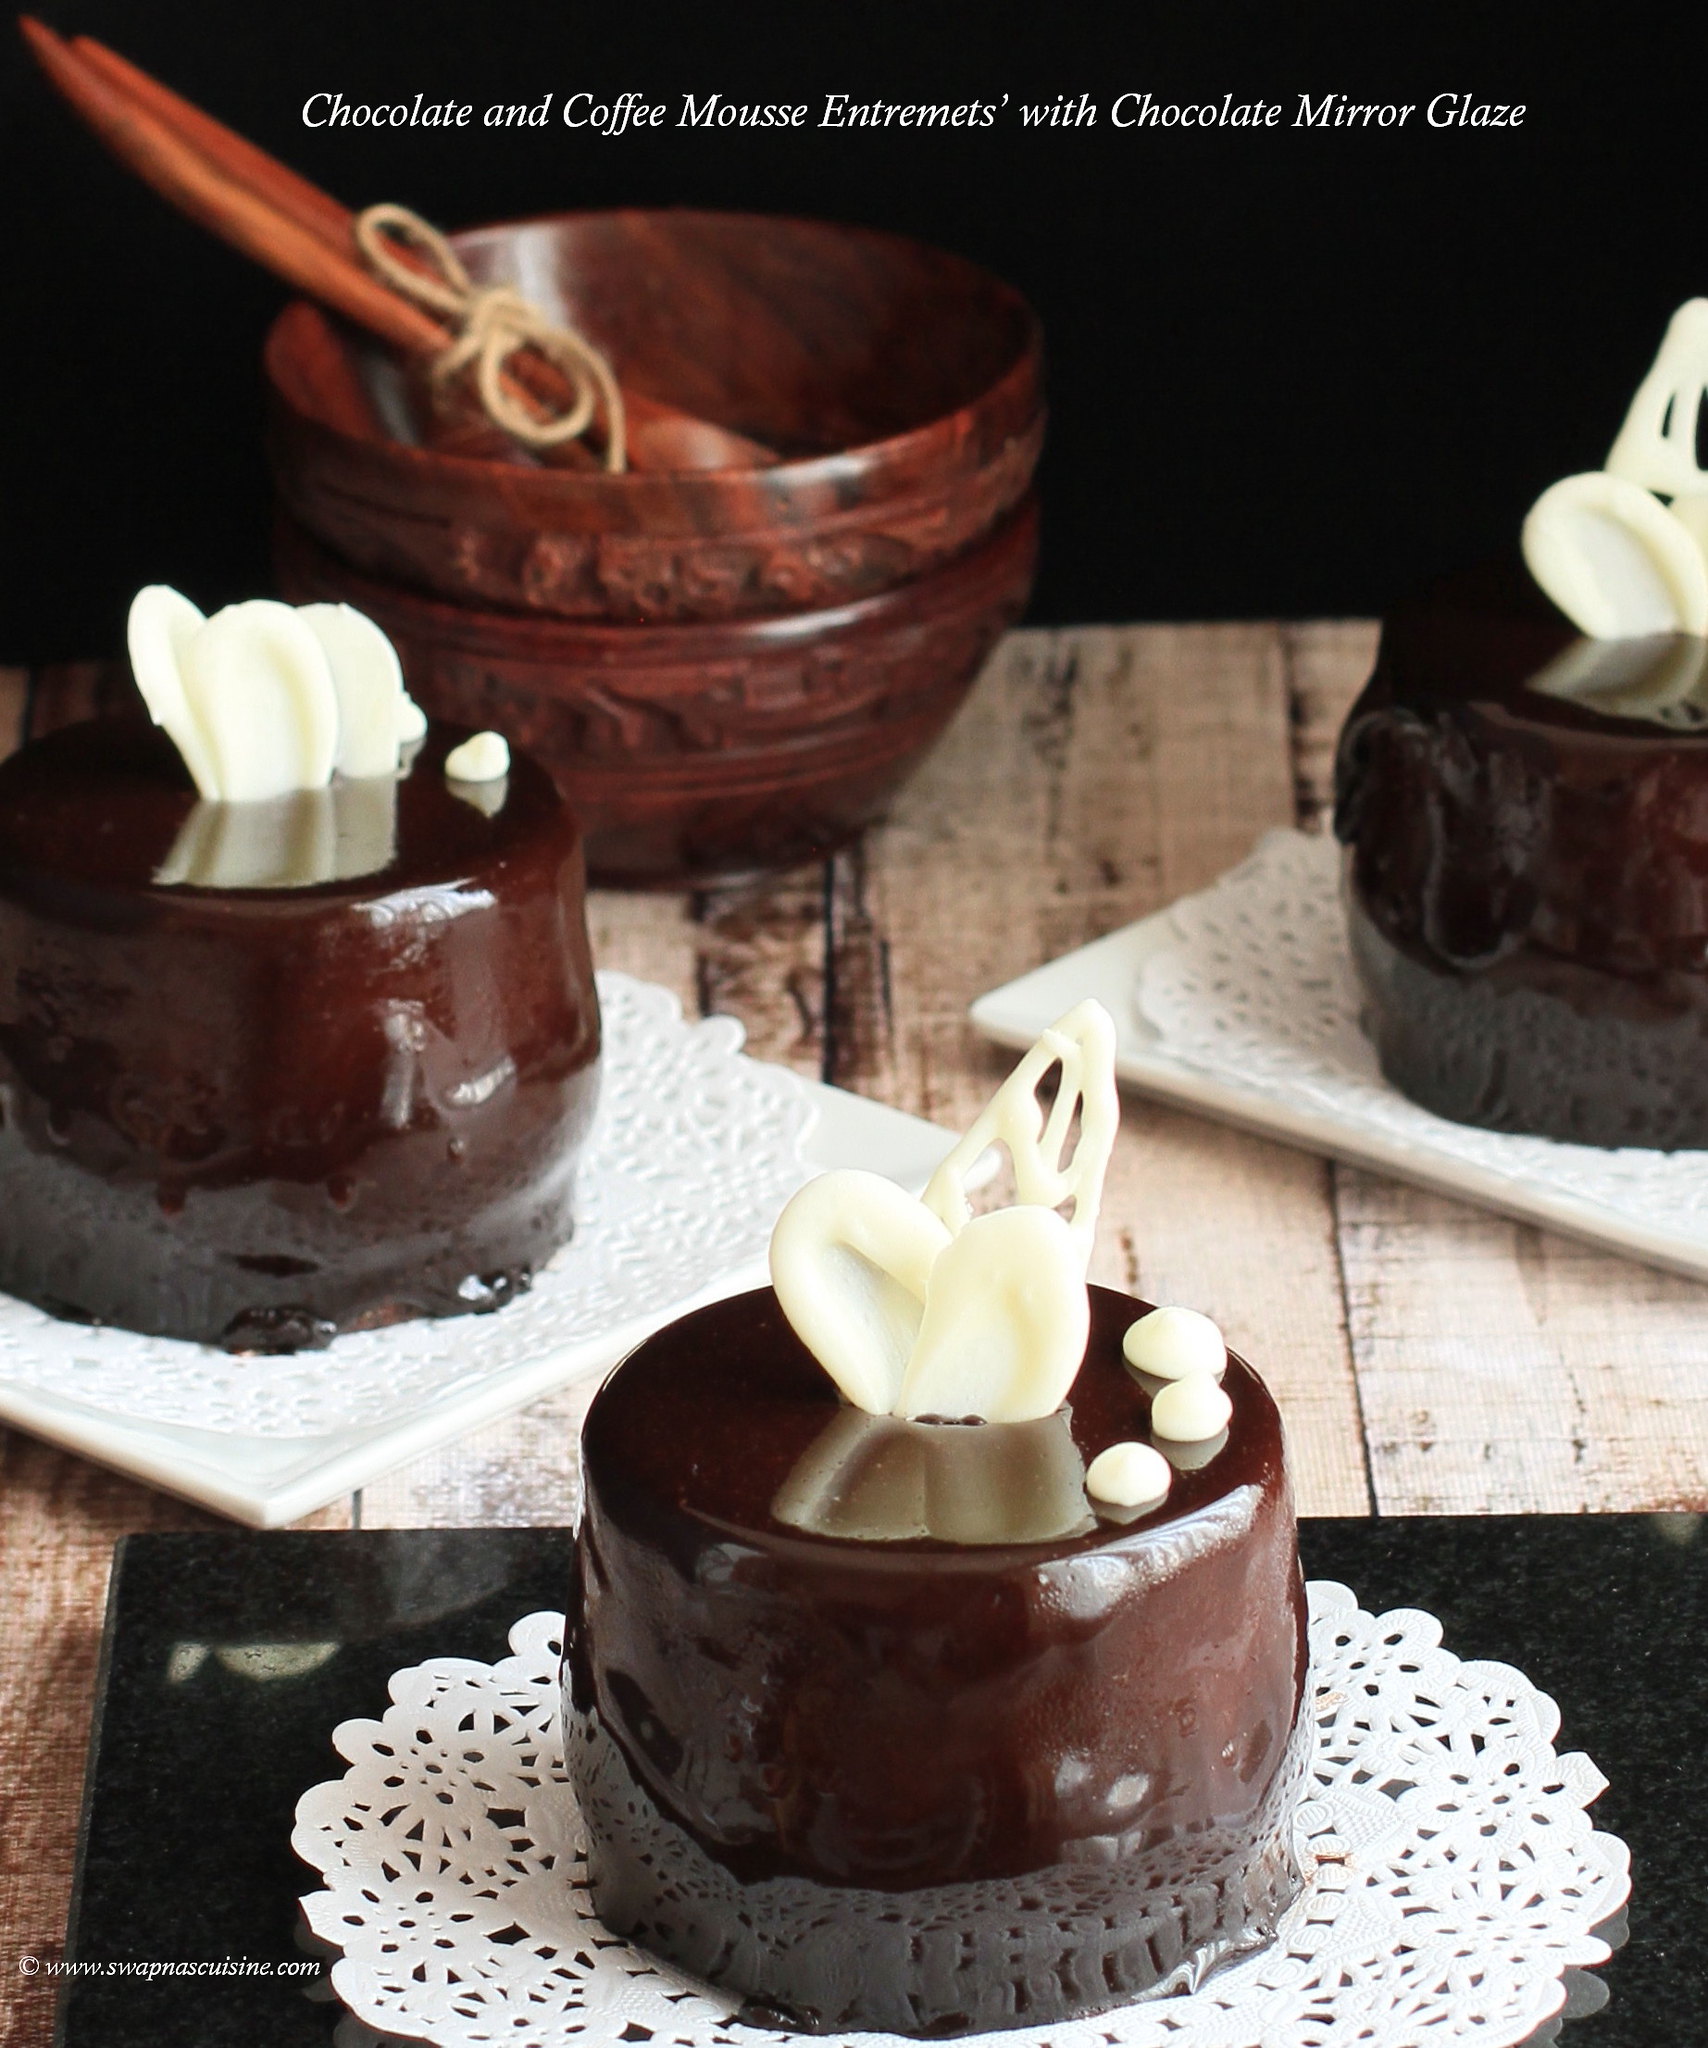
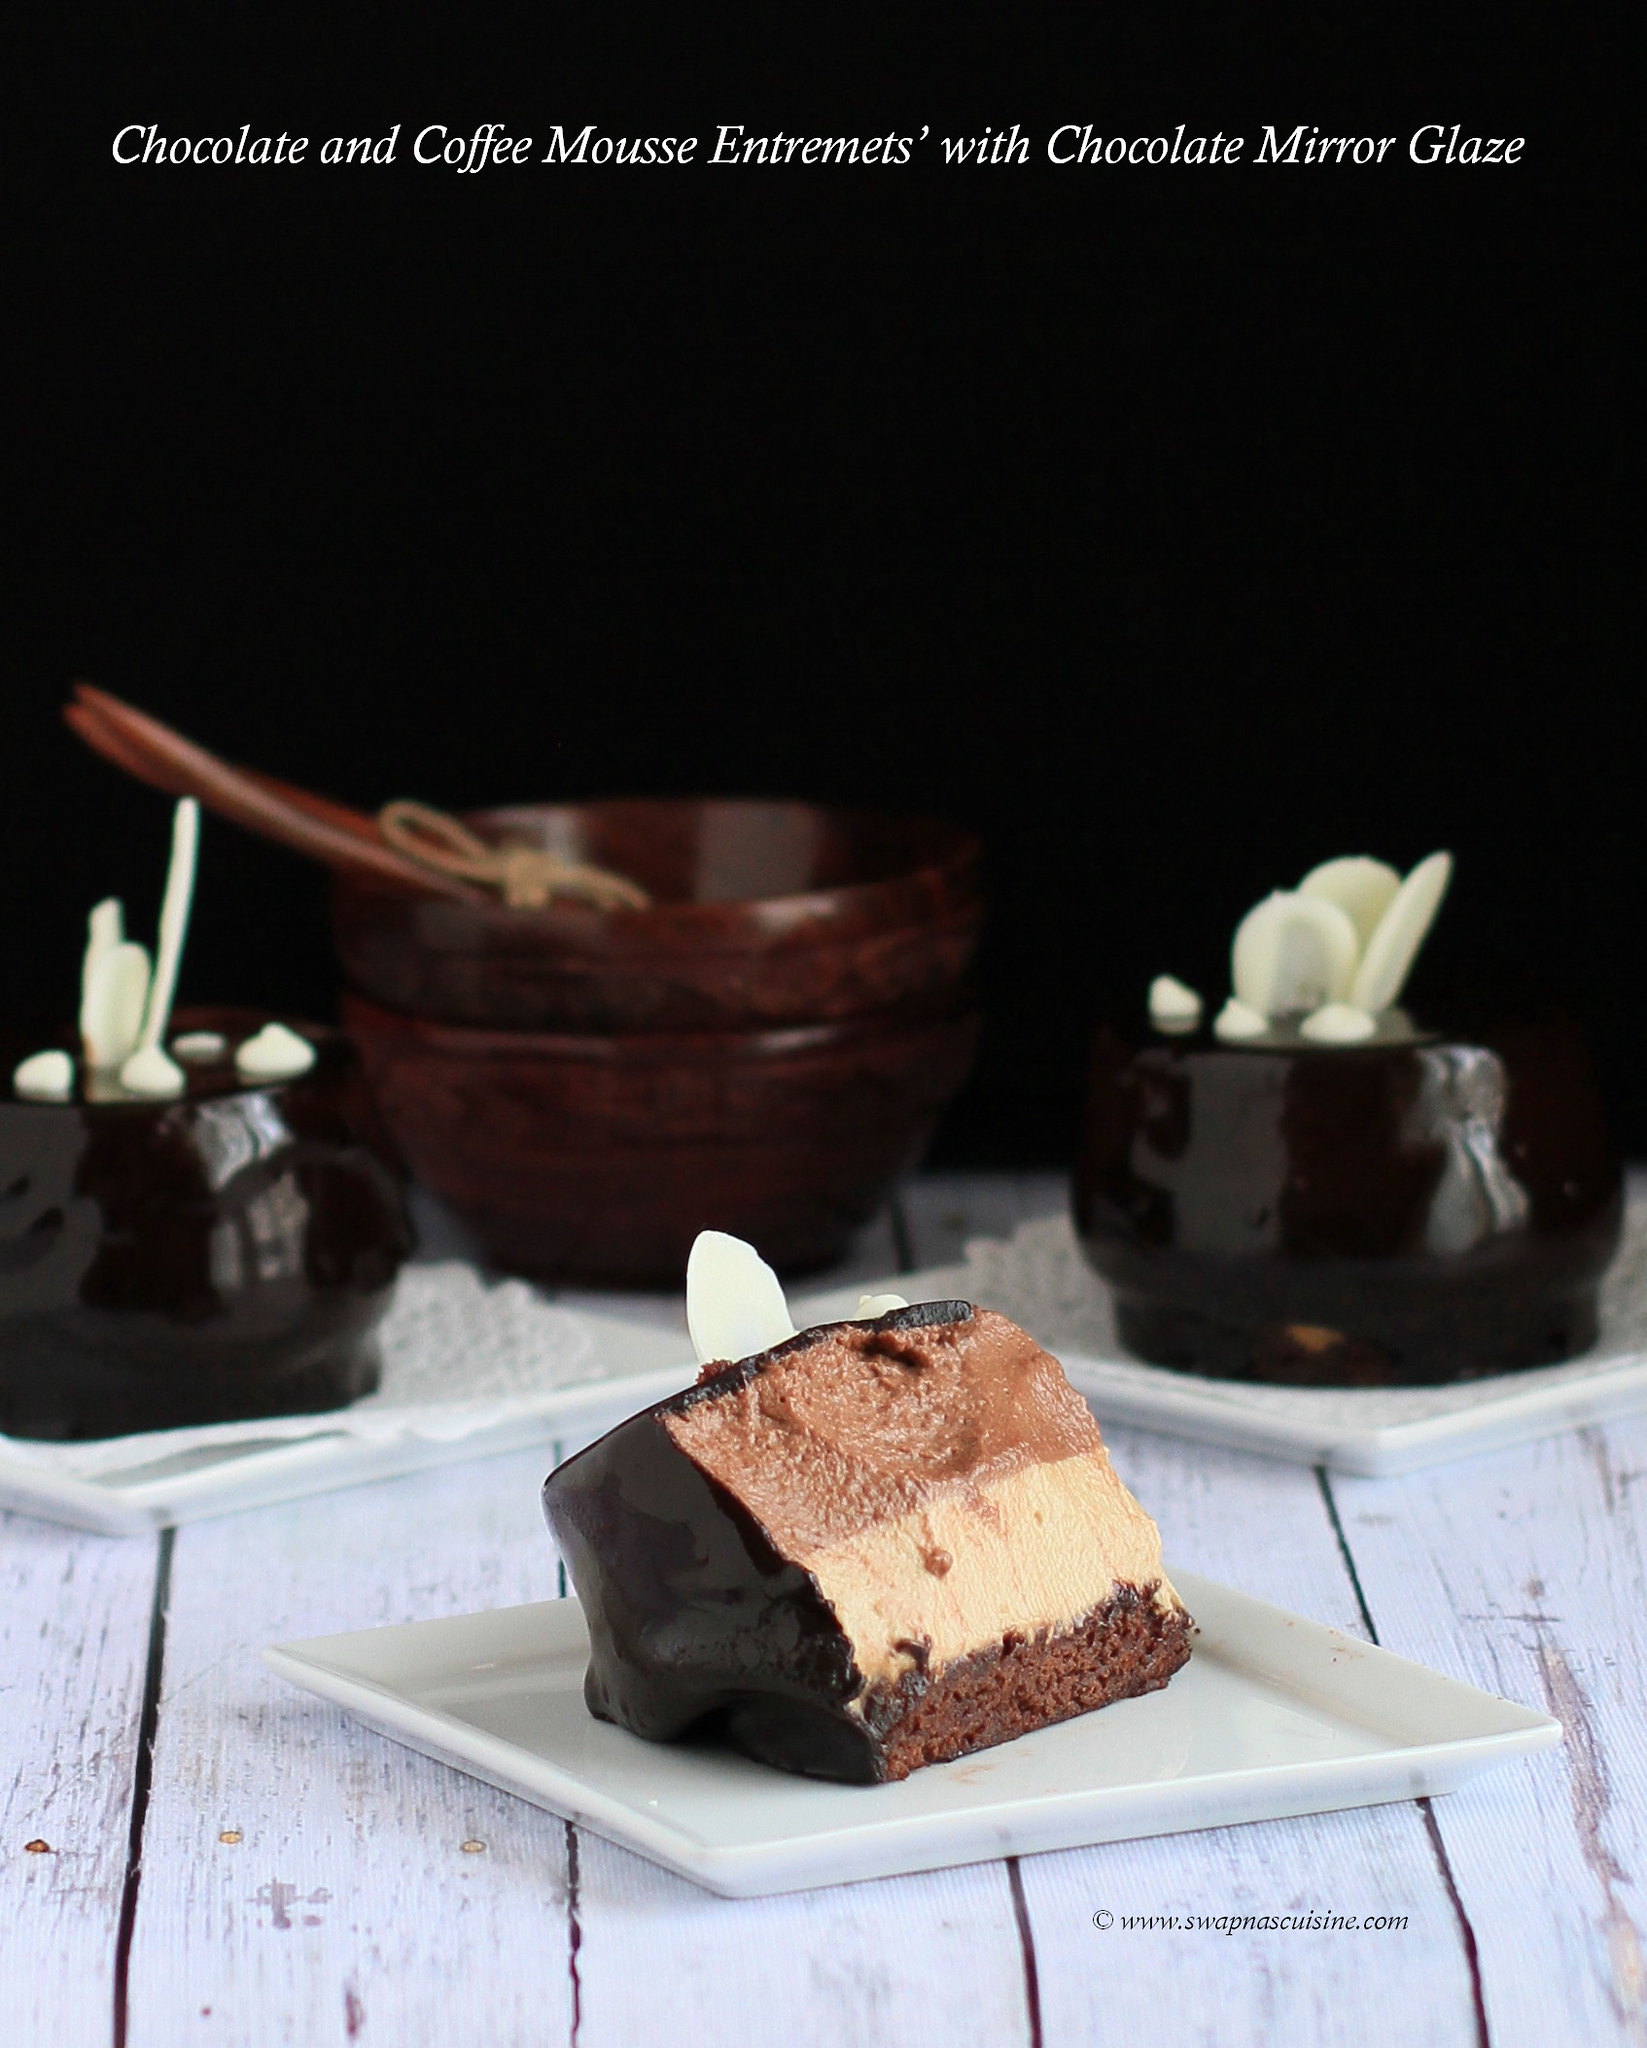
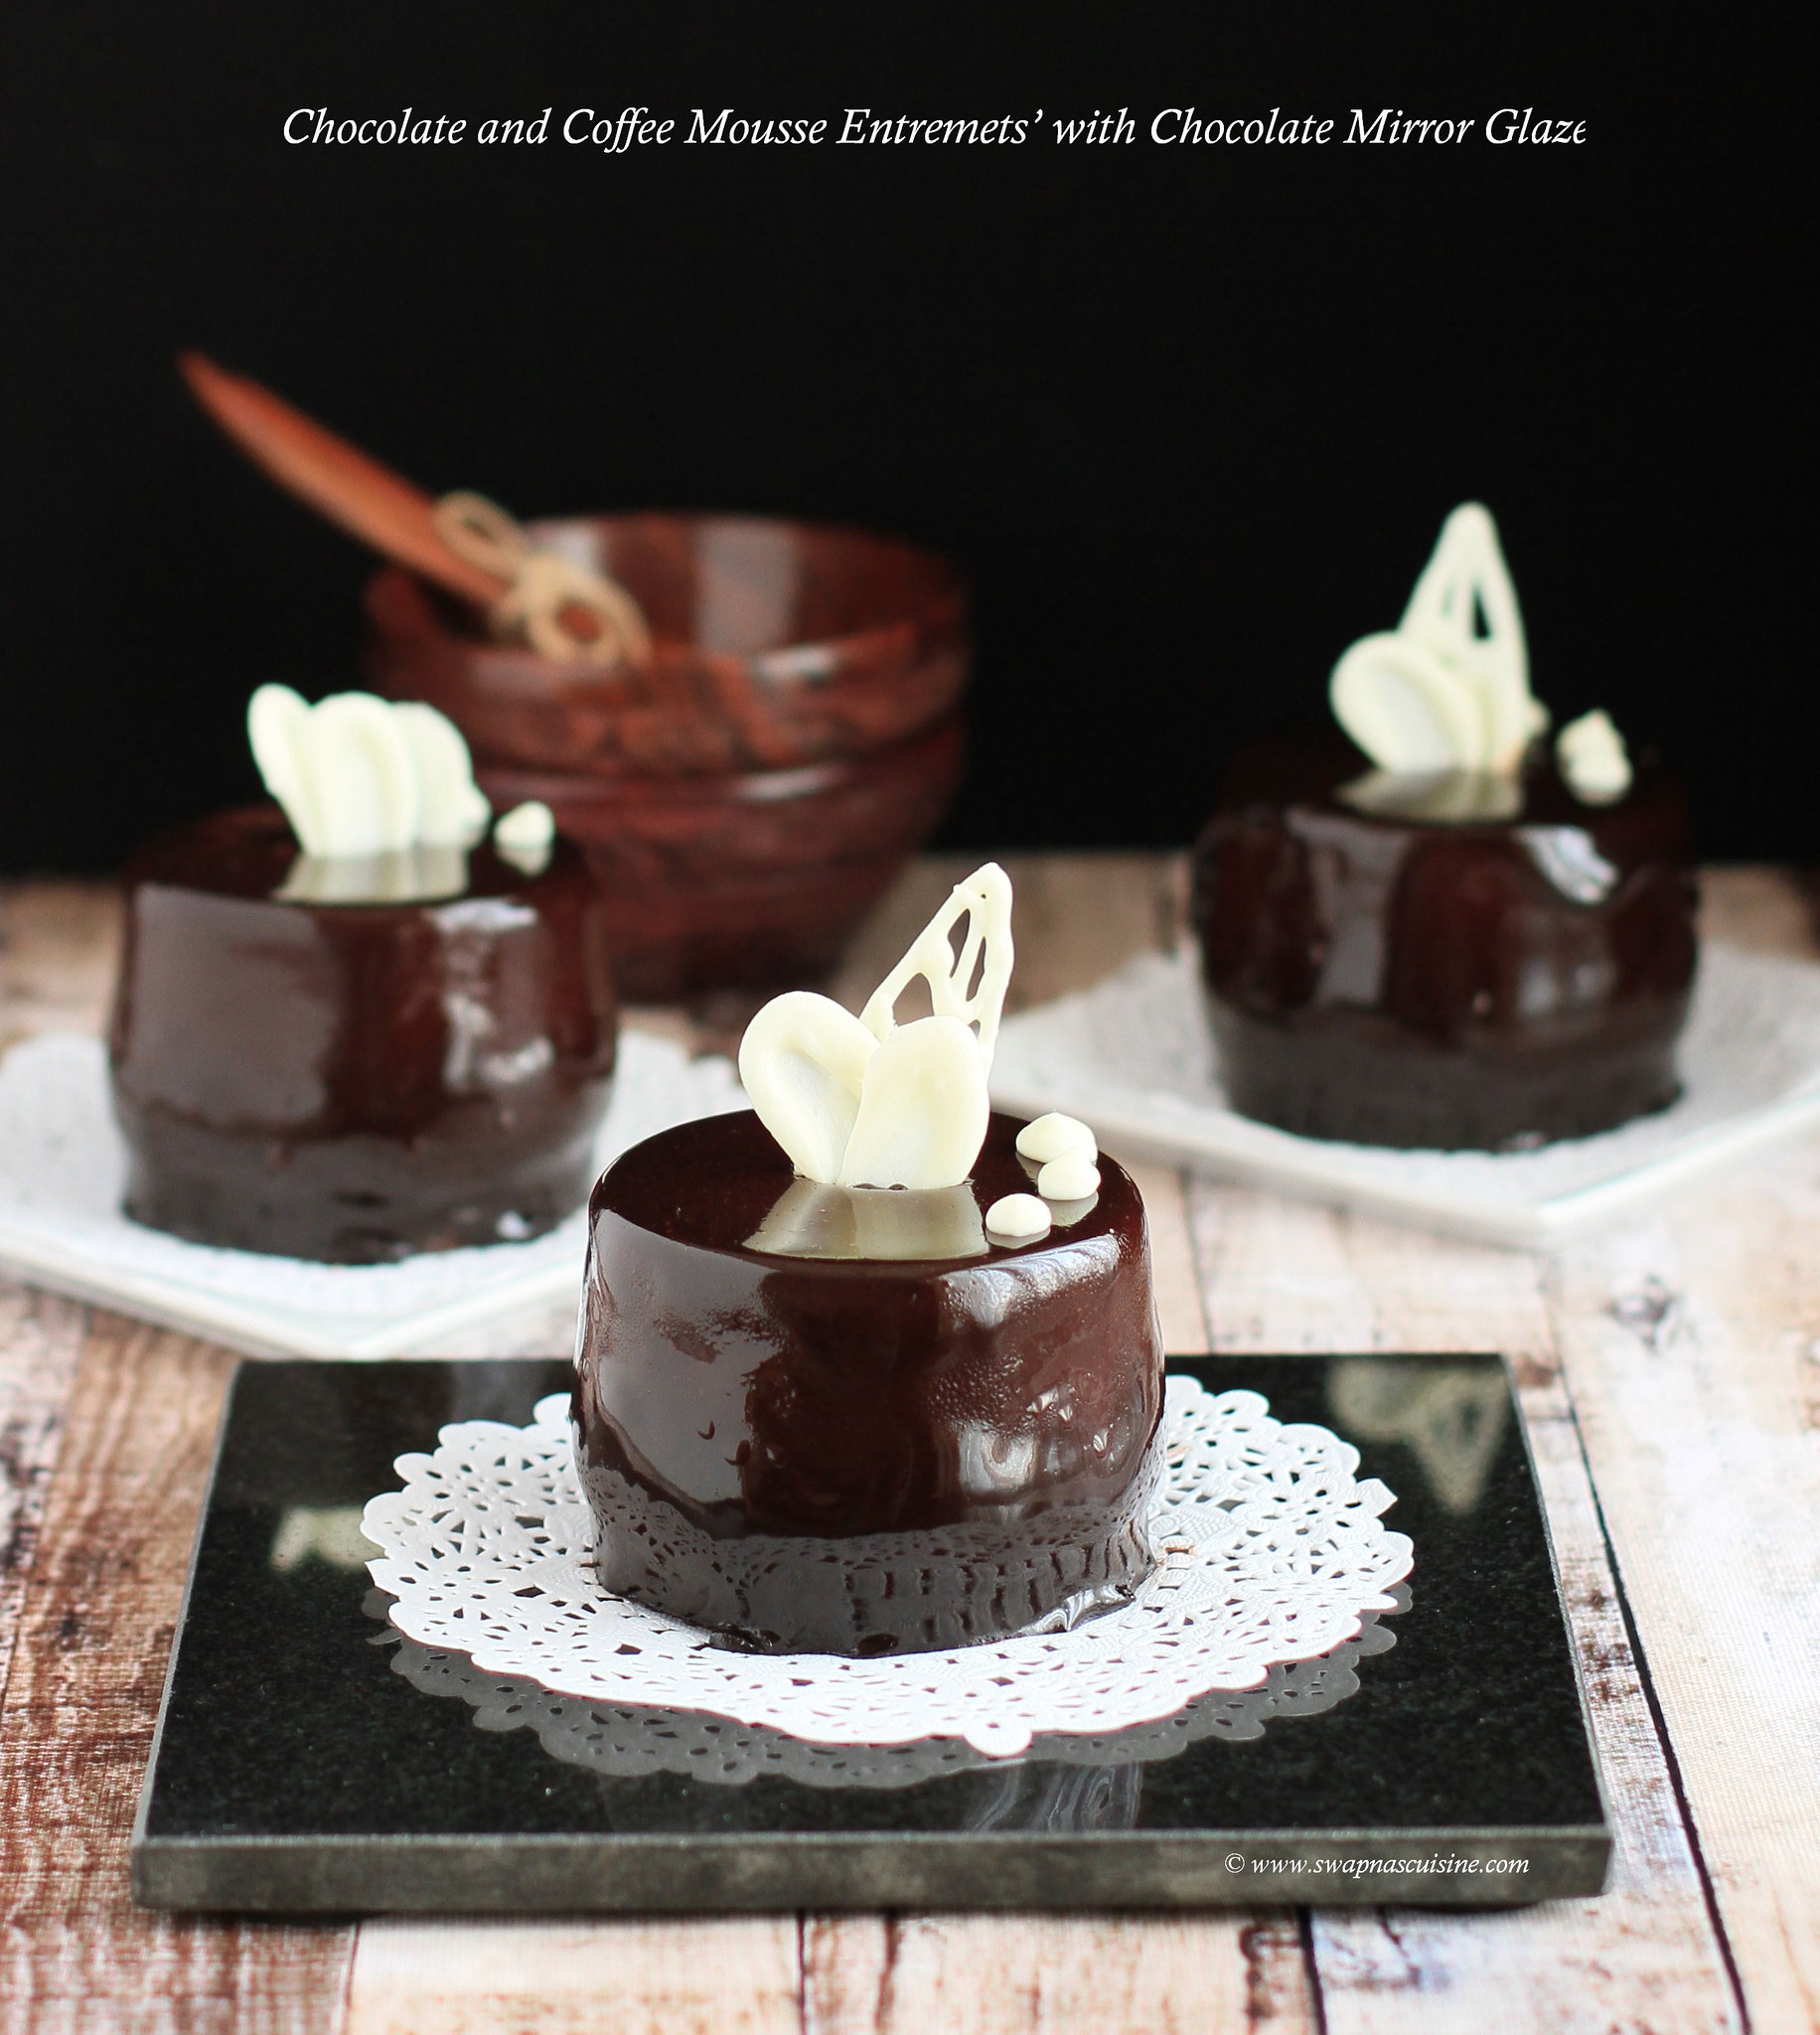
courses or simply a dessert. It is a multi-layered mousse-based cake with
various complementary flavours and varying textural contrasts. Entremets are
the perfect dessert for someone who likes a little bit of everything. This
dessert consists of a brownie base, two types of mousses and a mirror glaze.
The recipe is long, but with a little patience and planning ahead of time, it
is quiet easy to make. As you all know I am a huge fan of making individual desserts and
hence I set this in small dessert rings but you can just as easily
set it in an 8 inch cake ring or loose bottom cake tin. This was an
experimental trial for our wedding anniversary last month. Both the mousse
recipes are from previous posts of mine. This is the first time I am trying my
hands on chocolate mirror glaze. We really loved the different textures and
flavours in this dessert. Do try this on your special day and let me know the
outcome....
Chocolate and Coffee Mousse Entremets’ with Chocolate Mirror Glaze Recipe
Chocolate Brownies
Ingredients:
White sugar - 1 cup
Butter - ½ cup
Cocoa powder - ¼ cup
Vanilla essence - ½ tsp
Eggs - 2
All-purpose flour - ¾ cup
Baking powder - ¼ tsp
Salt - ¼ tsp
Walnut halves - ¼ cup
Method:
- Melt the butter or margarine and mix all ingredients in the order given.
- Bake at 350˚F (175˚C) for 20 to 25 minutes in a 9 x 13 inch greased pan.
- Once the brownie has completely cooled cut out 6 rounds with small dessert rings (I used 2.5” rings).
Coffee Mousse
Ingredients:
Egg yolk - 1
Sugar - ¼ cup (50g)
Corn flour - ¾
tbsp
Warm milk - 1/3
cup (80ml)
Vanilla essence - ¼
tsp
Instant coffee - ½ tbsp
Rum / Coffee Liqueur - 1 tbsp (optional)
Gelatine powder - ¼
tbsp
Cold water -
1 tbsp
Whipping cream - ½
cup (120g), 35% fat, chilled
Method:
- Stir egg yolk with sugar until creamy and pale yellow coloured. Stir in corn starch. Gradually whisk in the warm milk until completely combined.
- Place the yolks mixture into a small saucepan and cook over low heat while stirring until boils and thickens.
- Remove from heat and stir in vanilla essence and instant coffee. Let it cool.
- Dissolve gelatine in 1tbsp cold water and let it swell for about 5 to 10 minutes. Place over low heat just until the gelatine dissolves and then pour it over coffee mixture. (You can also add 1tbsp of rum or coffee liqueur to the mix if you prefer)
- Whip the cold whipping cream until stiff peaks form. Gradually incorporate into coffee mixture.
- Pour this mixture evenly on top of the brownie layer in the cake rings and refrigerate until set while you are making chocolate mousse.
Eggless Chocolate Mousse
Ingredients:
Milk - 1 cup
Cocoa powder - 1 tbsp
Cornflour - ½ tbsp
Sugar - 2 tbsp
Gelatine -1 ½ tsp
Cooking chocolate - 40gm, grated
Coffee powder - ½ tsp
Vanilla essence - ¼ tsp
Cream - ½ cup, whipped till fluffy
Method:
- Mix cocoa powder and cornflour in ¼ cup milk in a small bowl to a paste.
- Boil the rest of the milk with sugar in a heavy bottomed pan.
- Add cocoa and cornflour paste to the boiling milk, stirring continuously.
- Add grated chocolate. Cook on low heat for 3-4 minutes till chocolate dissolves. Add coffee and remove from fire.
- Put 3 tbsp water in a small pan. Add gelatine. Dissolve on low heat. (For china grass mix it with 1 cup water and heat till it dissolves).
- Mix gelatine solution with the chocolate custard. Chill in the freezer for about 20 minutes till a little thick but not set. Beat the thickened chocolate custard.
- Beat cream and essence till slightly thick and fluffy. Add whipped cream to chocolate mixture. Mix gently.
- Pour this mixture evenly on top of the coffee mousse layer in the cake rings.
- Freeze these rings really well while you are preparing the mirror glaze.
Chocolate Mirror Glaze:
Ingredients:
Sugar - 210gm
Water – 1/3 cup / 75g
Cocoa Powder - 70g
Thick Cream - ½ cup + 4 tsp /
145g
Gelatine - 3 tsp
Cold Water - 3 tbsp
Method:
- In a medium bowl, bloom gelatine in cold water and keep it aside.
- In a saucepan, combine 1/3 cup water, sugar, thick cream and cocoa powder. Combine everything with a balloon whisk and cook on medium heat and slowly bring it to a boil. Boil for 2 minutes stirring continuously until mixture slightly thickens.
- Remove chocolate mixture from the heat and whisk in bloomed gelatine until thoroughly combined.
- Pass the mixture through a fine-mesh sieve, and allow mixture to cool to lukewarm before using. Stir the glaze occasionally as they cool, so they don’t form a skin on top.
- Remove mousse from freezer and carefully slide the mousse from the dessert rings. Place it on a parchment lined cookie sheet, elevated off the sheet using small jars or cooling racks.
- Pour glaze generously over mousses, taking care to ensure there are no bare spots left. Allow the excess glaze to drip off for 5 or 10 minutes, then gently scrape the edges to remove any remaining drops.
- Carefully transfer cakes using a small offset spatula to cardboard cake rounds or small pieces of parchment paper for easy movement.
- Transfer the glazed mousse to the fridge to set for a few hours before serving.Any leftover glaze can be scraped up and refrigerated in an airtight container for later use. When you are ready to use it, warm the chocolate glaze to lukewarm. Strain it through a fine mesh strainer before using, otherwise tiny air bubbles will show on the glaze.


Lengthy one with 3 different layers. Looks beautiful. Will make when I have a day dedicated just for this :)
ReplyDeleteOmg these look so classy and delicious... I love all of your recipes
ReplyDeletePlease do support me at https://www.classnfab.blogspot.com